
If you follow my work and updates on Twitter and Instagram, you might have been seeing these images popping up on your feed once in a while. A few weeks ago, a photographer I follow on Instagram posted an edited image on their feed. It was unlike anything I’d seen in a long time. Apart from making me nostalgic about the early days of my discovering Photoshop, I also wanted to know how they’d done it. I didn’t have to look far – someone had posted the name of the app they had used, in the Instagram comments for that image.
Picsart.
To be fair, I was a little disappointed that this had been achieved by a mobile phone app. I knew I was going to give the app a shot and that I was also going to be sorely disappointed with it. Like I had been a thousand times previously. It’s a rare android photo app that does what it is advertised to do and I end up uninstalling the app within a day or two of installing – sometimes even paid ones. I was mentally prepared for the same scenario.
As it turns out – and as is hopefully evident from my images since then, not only have I still got the app on, it has introduced a new element into how I express myself and use my images. All my updates with images edited in Picsart are tagged #ArtExperiment Most of the images I choose to edit in the app were not photographed with this use in mind, so it takes a lot of trial and error and not all of them turn out to be as impressive as I’d like them to be.
Now that I know I love using this app, I have started keeping my eyes open for photographs that might not work well on their own but might look really cool when run through Picsart.
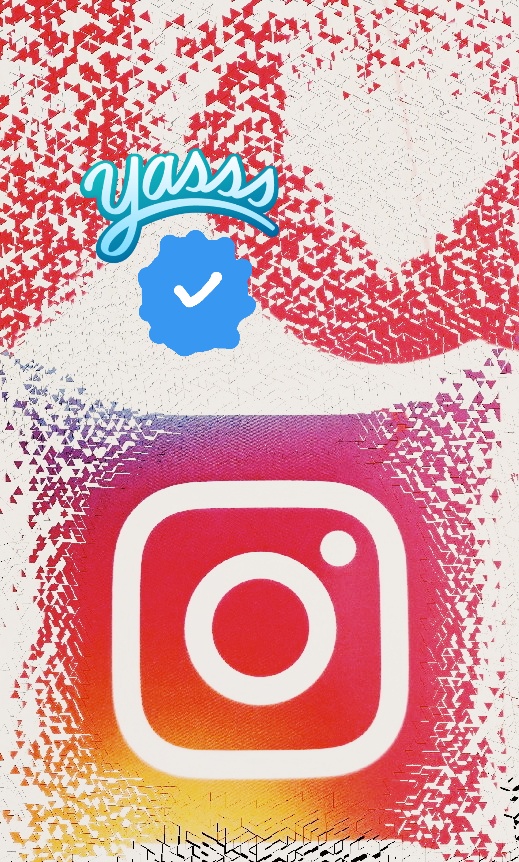
That above was the first thing I tried on Picsart and posted on my Instagram Stories only because I didn’t like the result particularly. I took a photograph of a set of stickers I have and then applied the Dispersion effect ( Picsart > Tools > Dispersion ). I wanted to use something to announce that my Instagram account was now officially Verified.
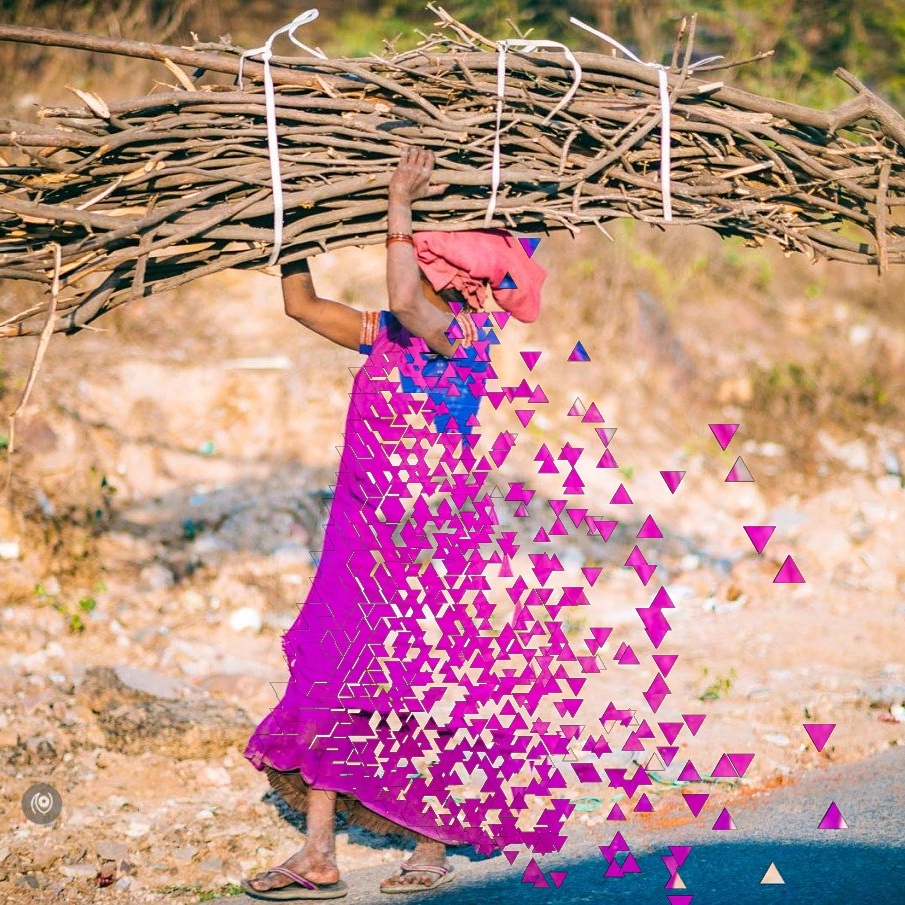
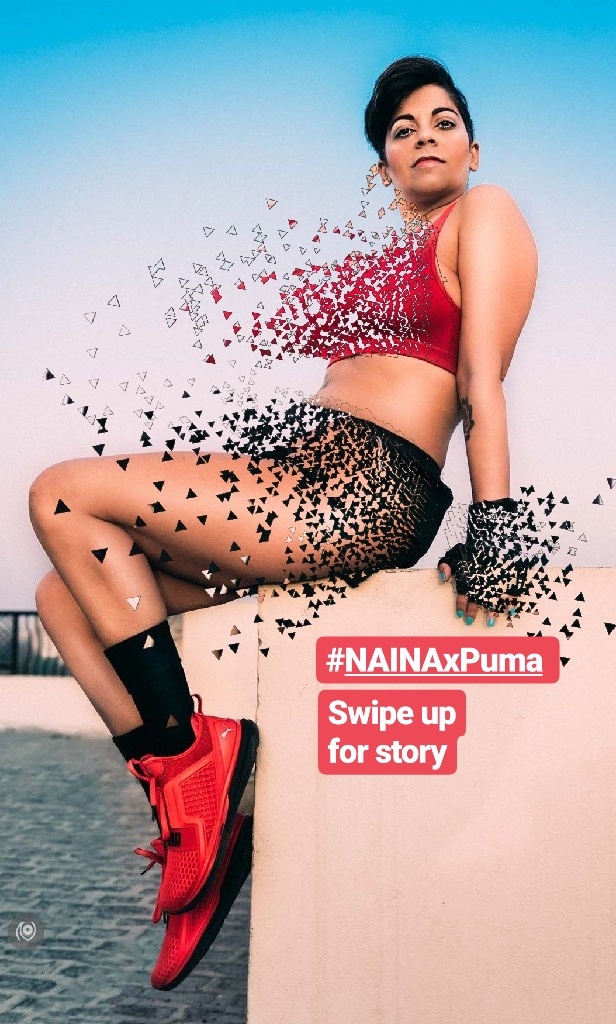
The image below is from my #EyesForStreetStyle India #OnTheRoad I liked the image for the striking colour but it wasn’t a strong image. Adding the Dispersion effect in Picsart made it more interesting. ( In my opinion of course – art is subjective. )
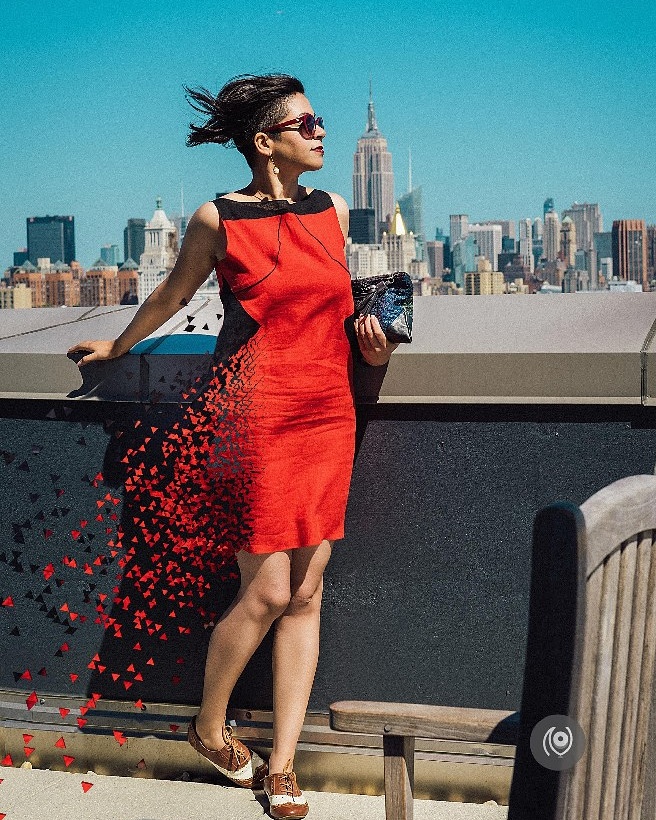
I re-posted the above photograph – always missing New York and want to go back! The image on its own was lovely, adding the Dispersion effect made it worth the re-post. The number of times I’ve used Dispersion will give you an idea about what exact effect I’m obsessed with within Picsart. See below. This one didn’t make it to an Insta re-post but I did publish this in my Instagram Stories. I might’ve overdone the Dispersion effect. But won’t learn nothing if I don’t experiment. Of course, I’m not showing you all of my experiments because most of them were failures – terrible ones.
After a while, even I started to feel that I might be overdoing the Dispersion so I explored the app a bit more and fell into the “Sticker” rabbit hole. There are some amazing artworks that have been converted to stickers that you can use on your photos. Some need to be purchased but if you have the patience to search using a keywords and trawl through hundreds of stickers, you don’t really need to buy anything. You could consider buying a sticker pack if there’s a client post that you need to make and you are being paid to do it. Else just search and scroll scroll scroll.
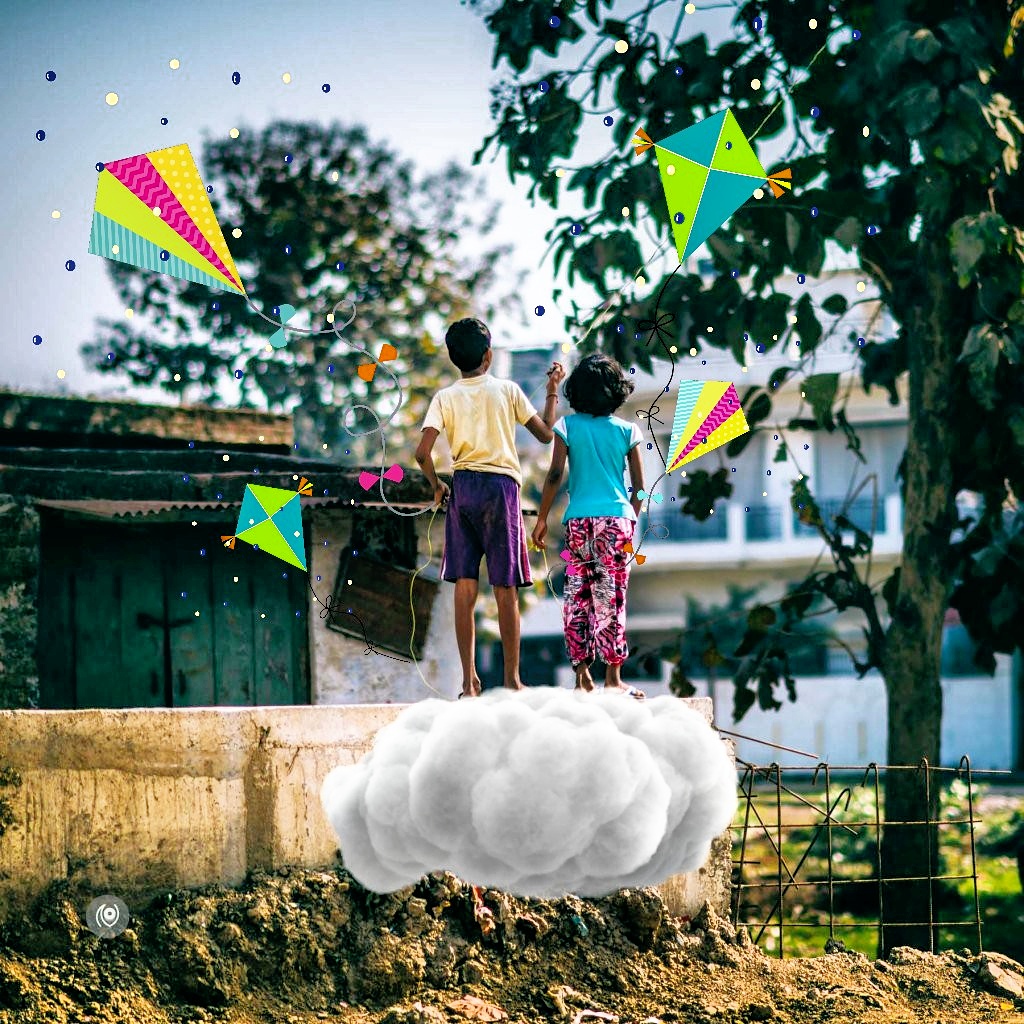
I used a colorful cloud sticker in the above photo – in addition to the Dispersion tool
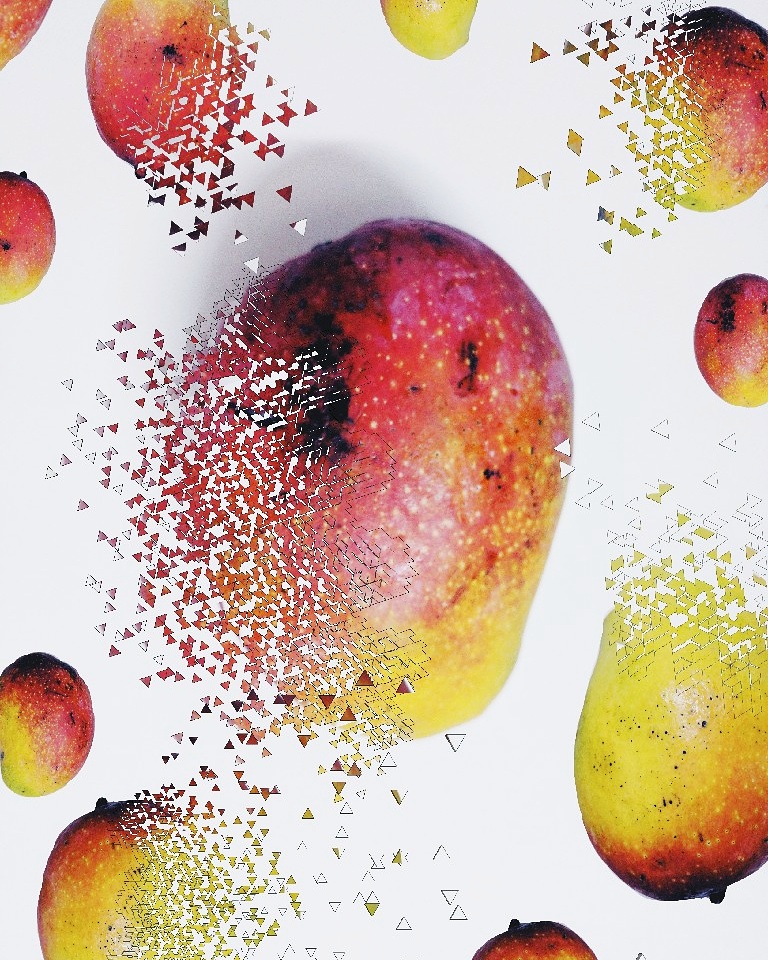
Below, I made my own stickers for the first time! I placed four different mangoes on a white sheet of paper and photographed them – on my Google Pixel XL’s camera and then cut them out in the Picsart app and saved them as stickers and then brought them into an image and applied the Dispersion effect ( but of course! ). The Picsart blog is a great place to discover how to use their app and how to use their various tools – their YouTube channel also has lots of videos to explain step-by-step how to achieve a desired effect. ( All links at the end of this post. )
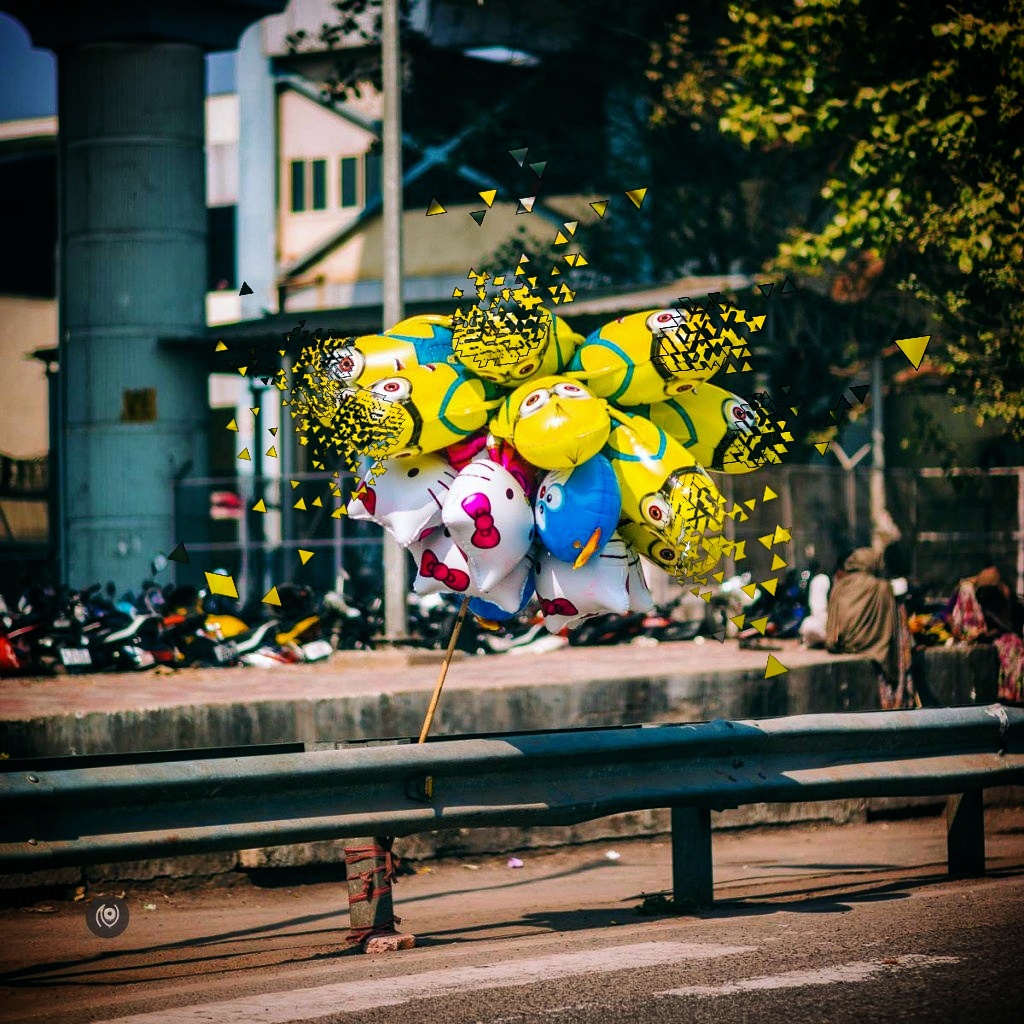
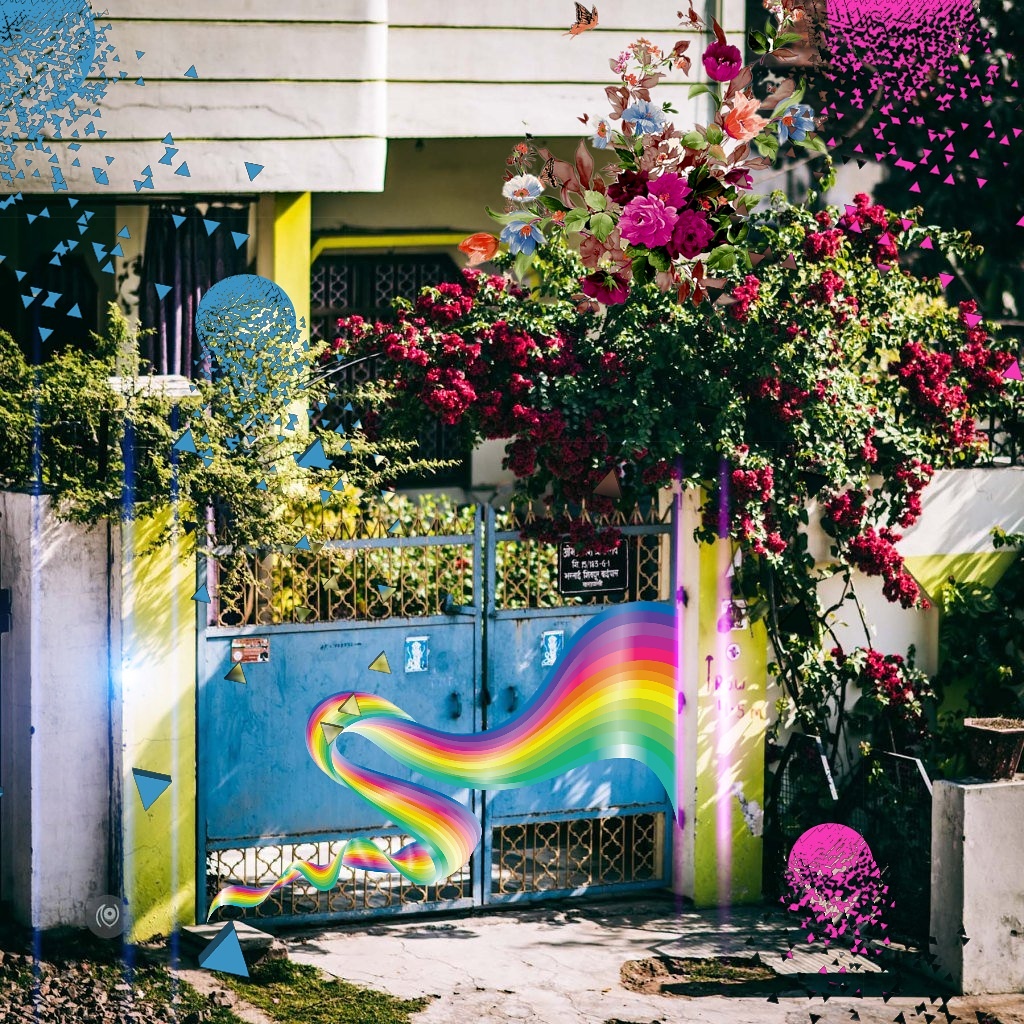
Above, the Dispersion effect applied to Minon balloons – I think the image would’ve probably been better off without the effect. Below, a phone photo on a rainy day and stickers and Dispersion to make something interesting out of it.
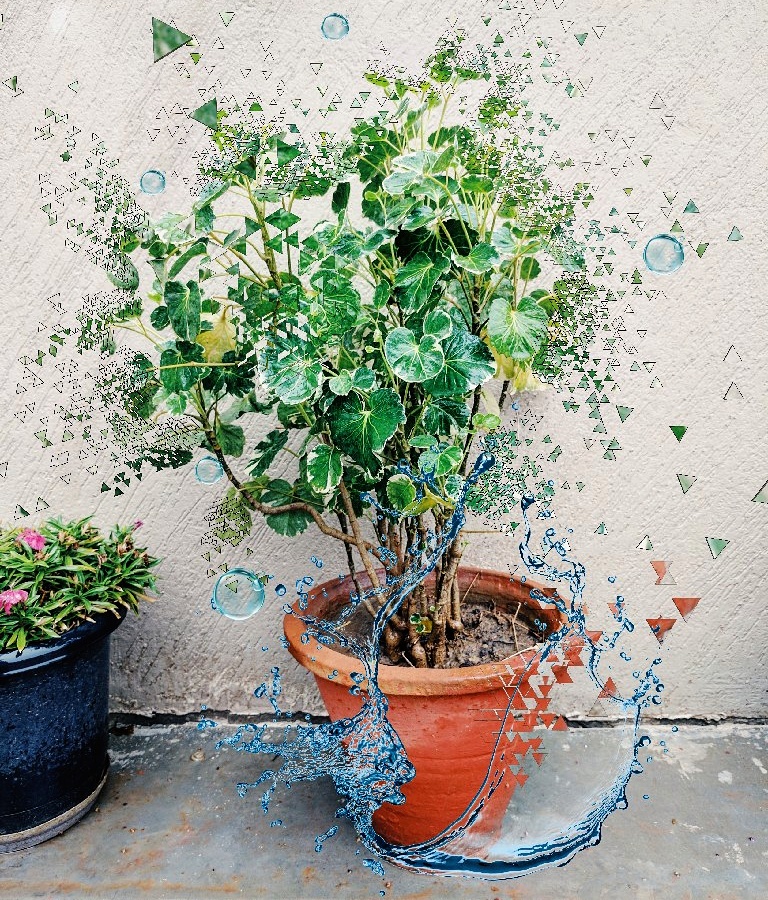
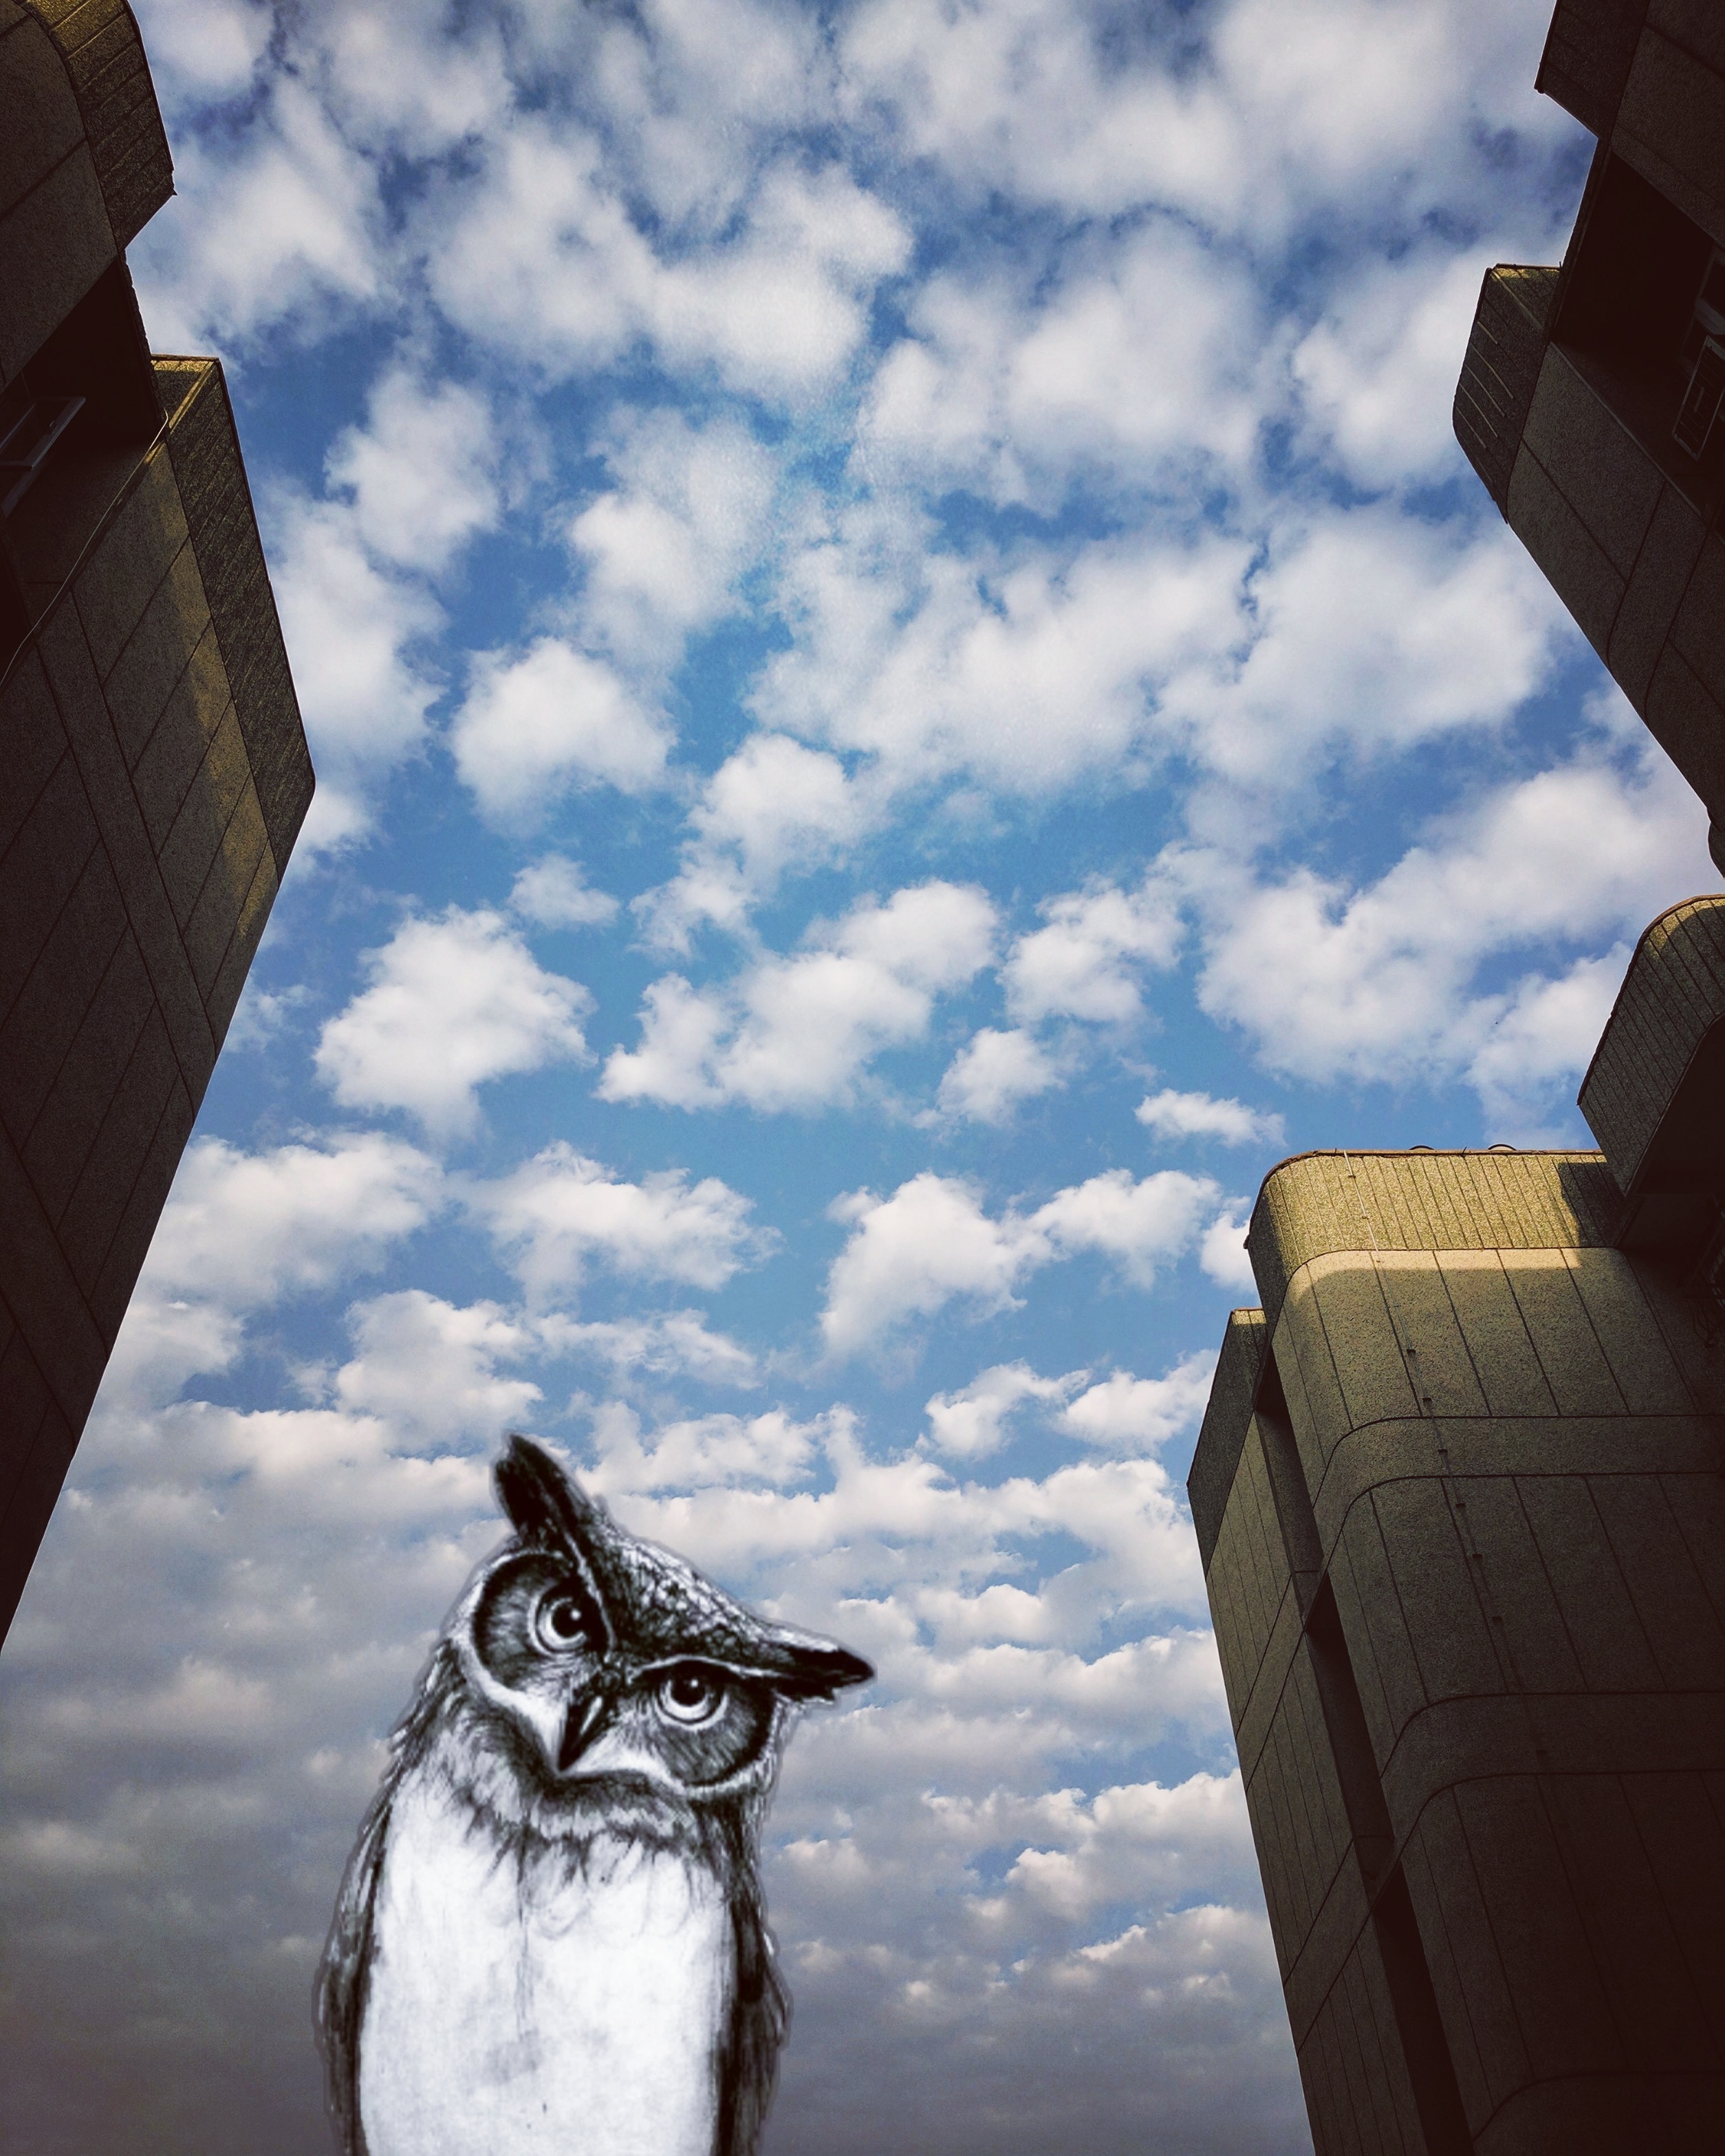
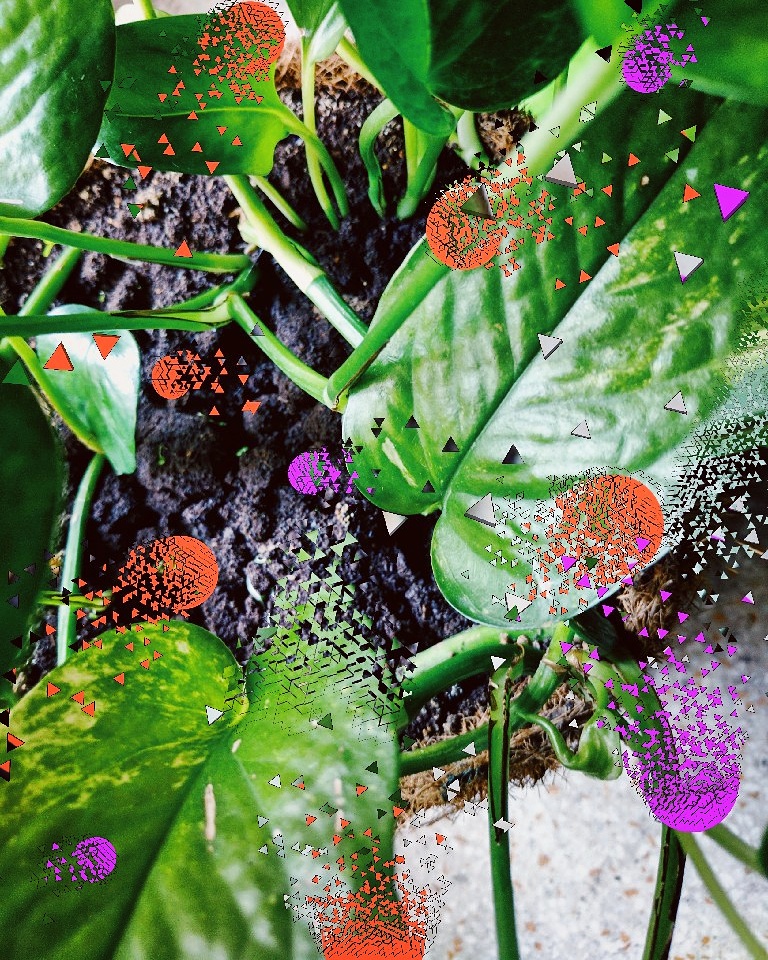
Above, an Owl I found in the stickers. The sky was interesting and I wanted to experiment with stickers. Pretty basic. Below, I drew solid circles on the photo of my money plant and then cracked them up using the Dispersion tool. You don’t have to apply dispersion to something that’s already in the photo – you can add elements and bust those up too! I liked the result a LOT.
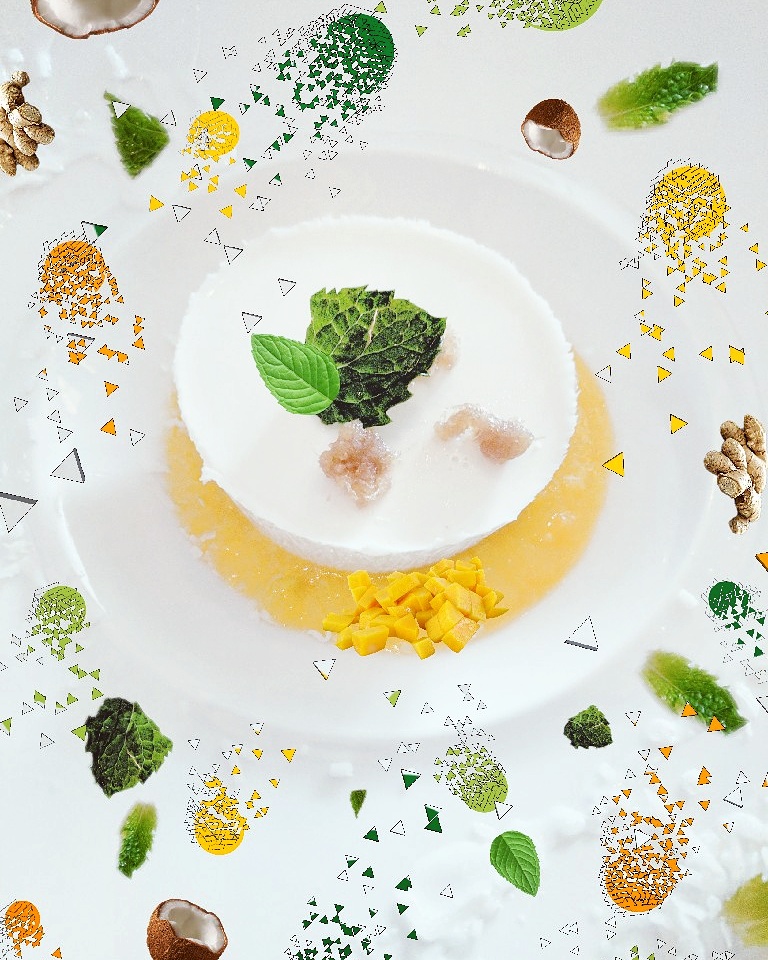
Above, a food photo – coconut mango panacotta. I made stickers out of the mint leaves already on the plate. I also searched for mint leaves within the app and I searched for mangoes and coconuts and added the stickers. And I drew some solid shapes in various colours and bust them up with Dispersion. It probably sounds like a lot of work and a bit tedious and it is. But once you get the hang of it – and if you have a stylus to help you track your movements on the phone’s screen more accurately – it’s an enjoyable process. I prefer this over coloring book currently. Stress busting.
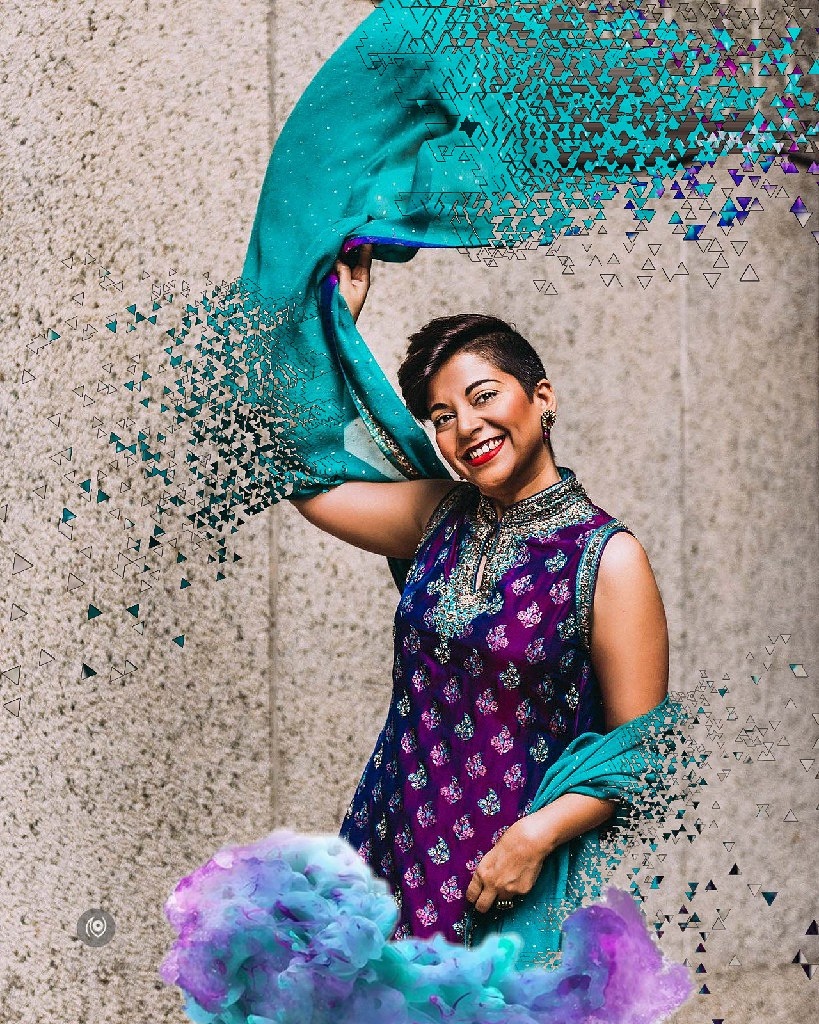
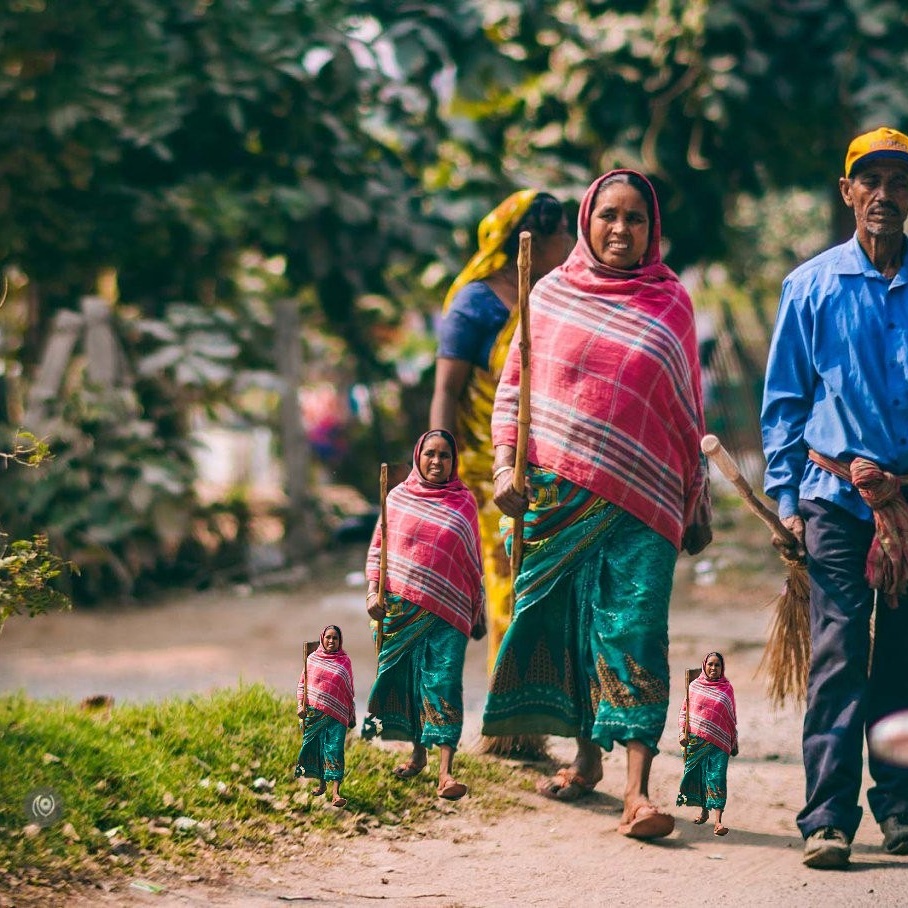
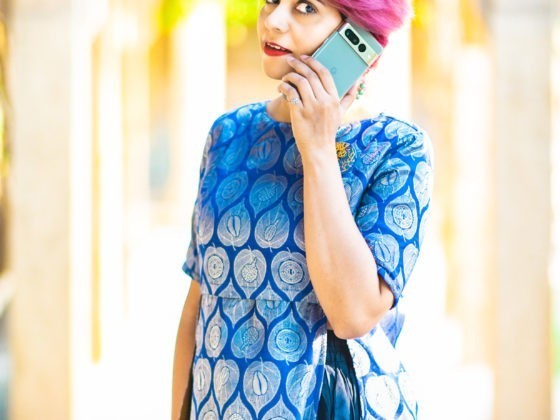
Below, I created stickers of the lady in the middle and then applied to the image in various sizes. Didn’t do a very good job of editing though but that’s mostly ok because hey! EXPERIMENT!
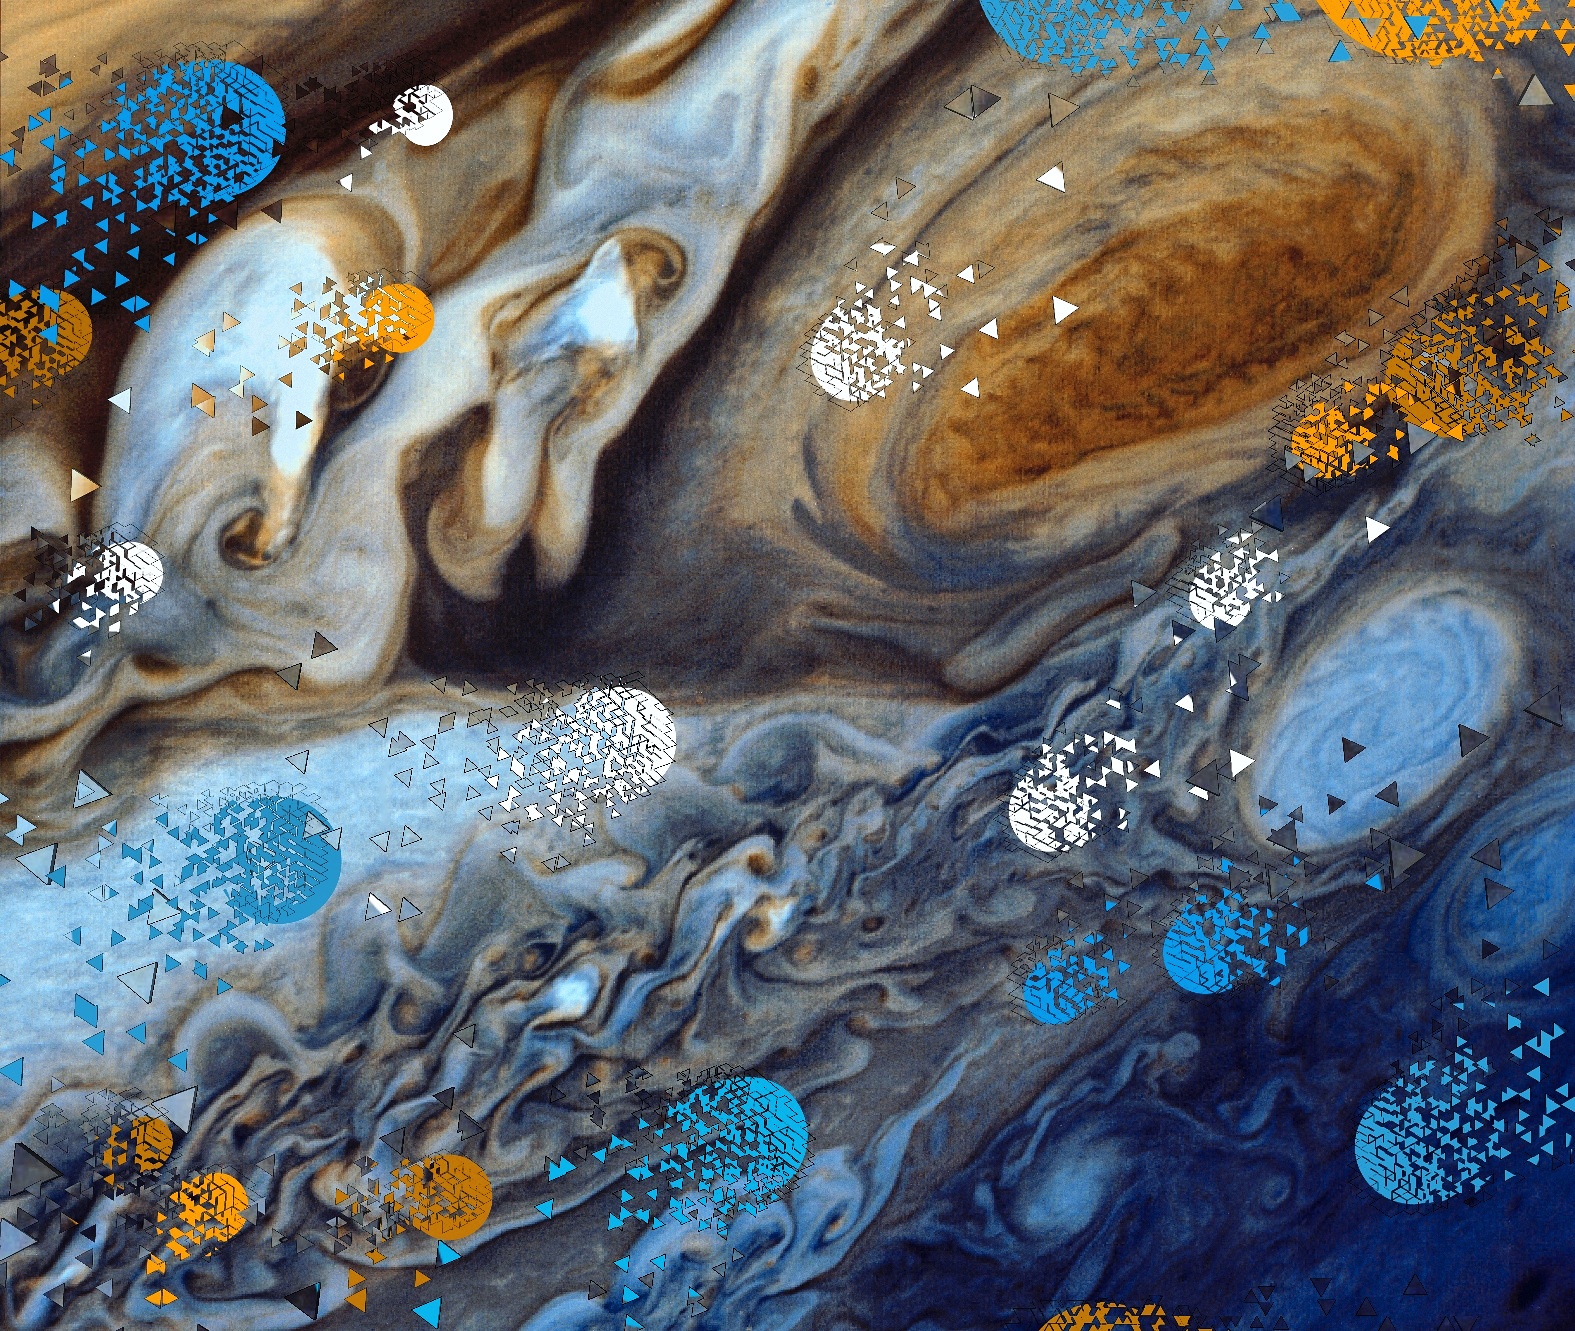
Used the base image from the NASA public library – that’s the planet Jupiter. Drew some shapes on the image and bust them up in various direction using Dispersion.
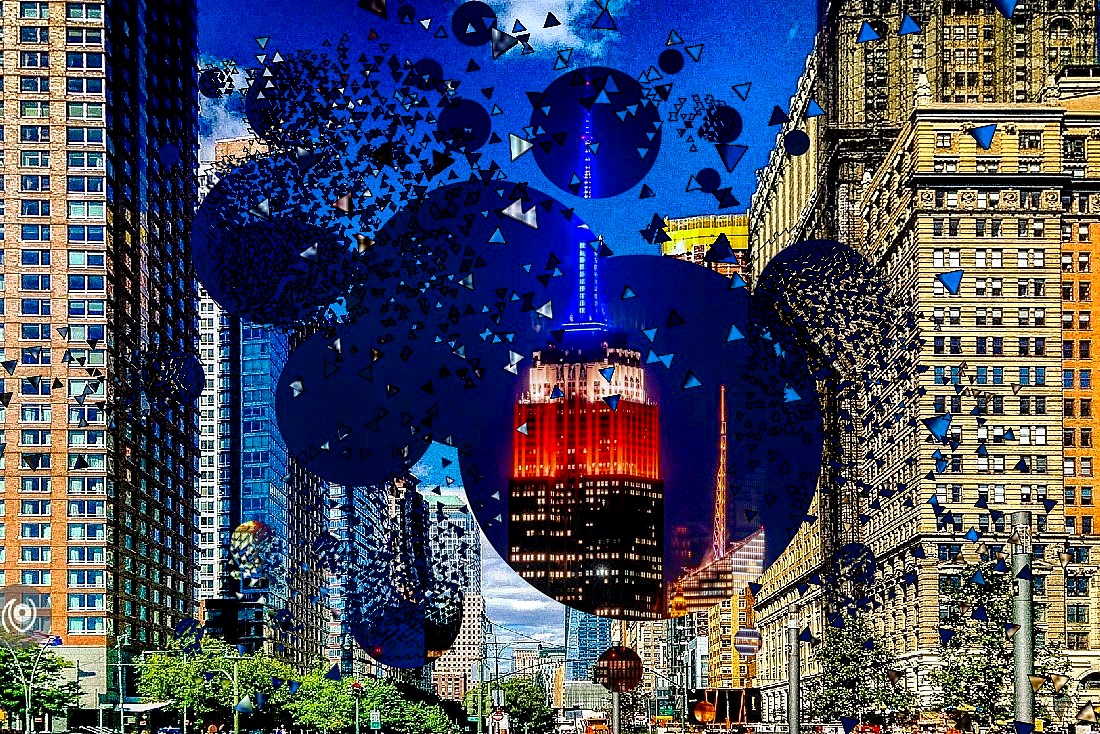
Below, Shape mask of circles with a night time photograph of New York applied onto a day time photograph of New York and some portions busted up with Dispersion.
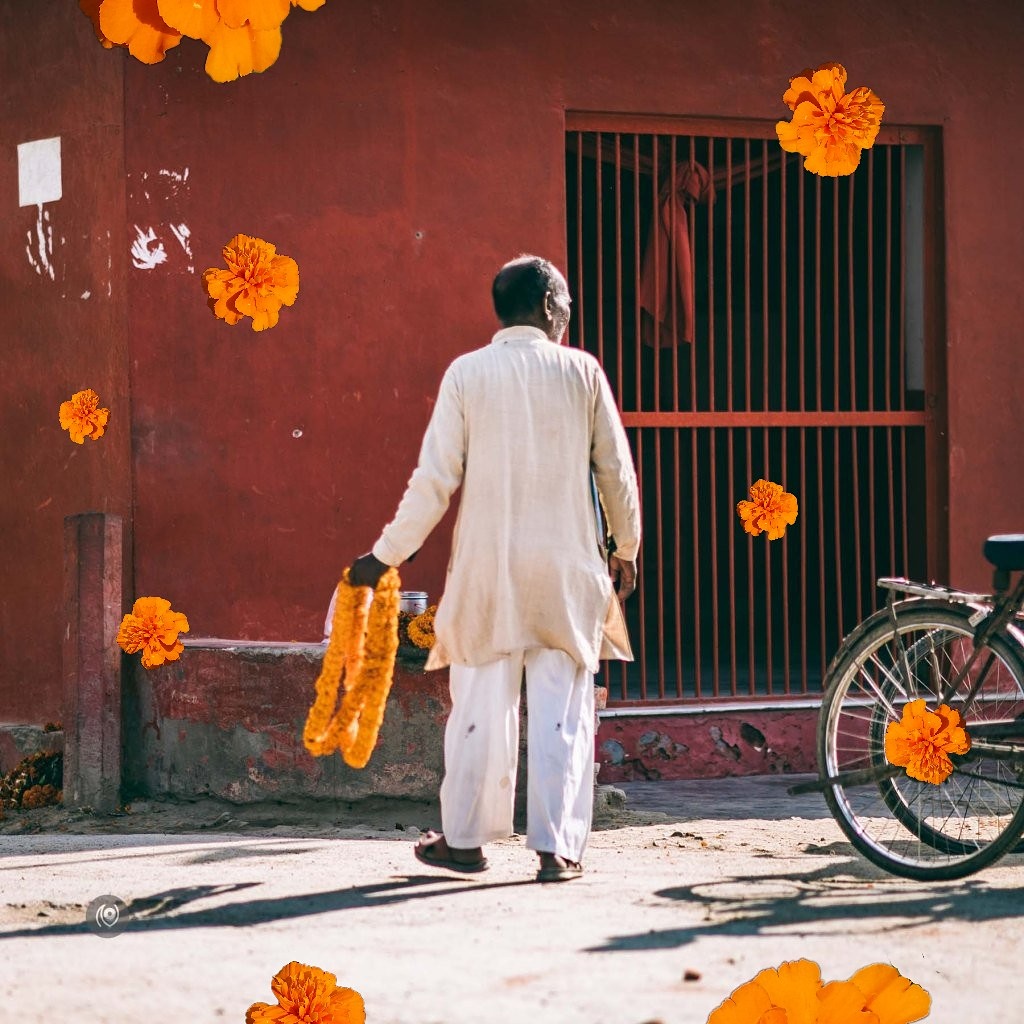
More India On The Road photographs. I love the above edit with marigold flower stickers around a man carrying marigold flower garlands. I tried another version where the sticker flowers were Dispersed but I preferred this version more.
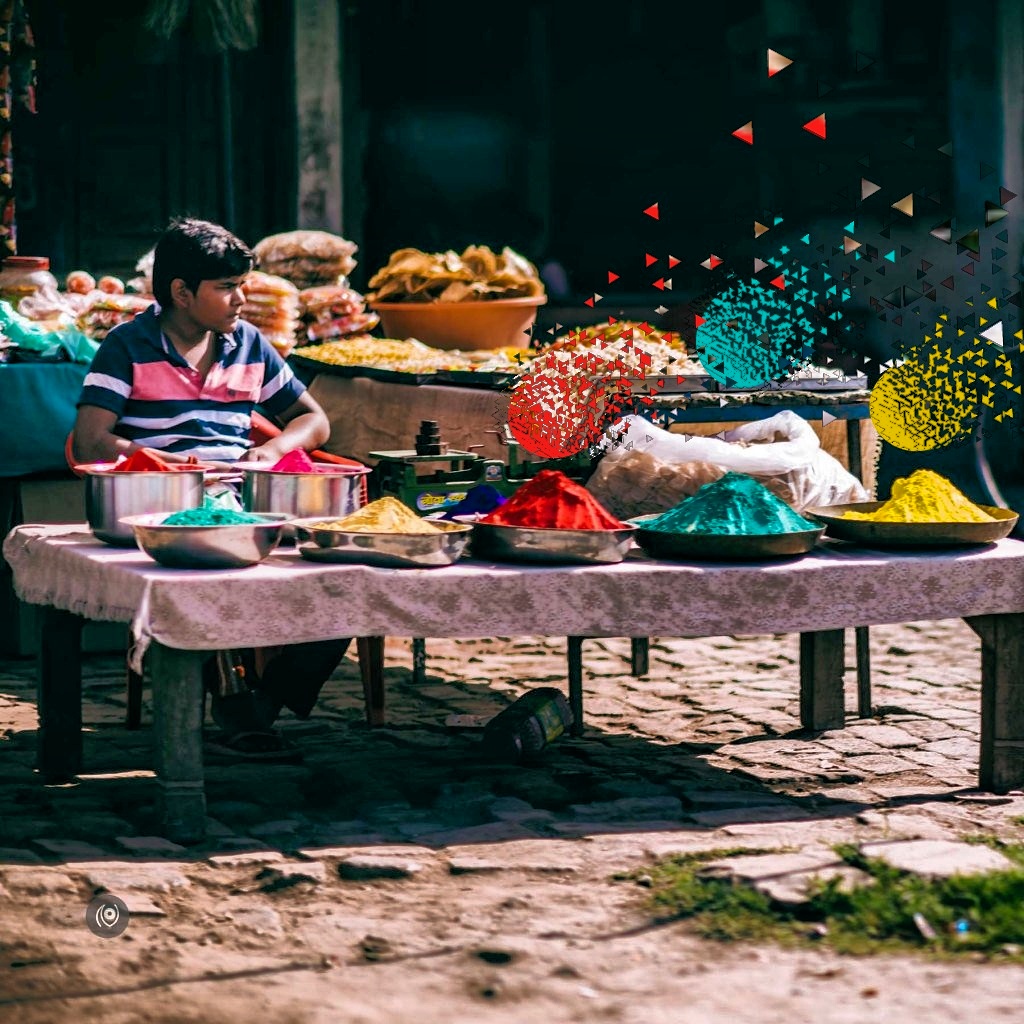
Below, dispersion on colorful shapes above the plates full of Holi colours.
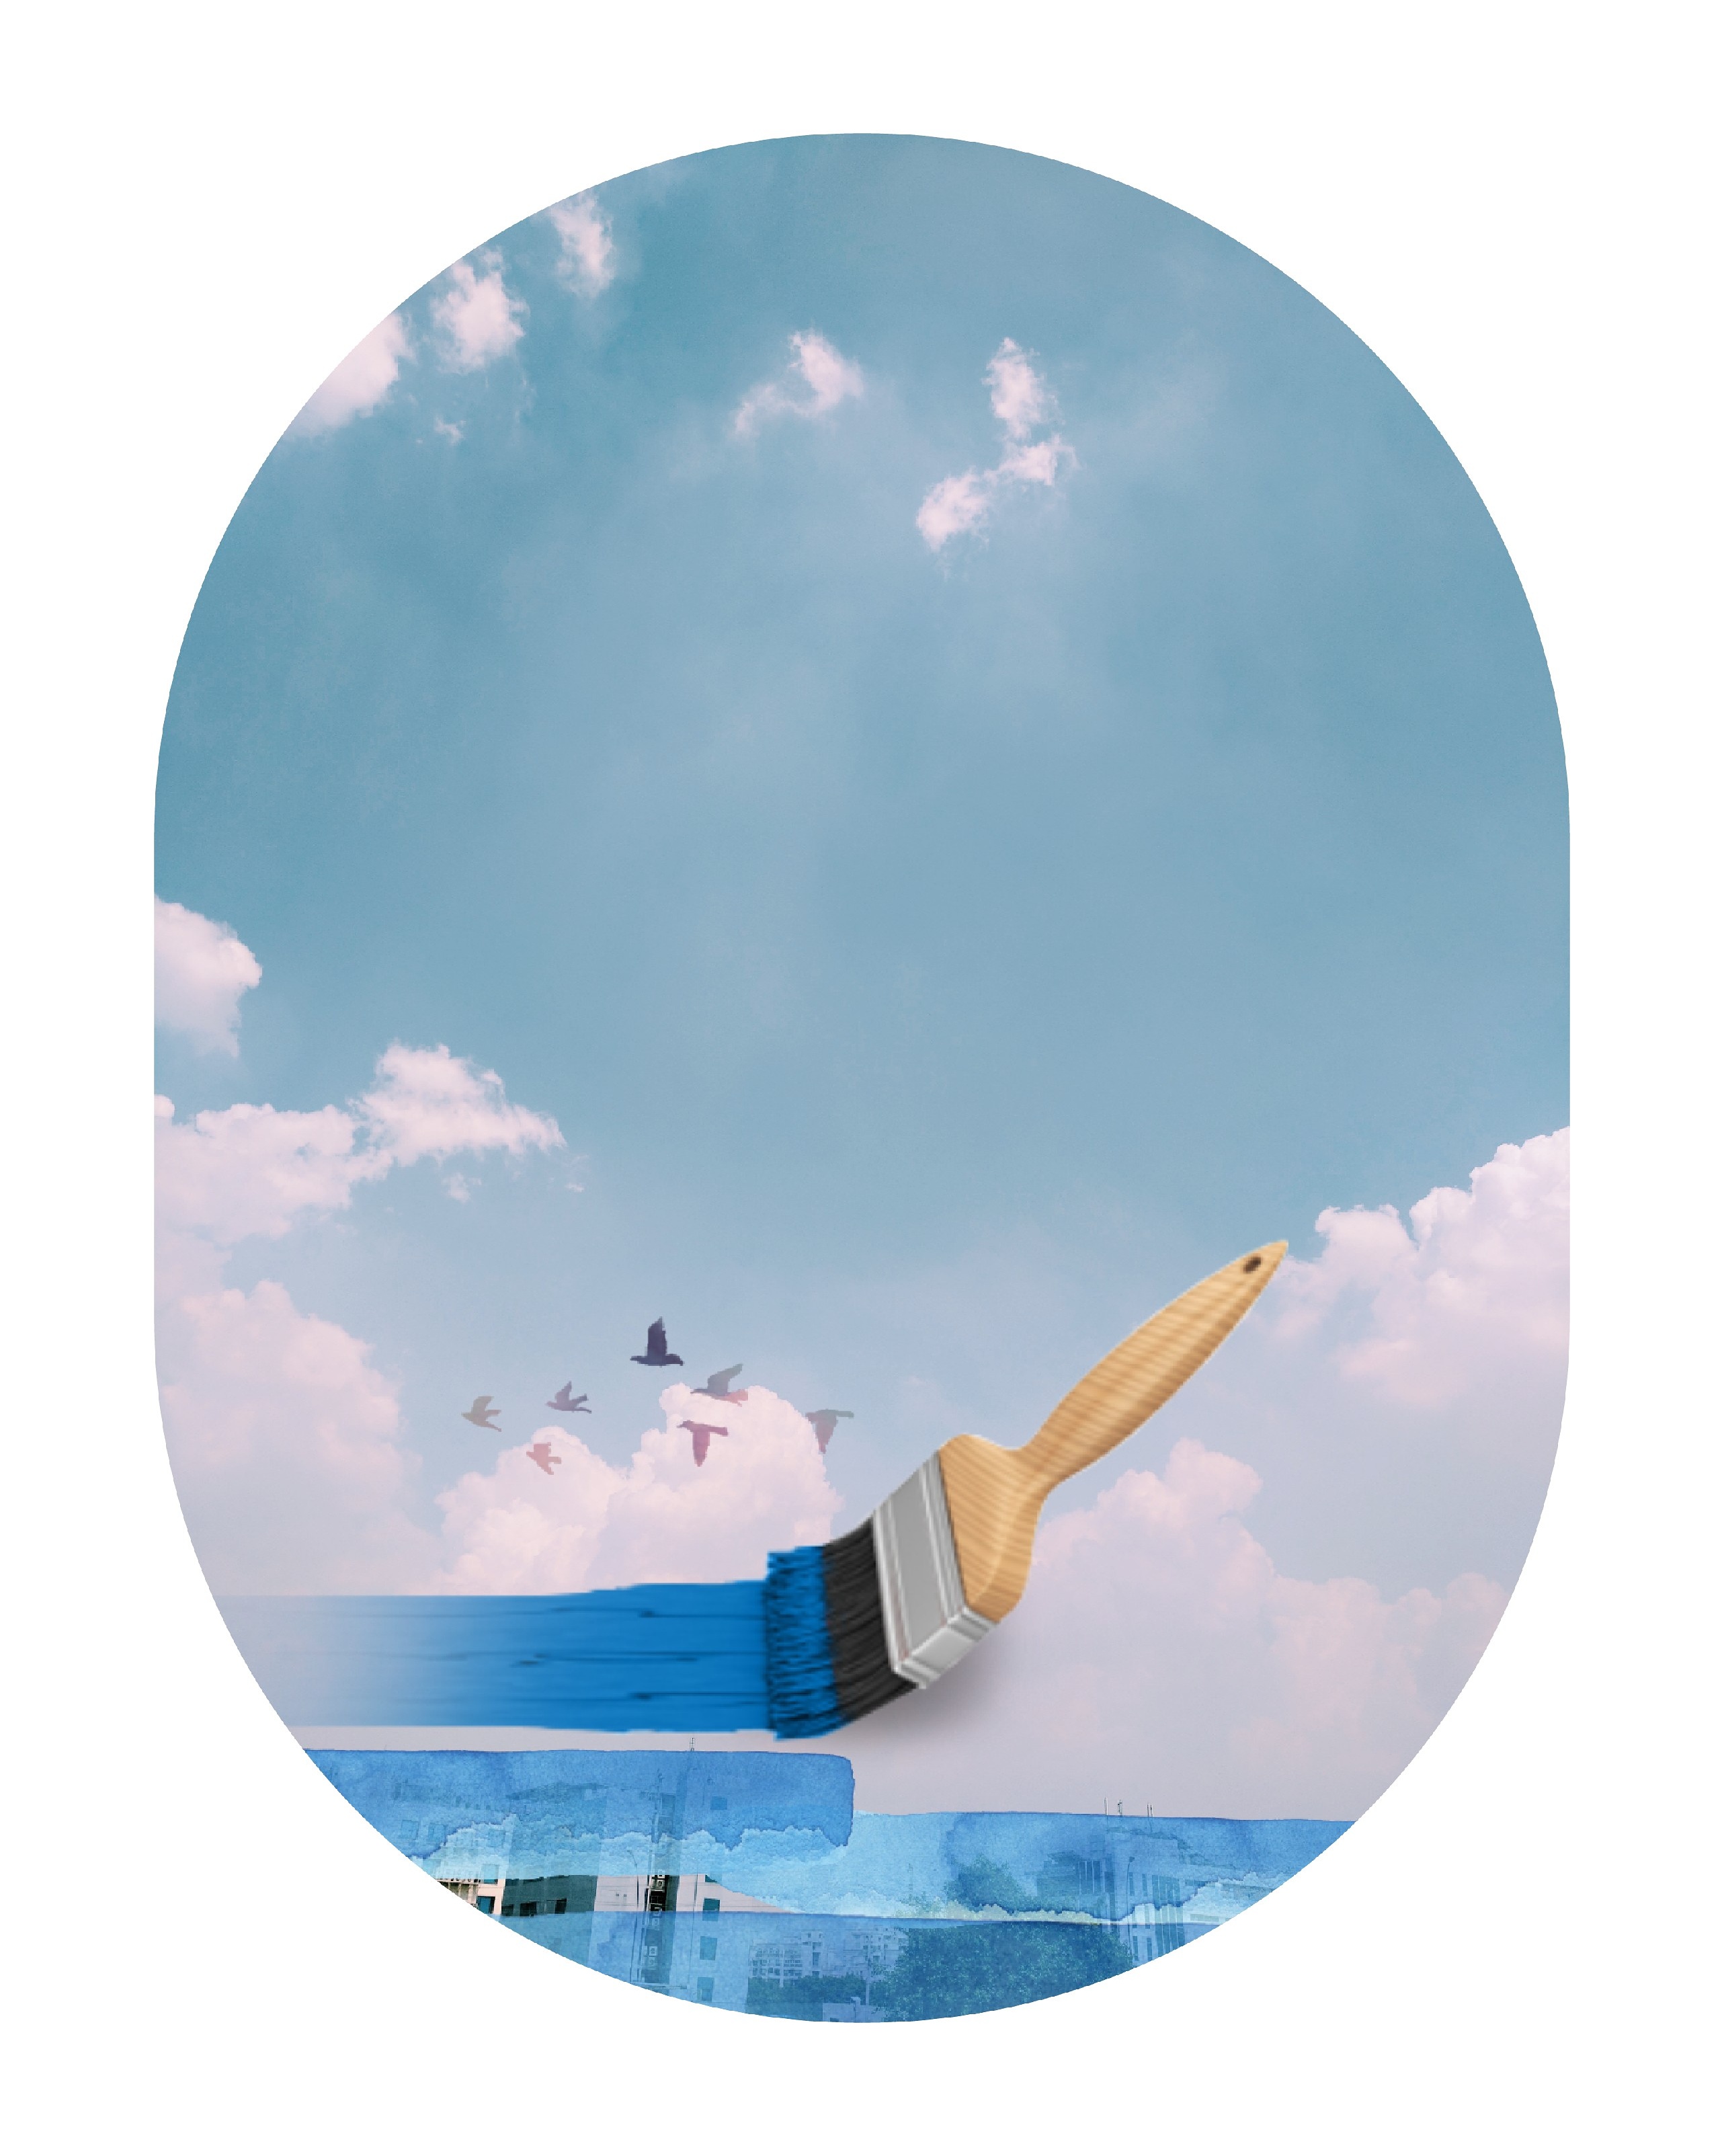
I’m currently exploring Stickers and Masks more than Dispersion. The above photo was shot when I was out for a meeting in Gurgaon and the parking lot had a view of empty sky, which is rare. Usually there’s lots of buildings and electricity wires. Sometimes, best to keep it simple. The brush sticker alongwith the brushstroke sticker that I applied multiple times and then the border to make it look somewhat like an airplane window.
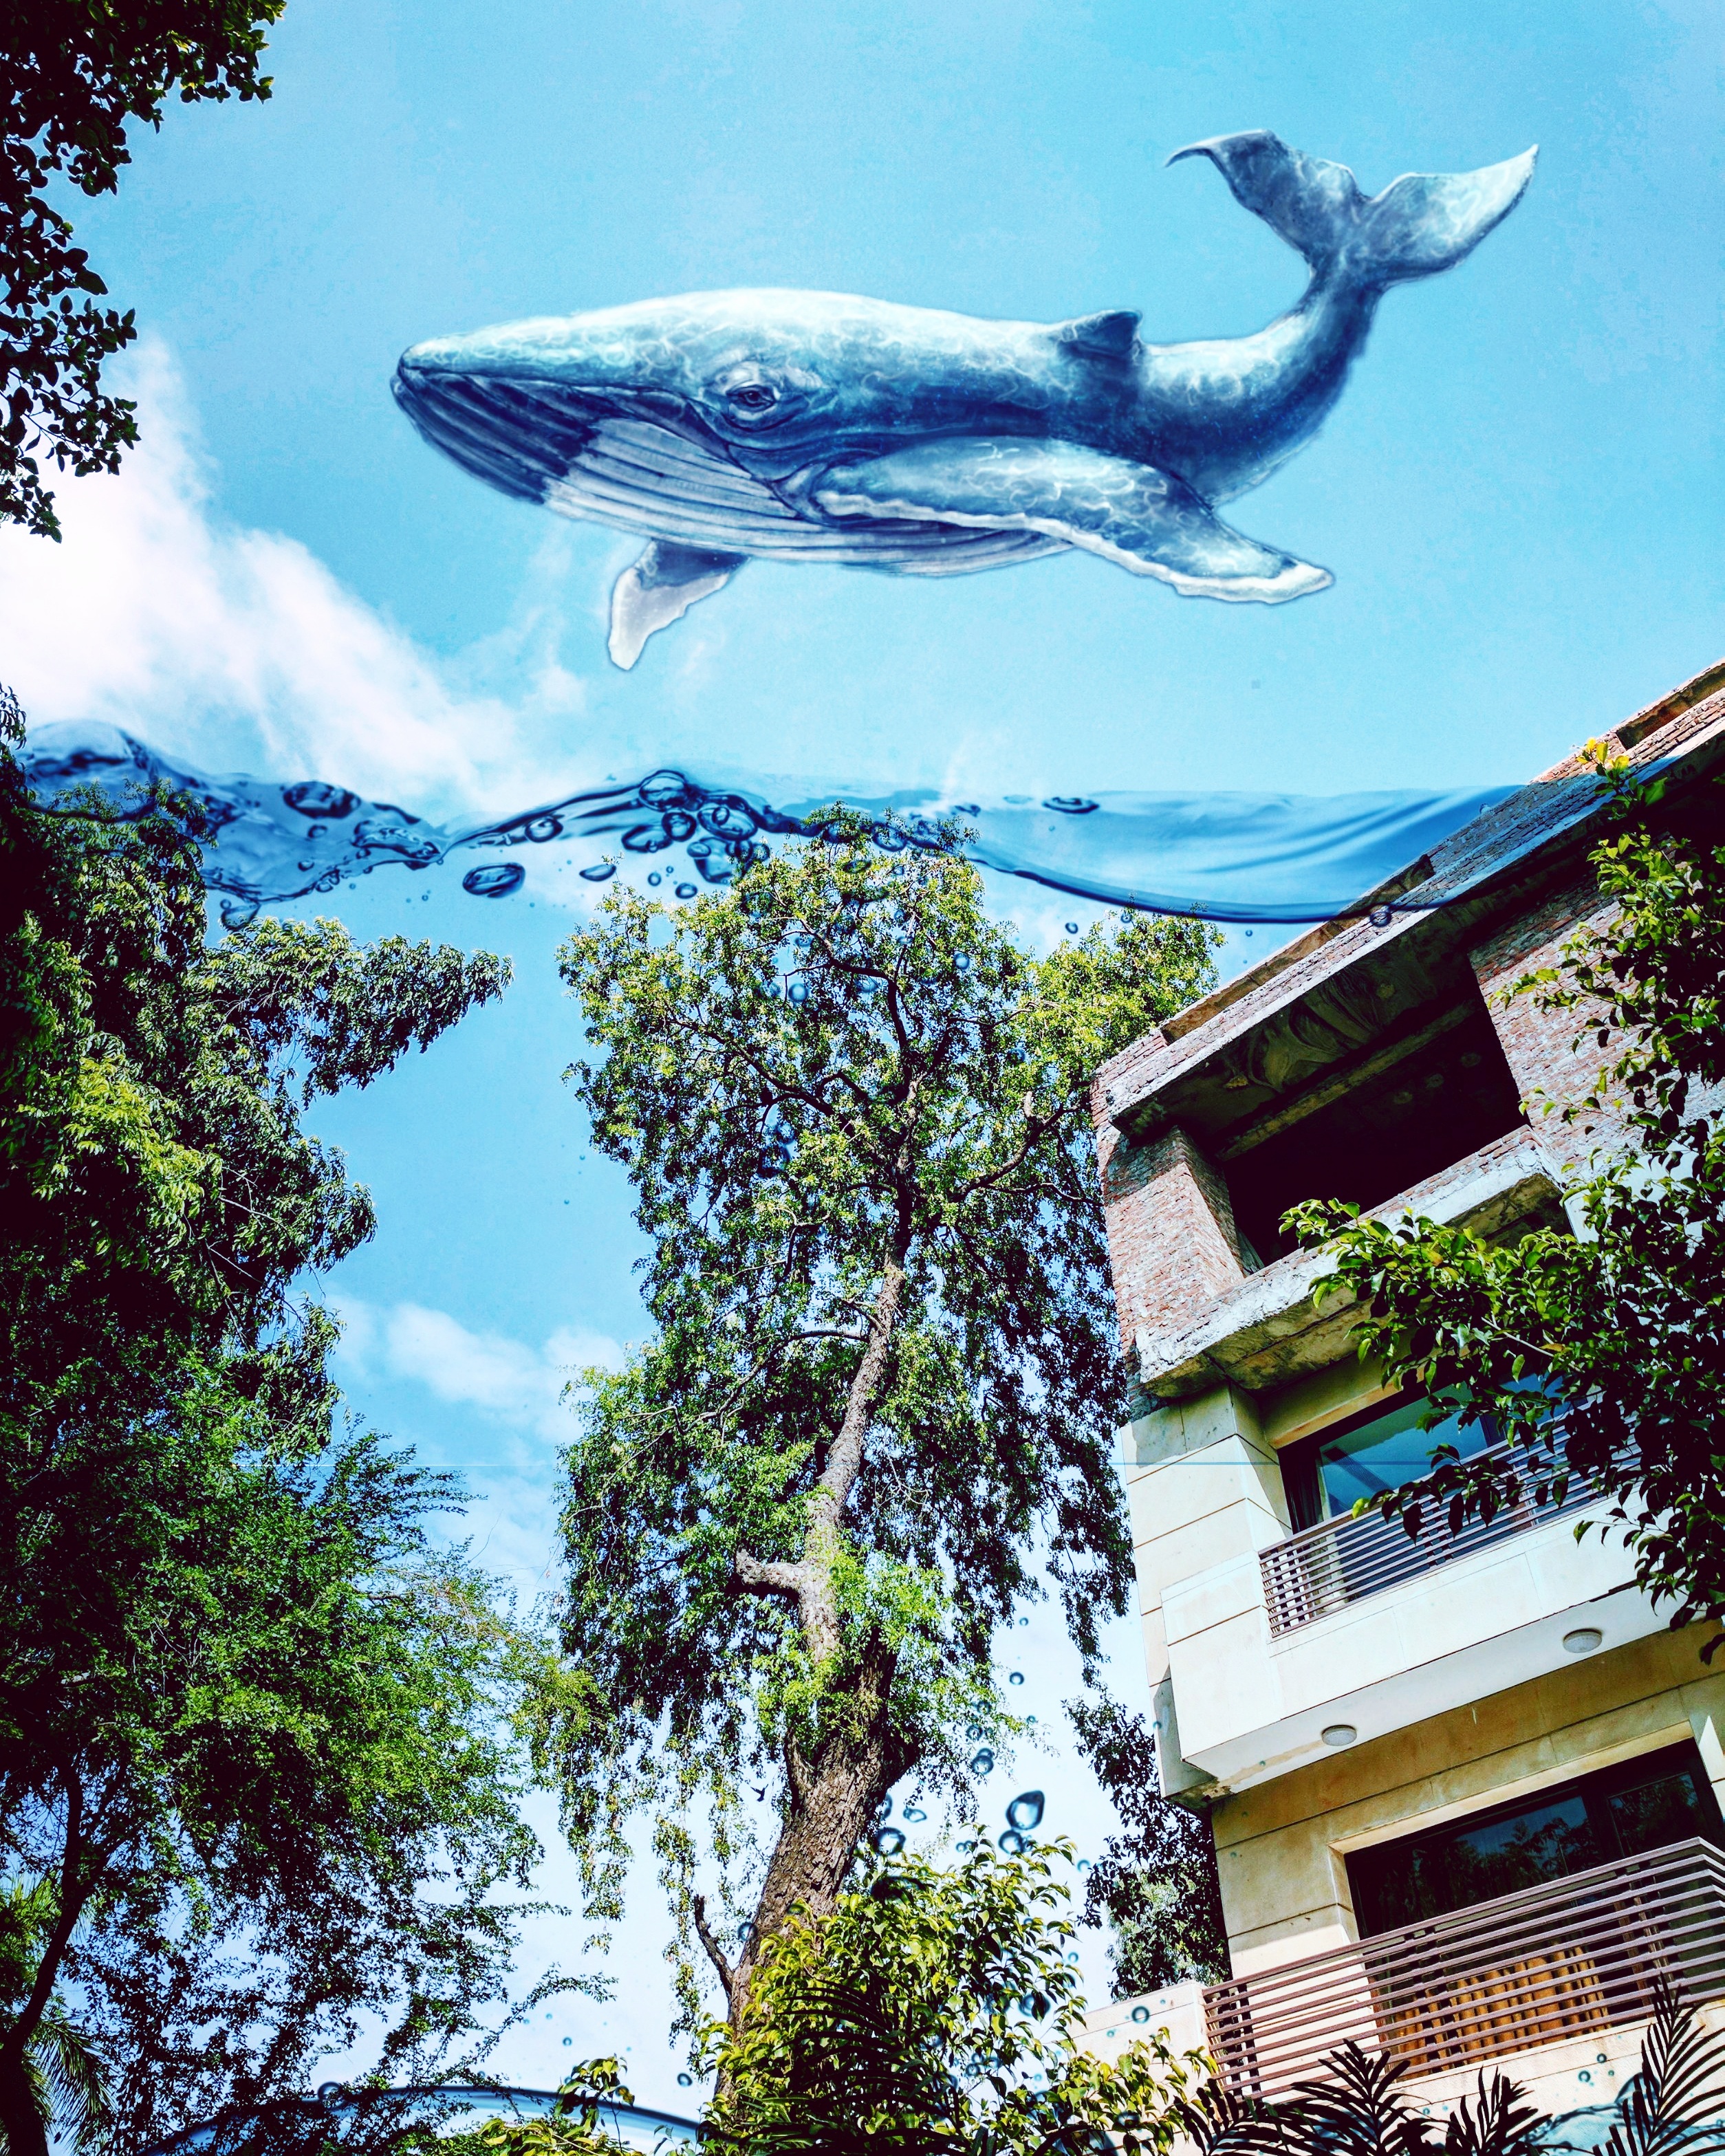
Below, a whale sticker as well as a water sticker that I’ve blended into the scenery. Ordinary photo transformed!
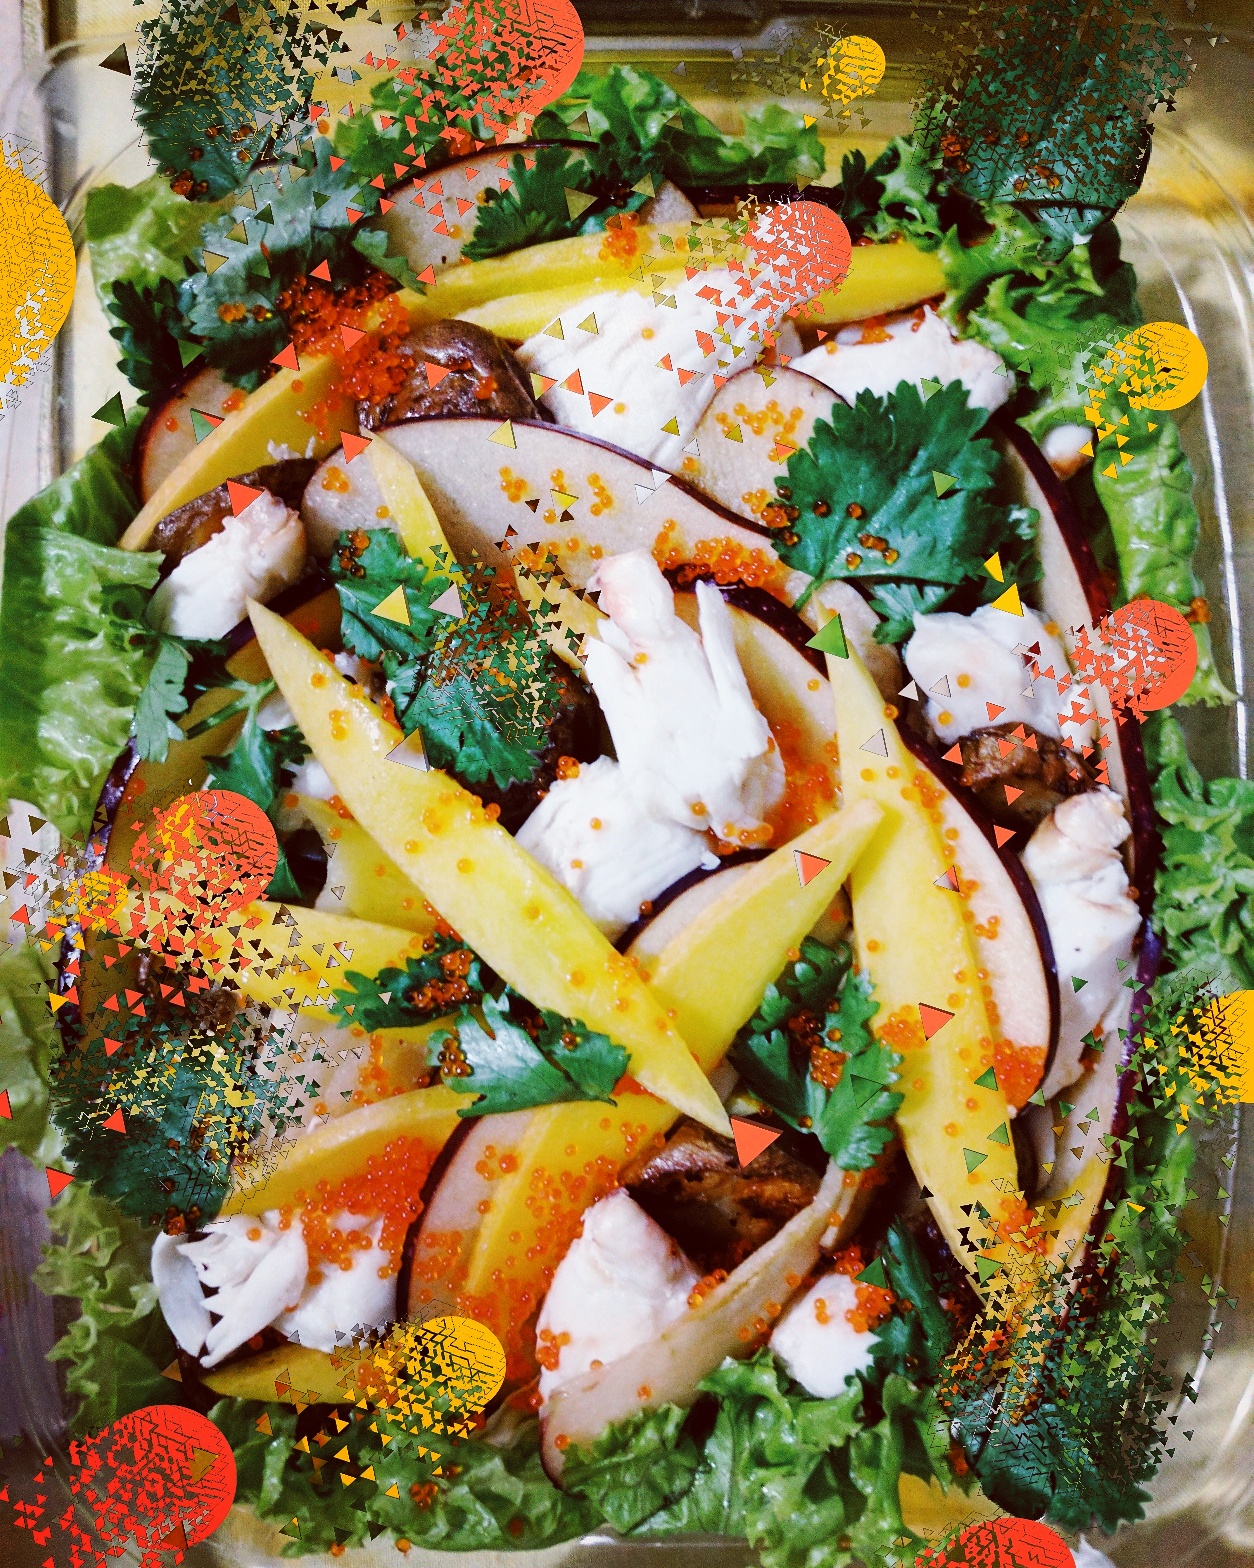
Above, a salad. To mimic the roe, I drew shapes and made stickers out of the coriander leaf and blew them up using dispersion – adding to the already chaotic visual. Sometimes, don’t keep it simple. In the image below, I went overboard with the stickers and the Dispersion. I think simpler would have worked better. Sometimes, no matter what you apply, a mediocre image remains mediocre.
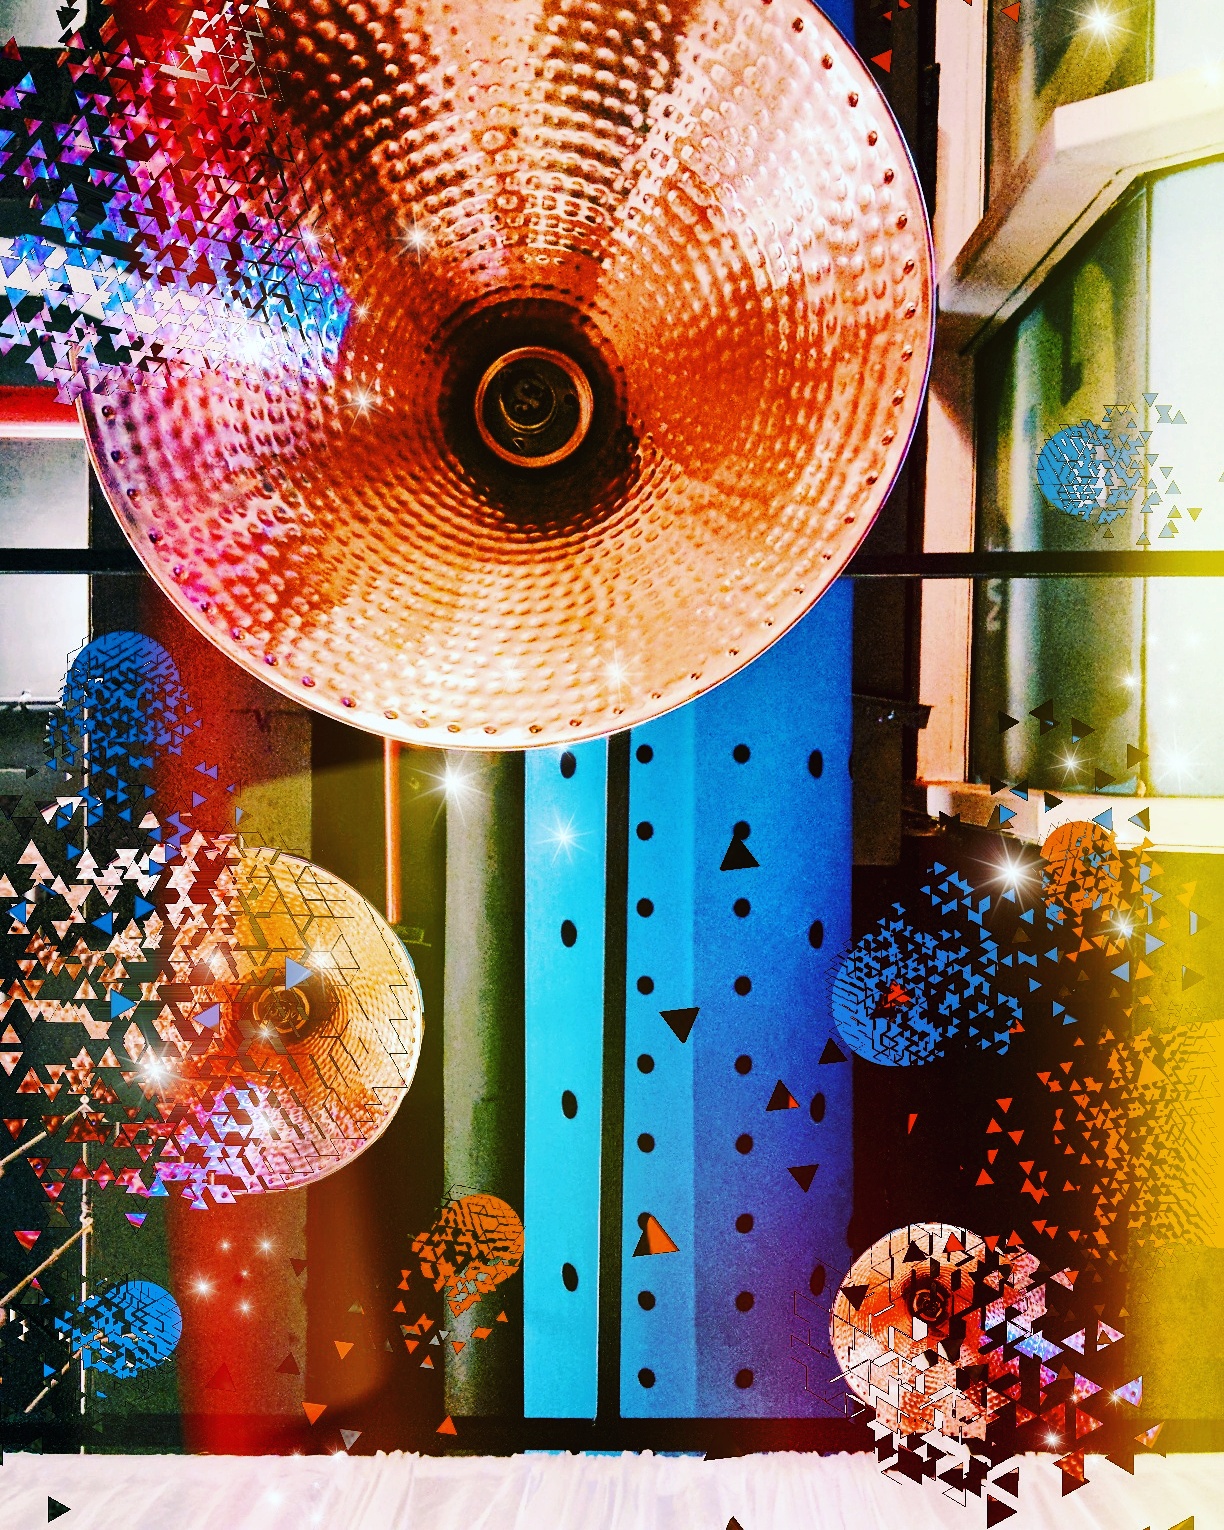
The above photo was shot on selfie mode on the phone – is of a restaurant ceiling. I made a sticker out of the light and applied it and busted it and I drew some colored shapes and busted them as well. I also applied a Stamp of a cluster of five stars. My only complaint is that the quality of the image goes down if you run it through Picsart – if you go back up and see carefully, the edges of the triangles that have resulted from the Dispersion tool are rough and pixelated and there’s a black outline in some. But then I have to remind myself that this is a mobile phone app and most of the users are not going to be looking at printing this images in high resolution. Most of the time, these images look ok when posted on Instagram. In this blog post, they probably look more pixelated than how they look on the phone screen because these are much larger versions.
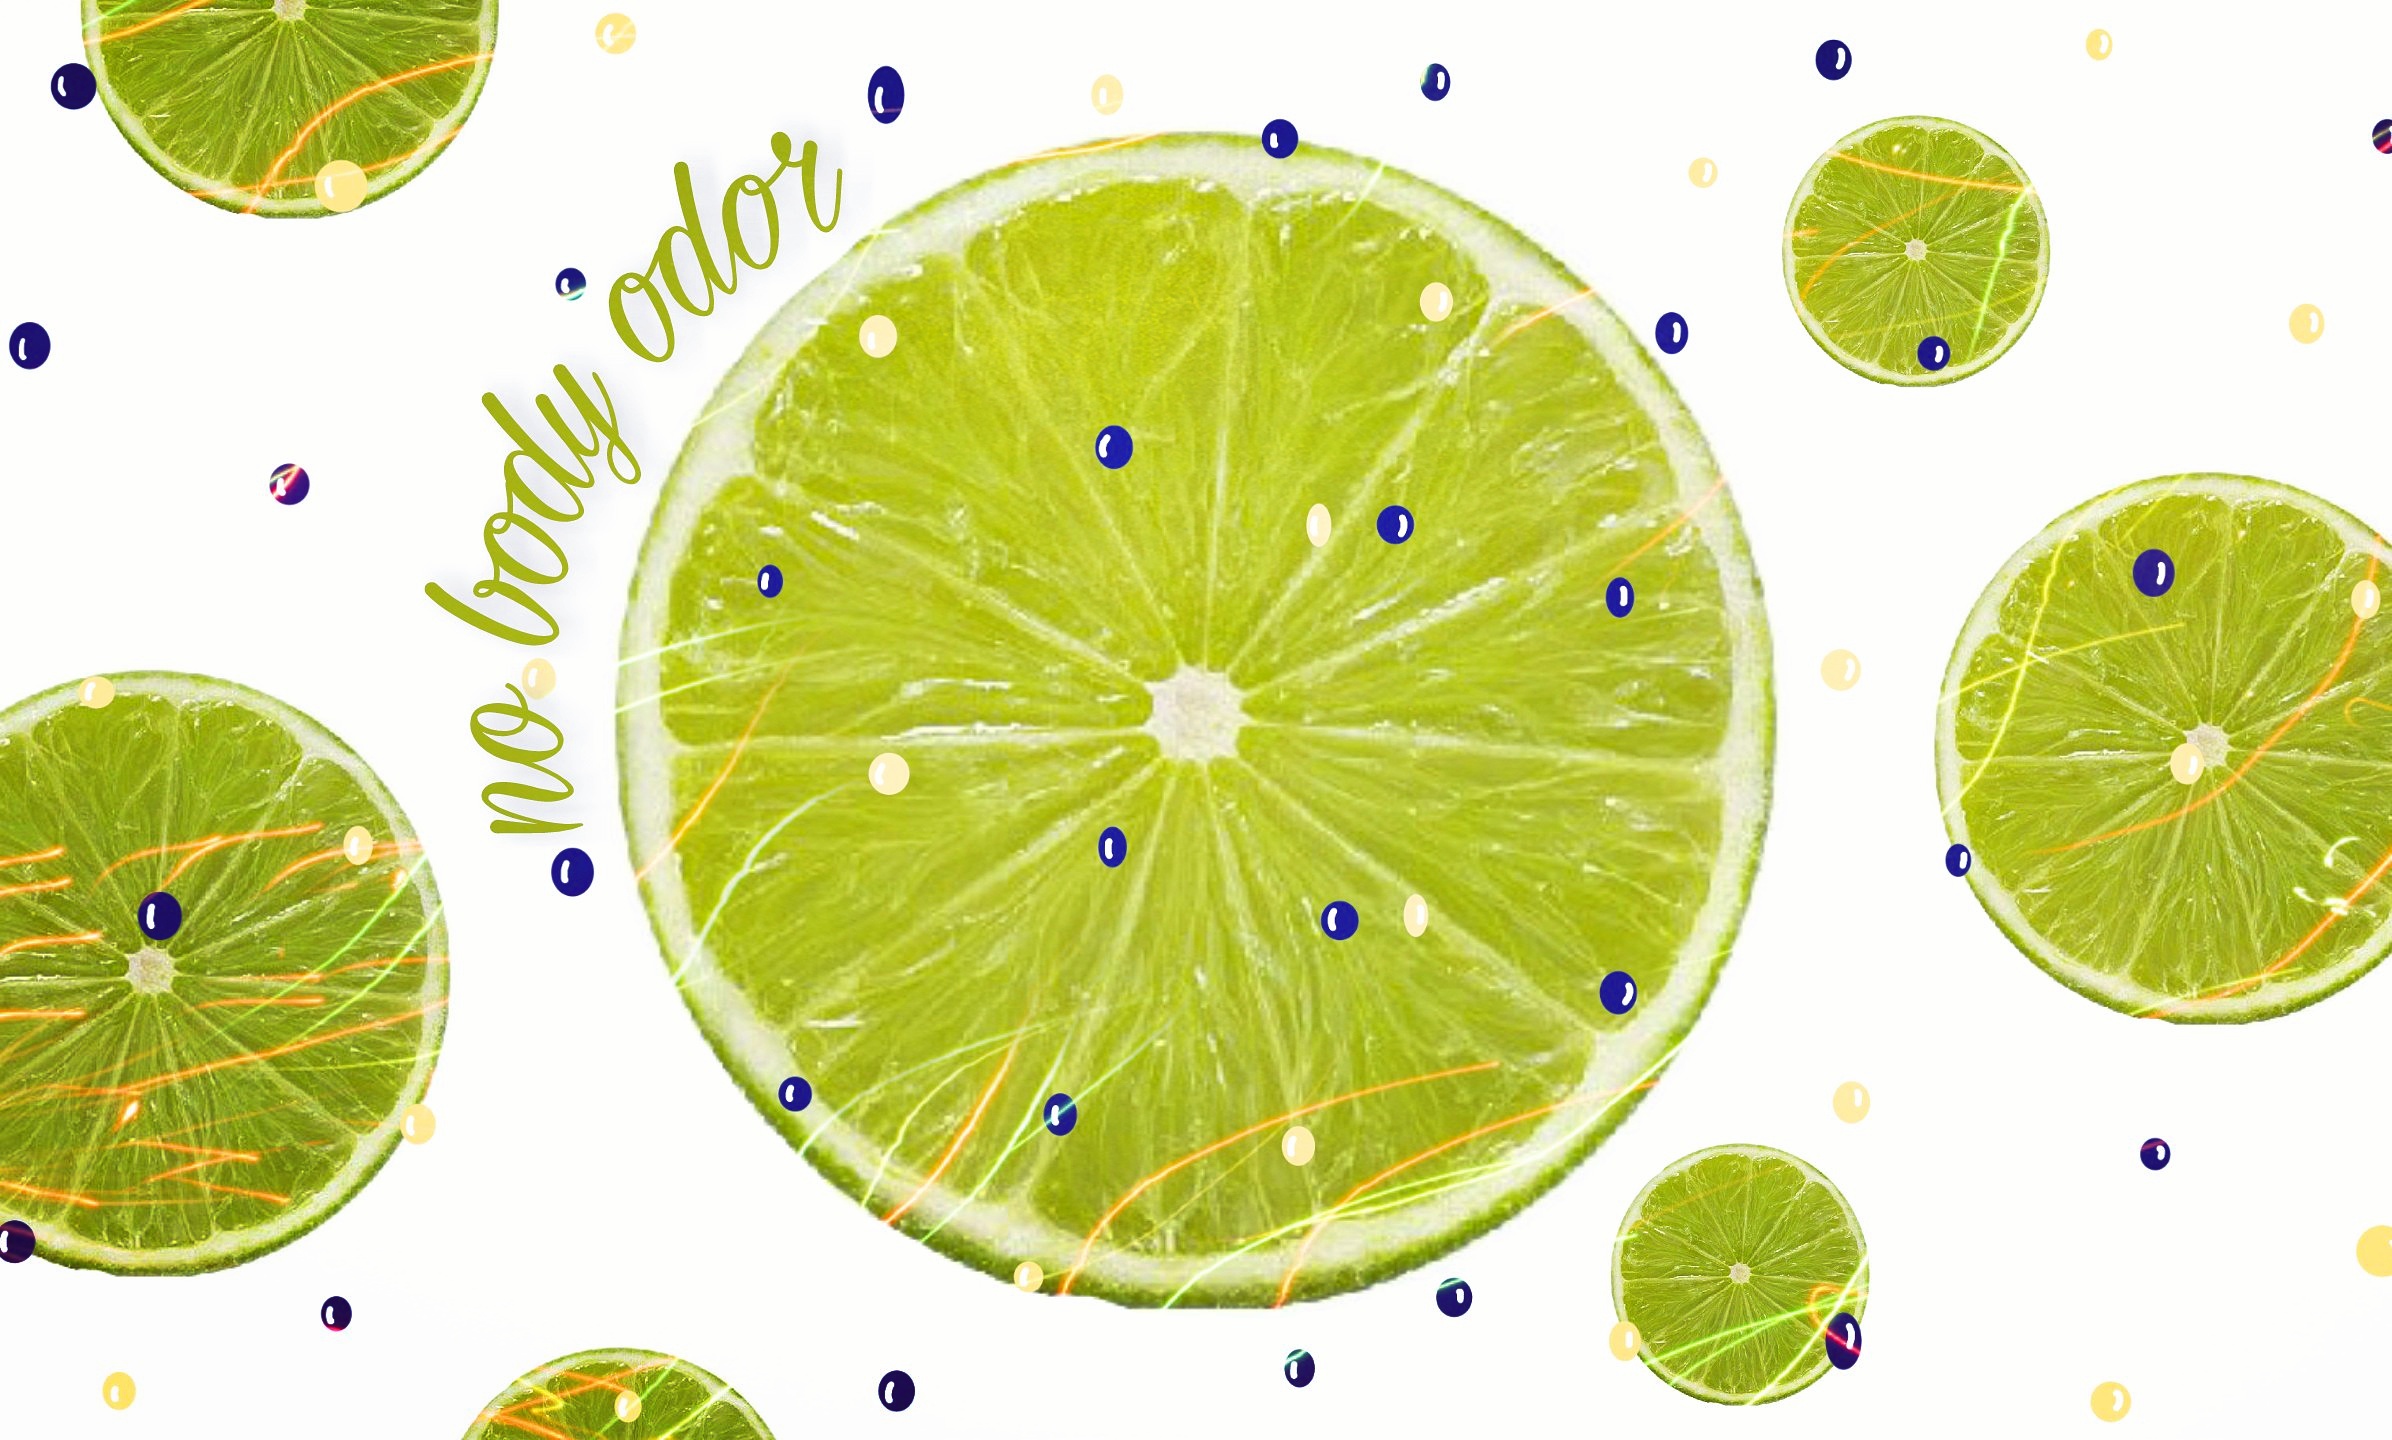
Below, I created a header image for a blog post I wanted to write. This was created from scratch. I decided what size canvas I wanted. I searched for a lemon/lime sticker. Applied the sticker in various sizes, applied a starbusrt sticker that Picsart had just released for free, added some typeface on a shape and voila! ( The free typeface choices within Picsart are severely limited – you can purchase more of course. )
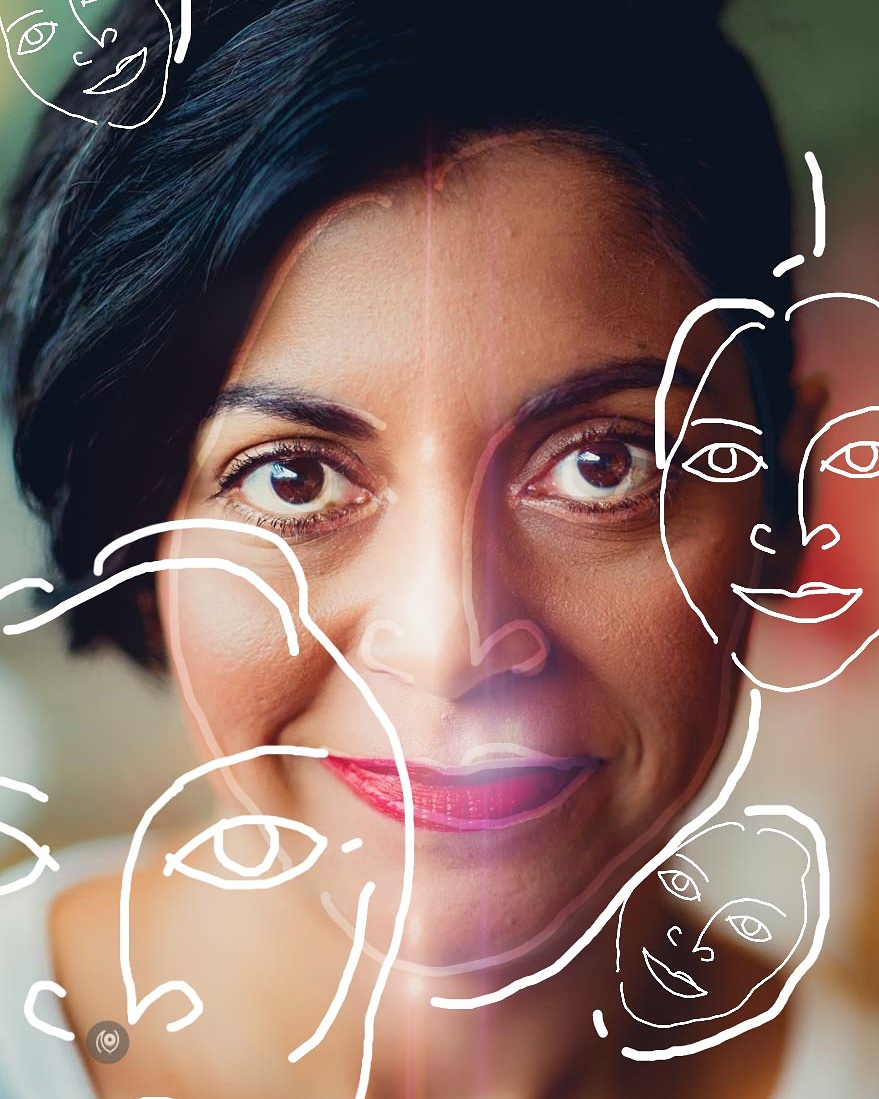
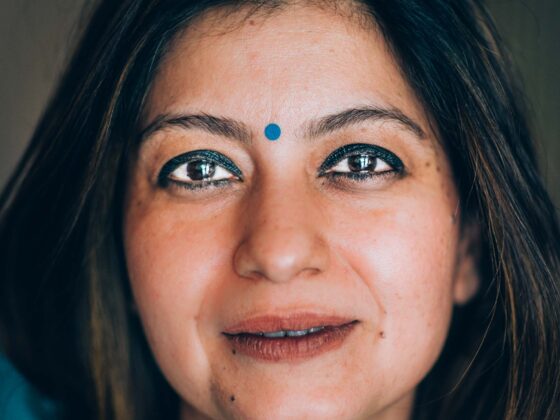
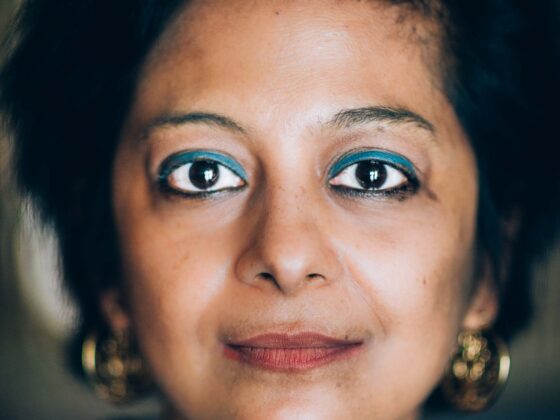
The above is an attempt to draw outlines of my own face ( which I drew on a transparent layer on this photo, then deleted the photo and saved the transparent layer as a sticker ). Then I opened up the original image and applied the sticker in various blend modes and sizes and drew some extra lines to create a bit of differentiation. I also applied a lens flare effect. It’s not how I’d like it to be but it was the first time I was trying it and I did post it on my Instagram.
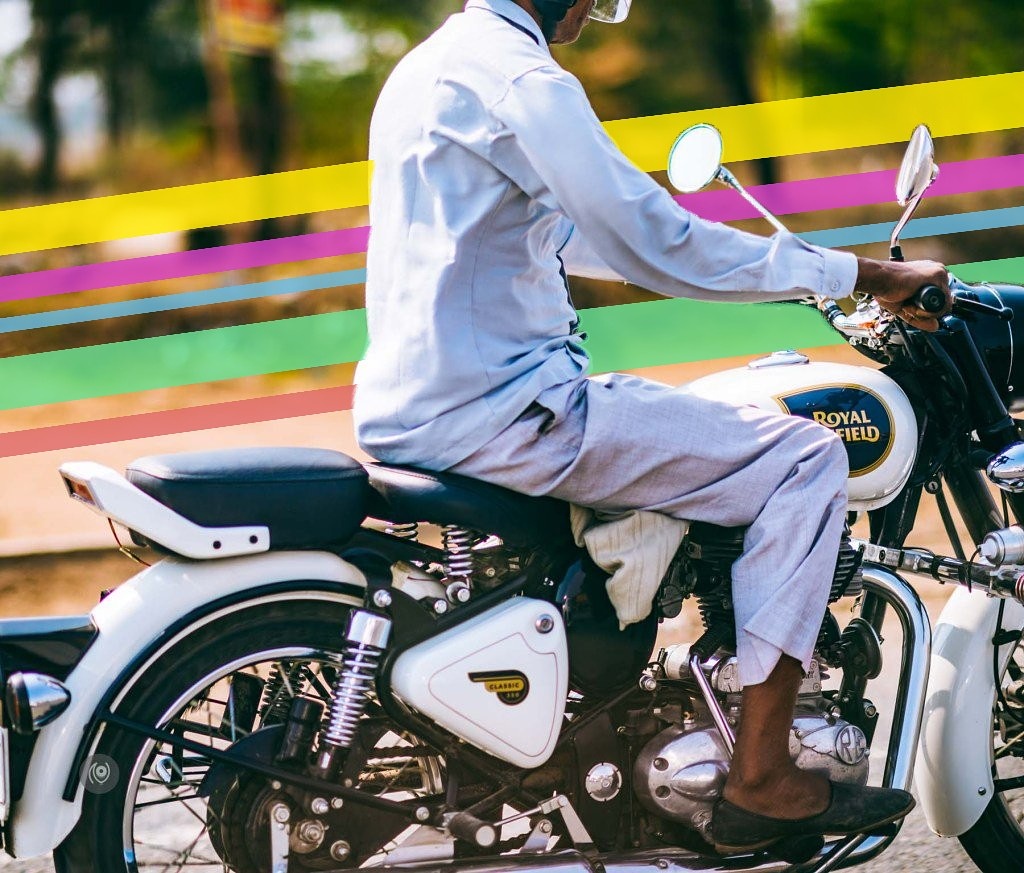
The photo below, is of a man riding a motorcycle – I liked it because of the tight crop and the monochrome dominance in the frame – so it worked for me on it’s own as well. But I wanted to experiment and see what else I could come up with. I got into Picsart thinking that I’d find a sticker for something to add to the pillion seat behind the rider but that didn’t quite work out and I ended up applying this new sticker that the app had released for free and I erased some sections to make it look like the stripes are behind the rider.
There’s no end to the kind of things you can do inside this app – without paying for anything ( although I’m sure the app’s team will be happy to make money if you do make in-app purchases – this blog post is my way of saying “thank you” and sharing my app find with my readers – if you’ve found something useful, do share with your readers and network too – this is a way to pay-it-forward and to artists and app creators and independent entrepreneurs, it can be a make or break situation! ). Do give the app a shot and let me know what you think?
If there are other apps that you’ve enjoyed, tell me which one?
Picsart : Download for Android | for iOS | Website | Instagram | Twitter | Facebook | YouTube | Pinterest
More #EyesForTechnology stories on Naina.co with apps and gadgets and devices.
1 comment
Where is the dispersion option ? Hidden under some other edit op?
Comments are closed.