Last week, Google announced the Photo Scan app that you could install on your mobile device and use to scan photo prints. I have thousands of old 4×6 inch prints inside album sleeves and also in bundled stacks in cardboard boxes, stored at my apartment and at my parent’s apartment and for years I’ve been procrastinating. Scanning on a regular printer’s scanner takes FOREVER and I wasn’t being able to find the time to make this happen.
So when this app was announced, I was over the moon. Till I actually use the app.
They should include the ability to control what resolution to scan / save the photos in. The current resolution is not good enough to reproduce a 4×6 inch print if you’ve scanned a 4×6 inch print.
My main goal with scanning any old photographs is that I should be able to reprint those, if I want, at a later time. This goal is currently not being fulfilled by Google Photo Scan.
I can scan and save the low resolution files on my phone and share on Facebook etc., so for most users, the Photo Scan app is great news. Emailing multiple photos in bulk to old friends, uploading to albums on Facebook and even sharing on a blog like mine. But the quality of the saved, scanned files just isn’t good enough.
Instead, I tried to take regular HDR photos with the Google Pixel XL mobile device, tried to cut down the glare and got much better results. These can be used to print a 4×6 as well. ( As a general rule, you must remember that scanning a printed photo and then printing that scan will almost always reduce the quality of the new print because that’s how JPG artifacts get introduced, sharpeness goes down, etc. If you edit the scanned files, then the quality of the print can go down even further. And you can forget about printing anything larger than 4×6 inches in any case.
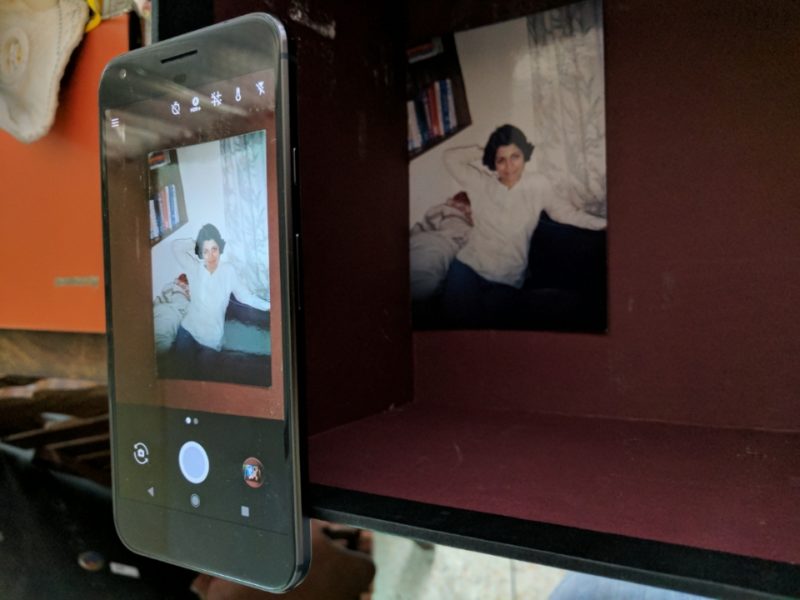
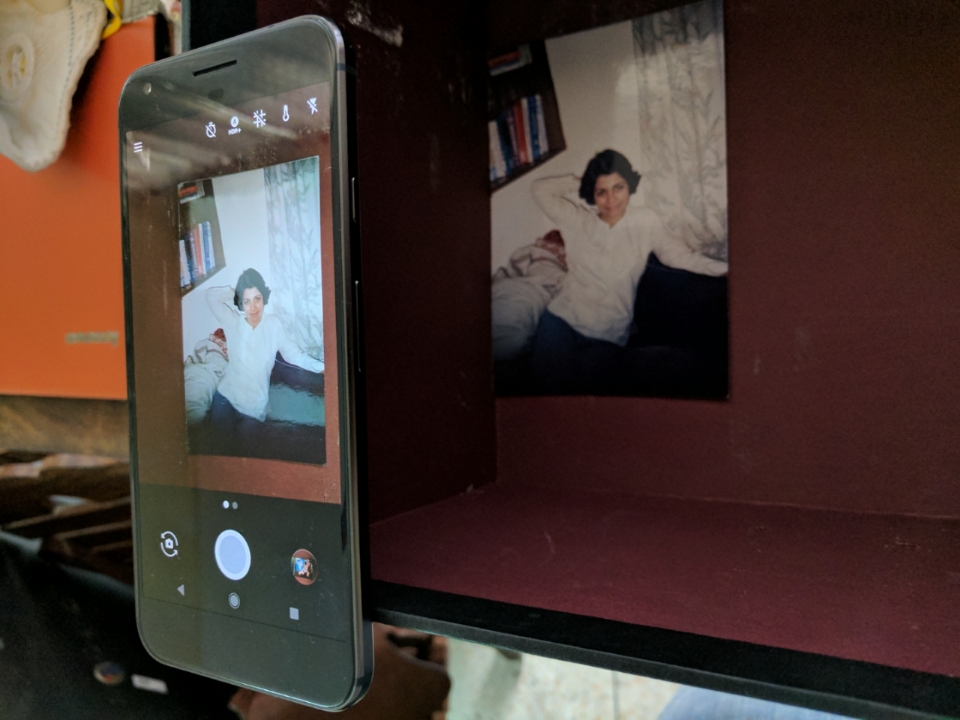
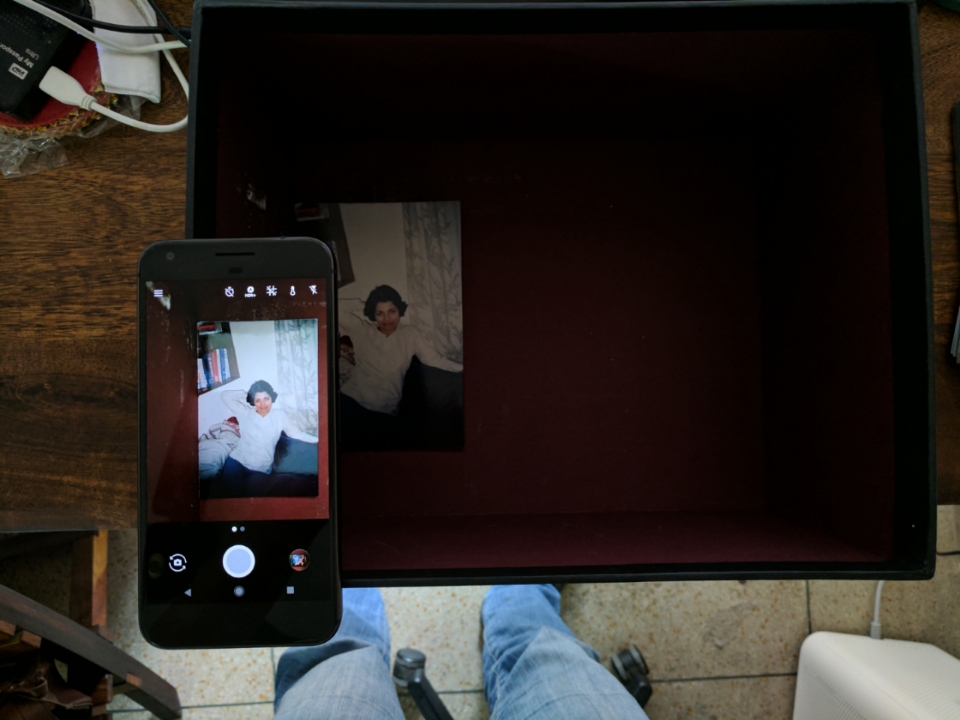
If you’re looking at simply digitizing the thousands of photographs if have laying around, then this can be a good option. I photographed about 40 prints within a matter of 4-5 minutes. Using the Google Pixel regular HDR option. I put the print inside a cardboard box, positioned the phone at the top edge of the box, held a large piece of cardboard above the device to cut out more glare and then just kept clicking the shutter button till I was done.
01. Ideally, use the black Google Pixel to do this because the silver one will add a white reflection and you’ll have worse glare problems. If you happen to have the blue colored device, avoid that as well because that can add reflected colour. Black is best.
02. The closer you can get to the print, the better. The carboard boa I have used is a little deeper than I would have ideally liked. All the other boxes I have are too shallow and the print doesn’t fit in the camera frame.
03. Ideally, be in a room that has lots of natural light, diffused by white curtains would be PERFECT. Avoid artificial lighting as much as possible because it will add color and glare.
04. If you ARE using the Photo Scan app, use it with the flash turned on – it captures better quality scans than if the flash was turned off.
05. Photo prints with more black or dark colors are harder to capture without glare – mostly it is the phone’s reflection that shows up. If you try to cover the box too much, if the box space gets darker, a purple light from the back of the phone starts showing up on the prints.
06. Matte prints are easier to photograph than glossy ones.
For those perfect photos that you know you are more likely to want to reproduce as larger prints, using even a regular HP printer’s scanner is better. It can save massive filze size that you can then edit in Photoshop and print really large photos – I’ve printed 36×24 inch canvases with these. But the files sizes will be large.
Photo Scan app files size : a little more than 1MB per photo
Google Pixel photo file size : a little more than 4.5MB per photo
Regular printer’s scanner file size can vary between a few MB to even a few GB depending on the level of detail you’re trying to capture. The larger the file size, the mroe time it takes to scan the print.
Another problem with the Photo scan app is that is rarely ever recognizes the correct corner edges. Even if you keep the photo print on a flat surface, if you’re scanning using your bare hands, there will be some tilt and shake and you will have to correct the edges in the app before you save the image. This is time consuming. If you have thousands of photos to scan, like most of us will, this time adds up.
With the Google Pixel photos, all I have to do is throw them in to Adobe Lightroom and hit “Auto Transform” and 9 times out of 10, it gets the perspective correct and aligns up the corners perfectly. ( If you’re not a Lightroom user – or a professional photographer like I am – you might think it better to just make this adjustment within the Photo Scan app. )
I still am really excited about the Photo Scan app – this is just the first version. I hope there will be additional versions with more control on resolution and file size. The images I’m sharing below are as-is – not edited in VSCO, but they have been reduced in resolution further to share on the web. Some of the original prints are out of focus, so that’s not an issue with the scans / photos.
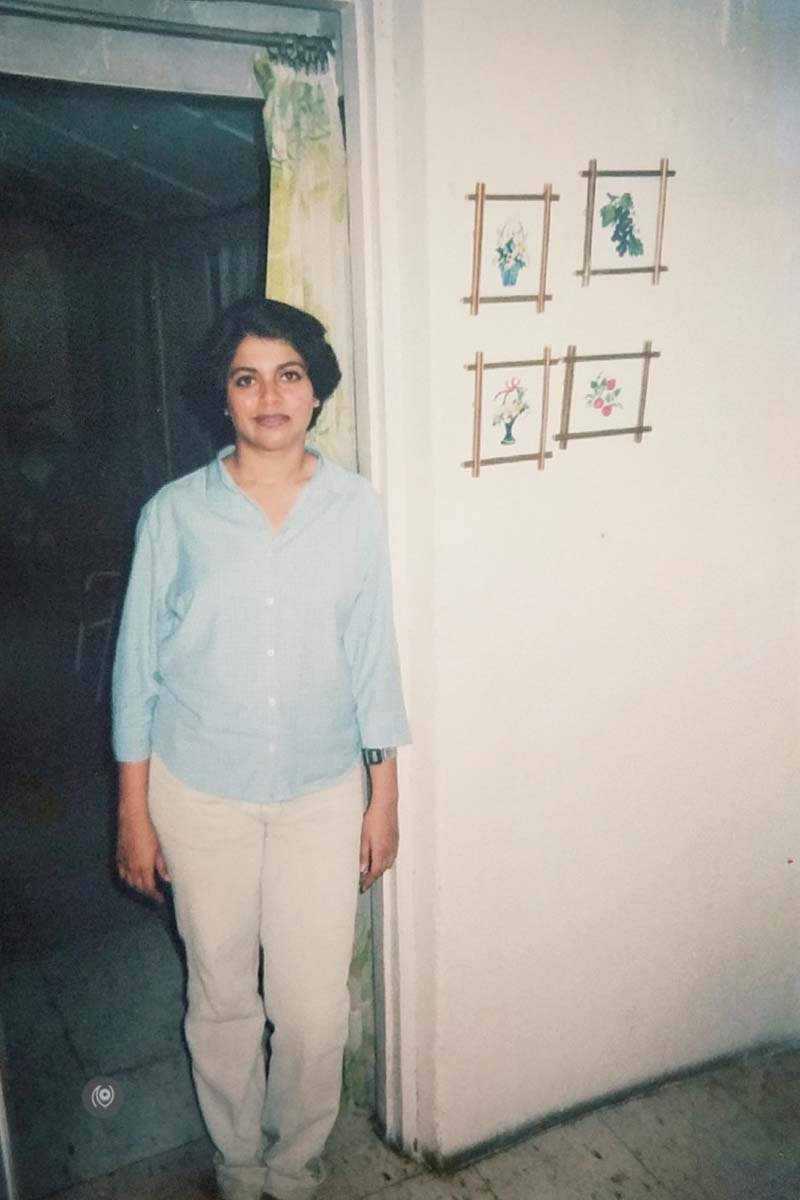
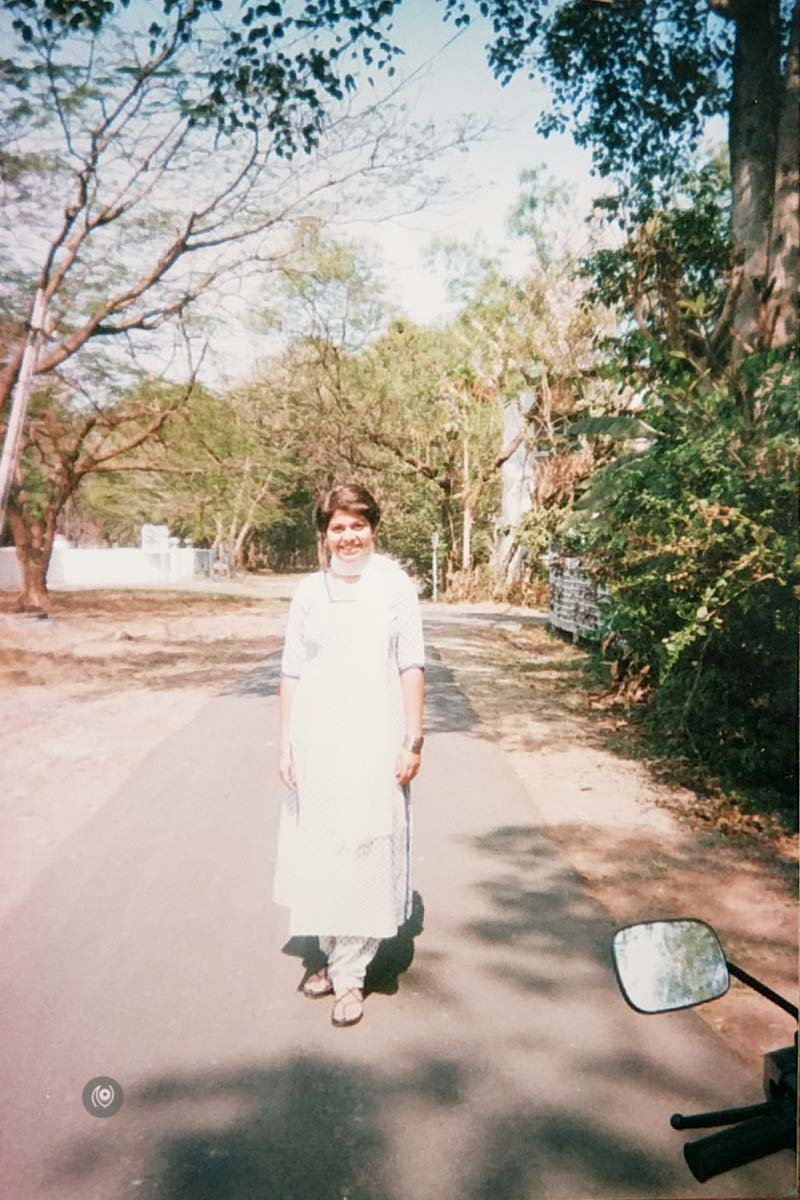
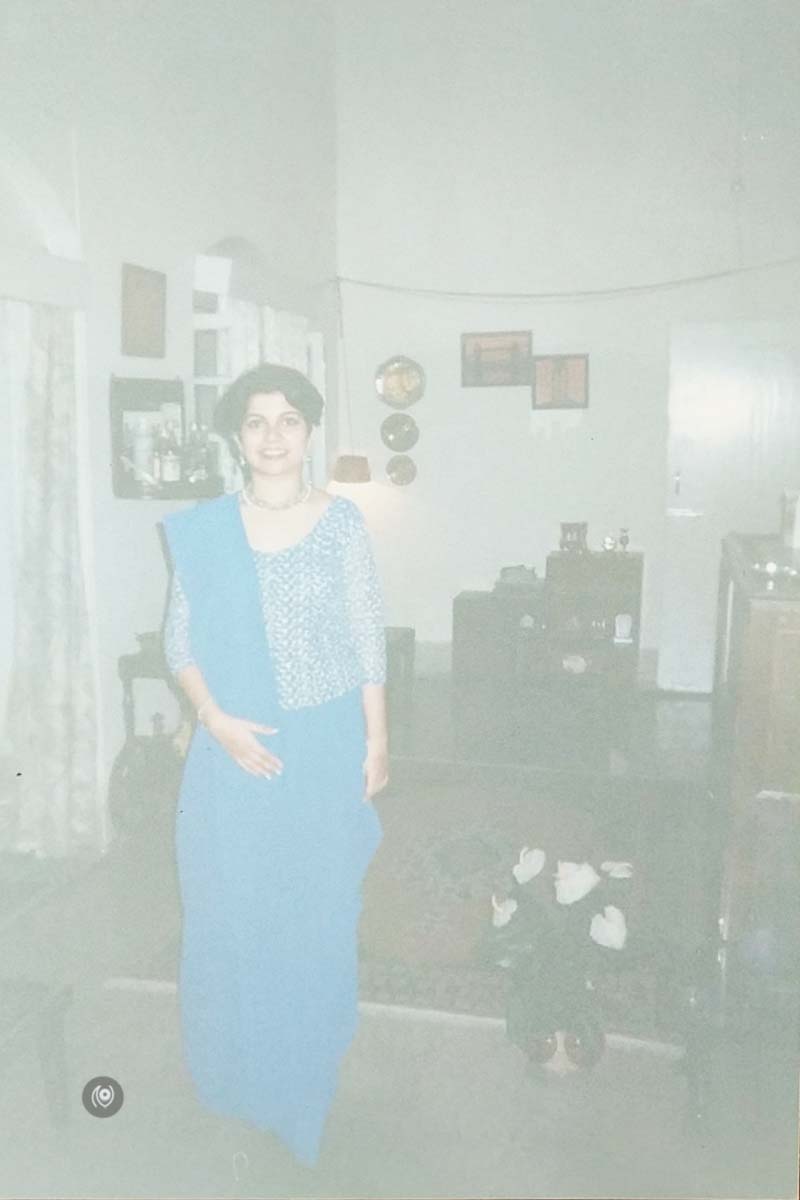
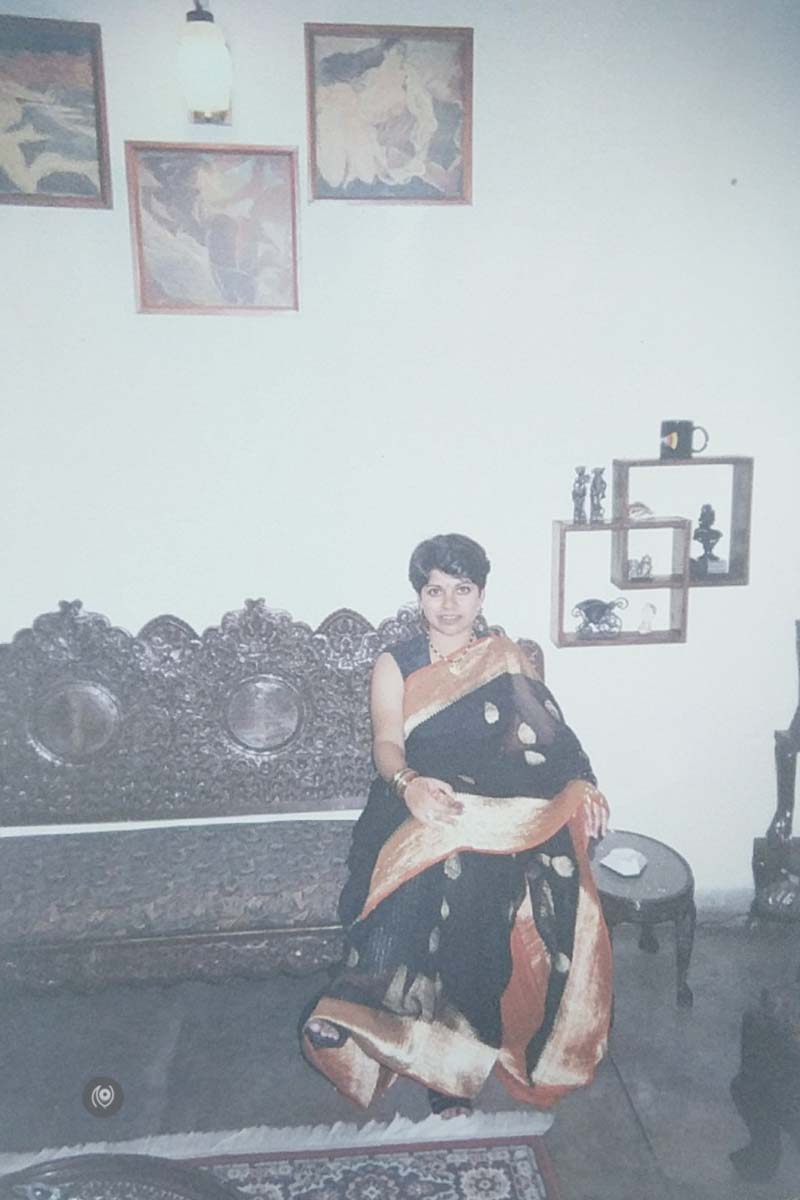
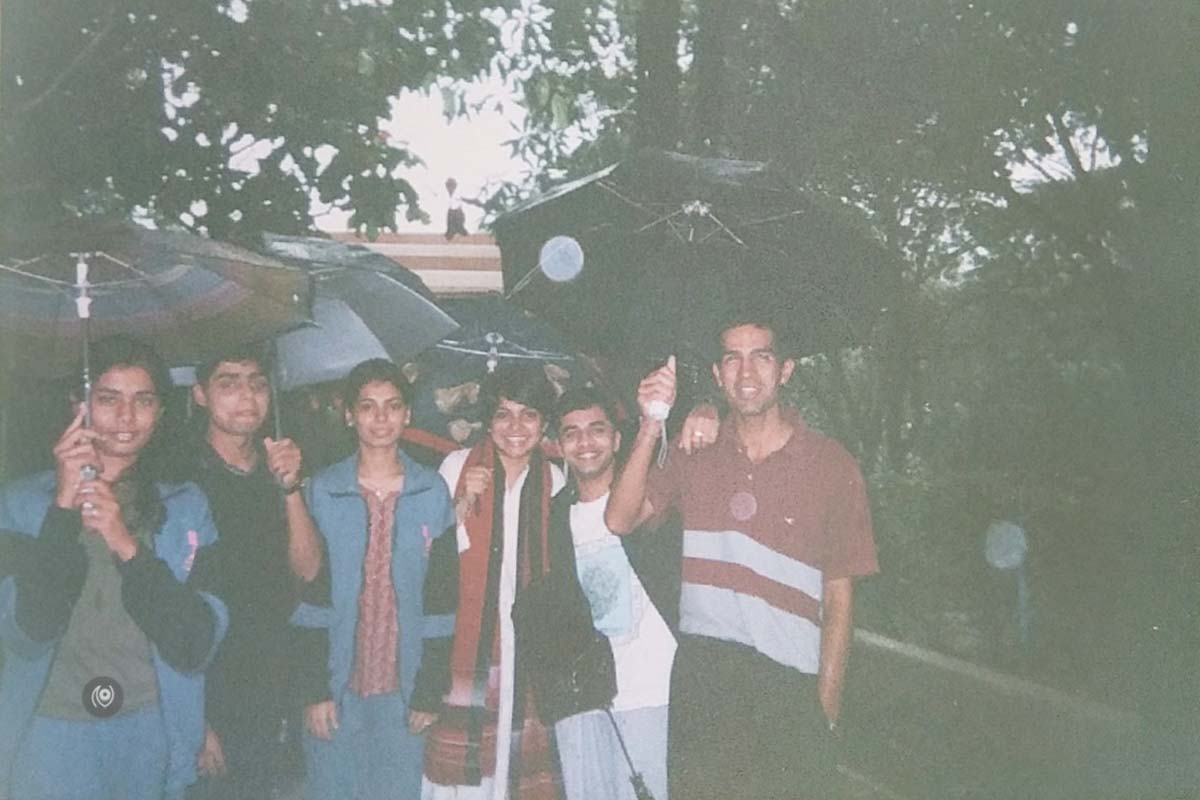
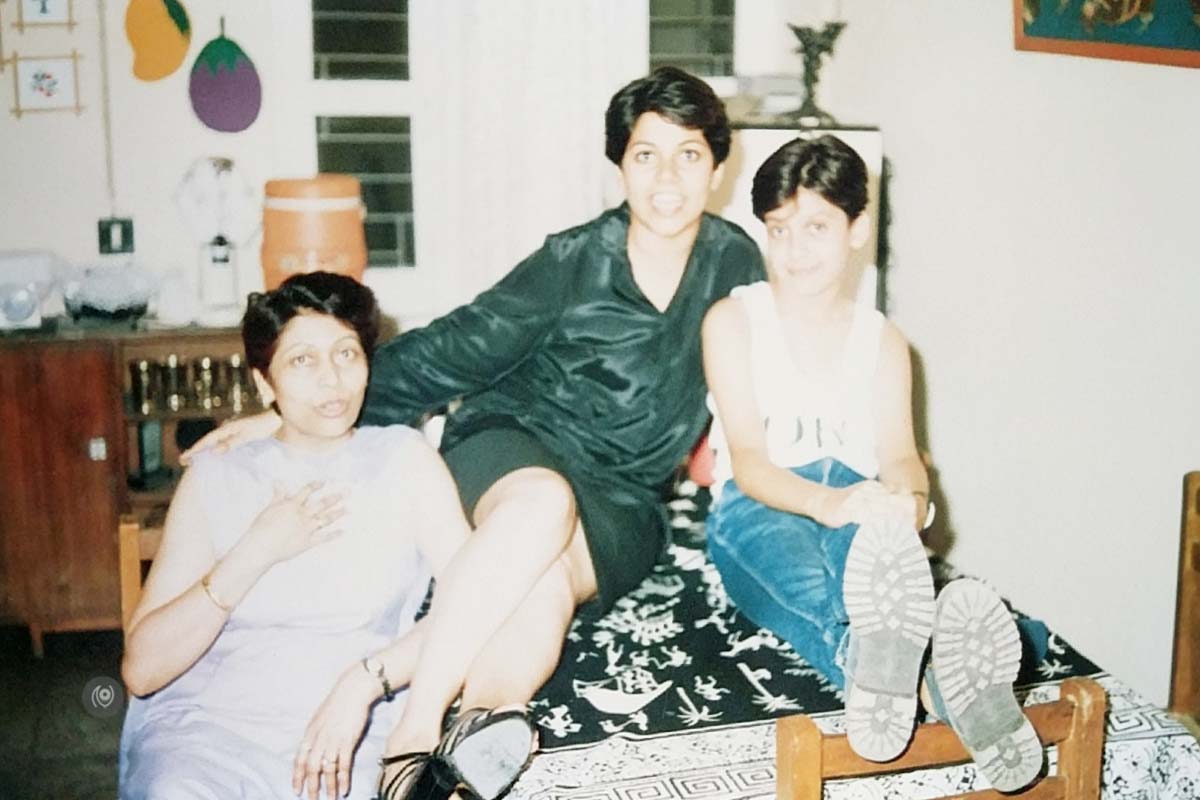
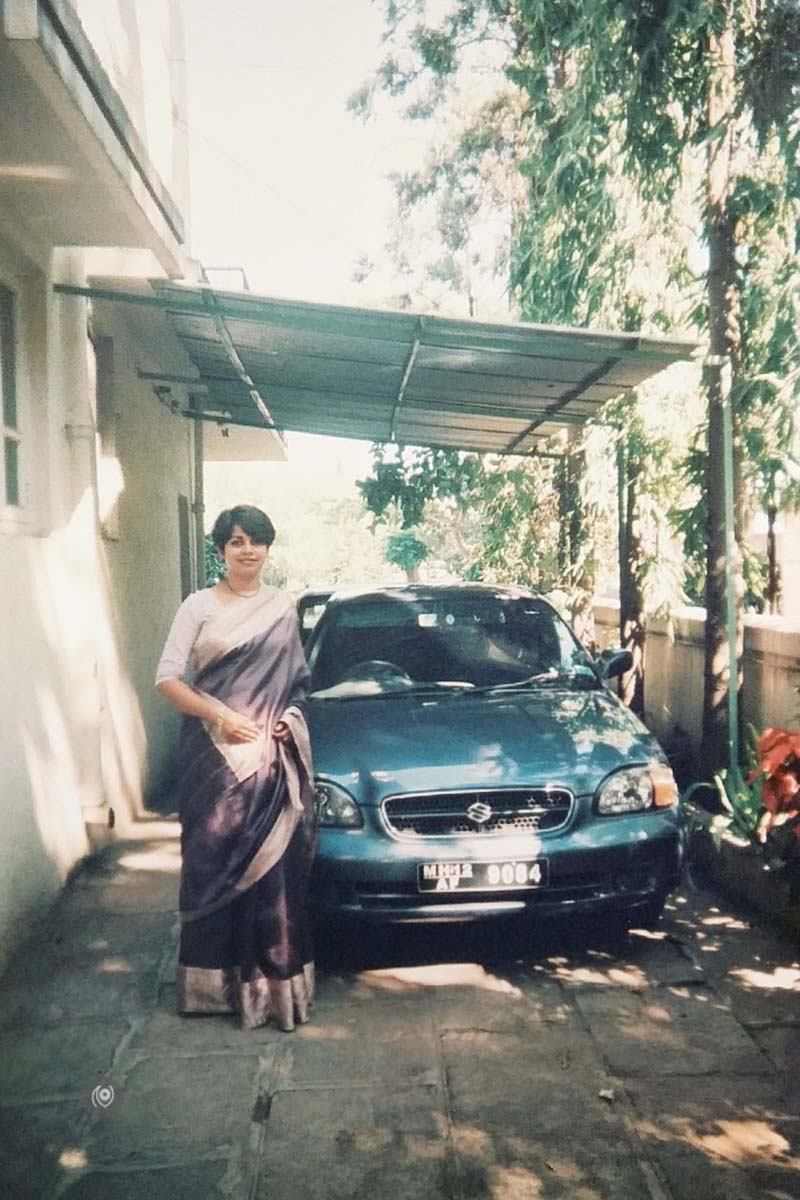
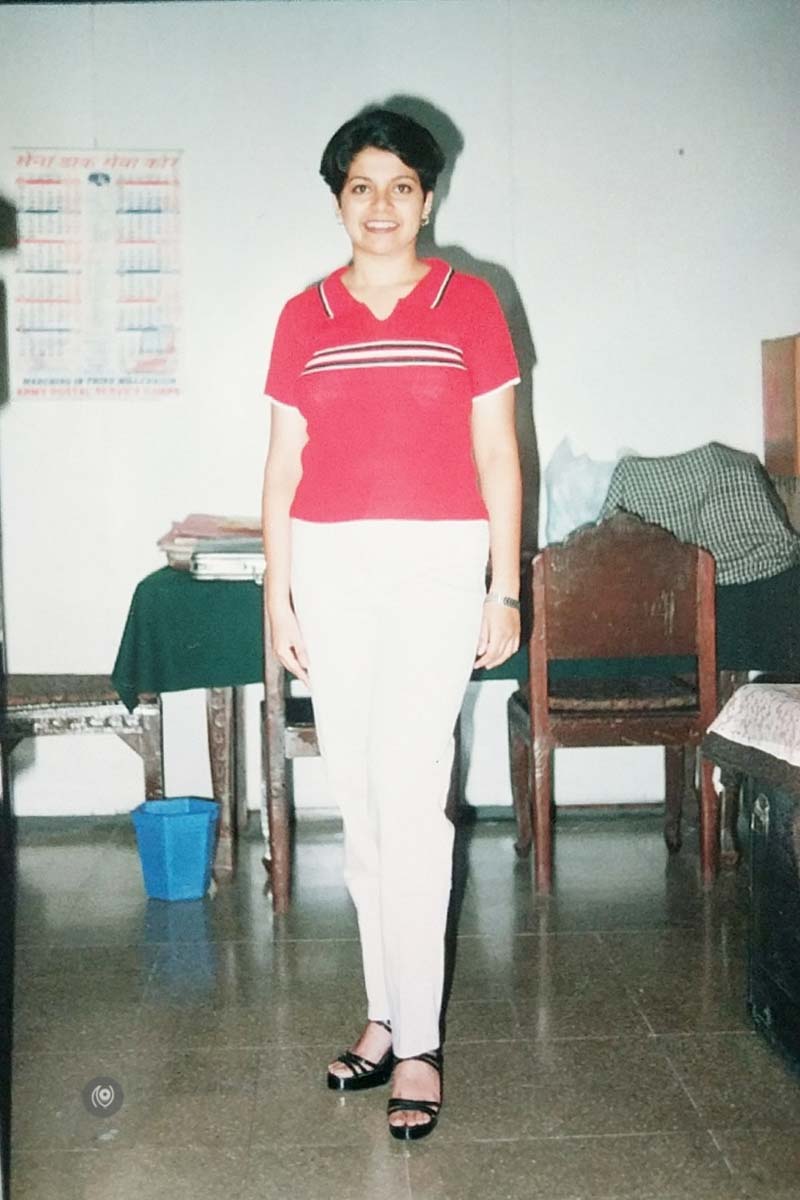
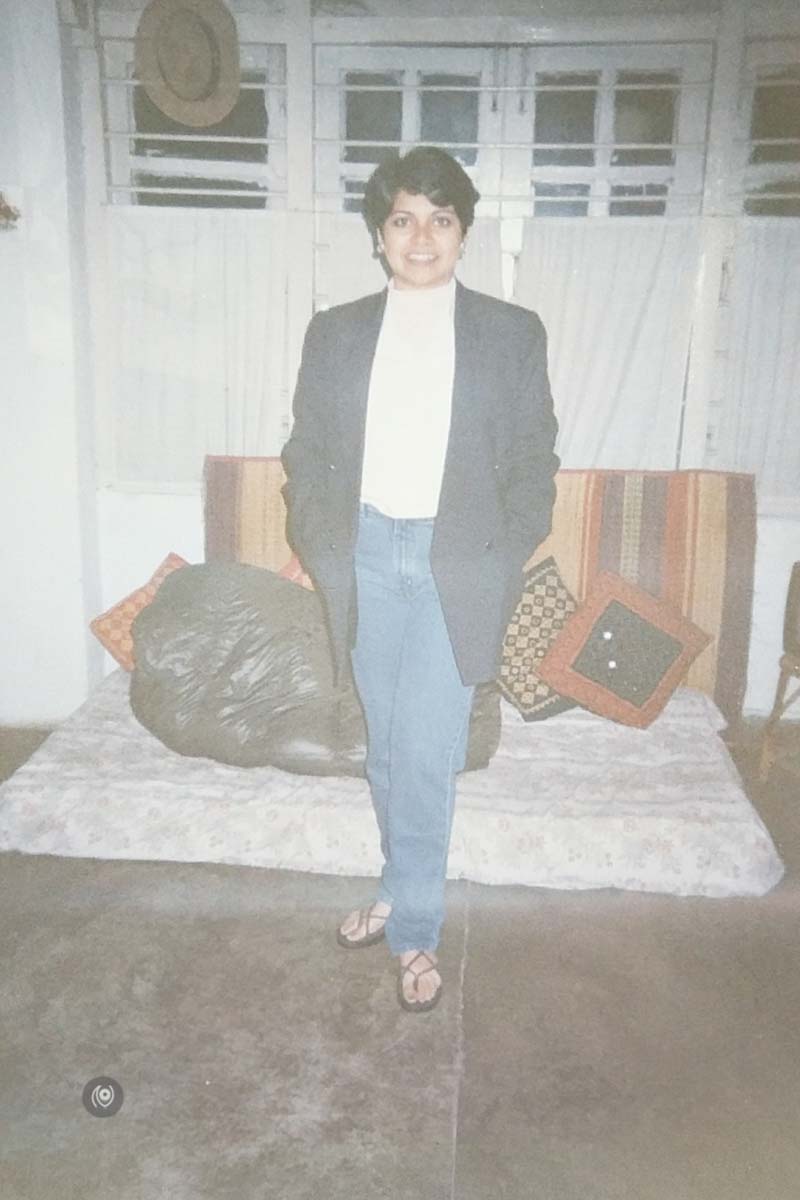
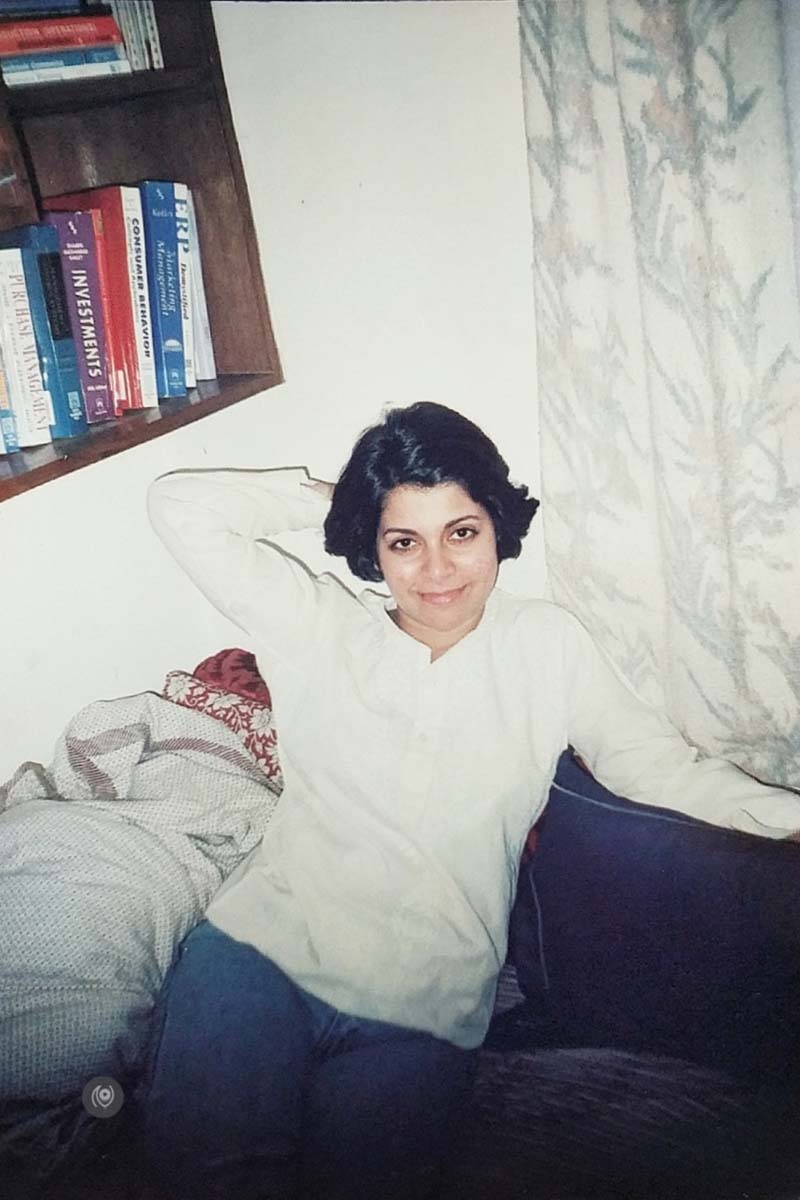
Some photos I scanned using the app :
Some photos I photographed using the native camera app on a black Google Pixel XL :
Photos of the “setup” I used for the above :
Great excuse to share some old photographs on the blog though, so THAT is a big plus!
The app is definitely worth giving a whirl – saves the time spent cropping within Lightroom. Now to go look for box that’ll let me photograph a little closer to the prints so I get a bit more resolution.
More stories in the #EyesForTechnology category on Naina.co




1 comment
Useful review! I was eager to see how well this new app would perform, but like you, found it somewhat underwhelming. It does show promise though: the positioning assistance is pretty slick, and it does a decent job of removing glare. However, I do hope the next versions add better resolution.
I’d like to see tools to help in capturing dates and locations of the images being photographed. Images are saved with meaningless names, and the date taken. These can be changed, but only later in a different app. For capturing old photo albums, it would be useful to be able to specify a name for a set of “scans” and have each picture use that with a sequence number. Ditto for years: photos from an album dated 1935 should use at least a 1935 year and not today’s date.
Comments are closed.