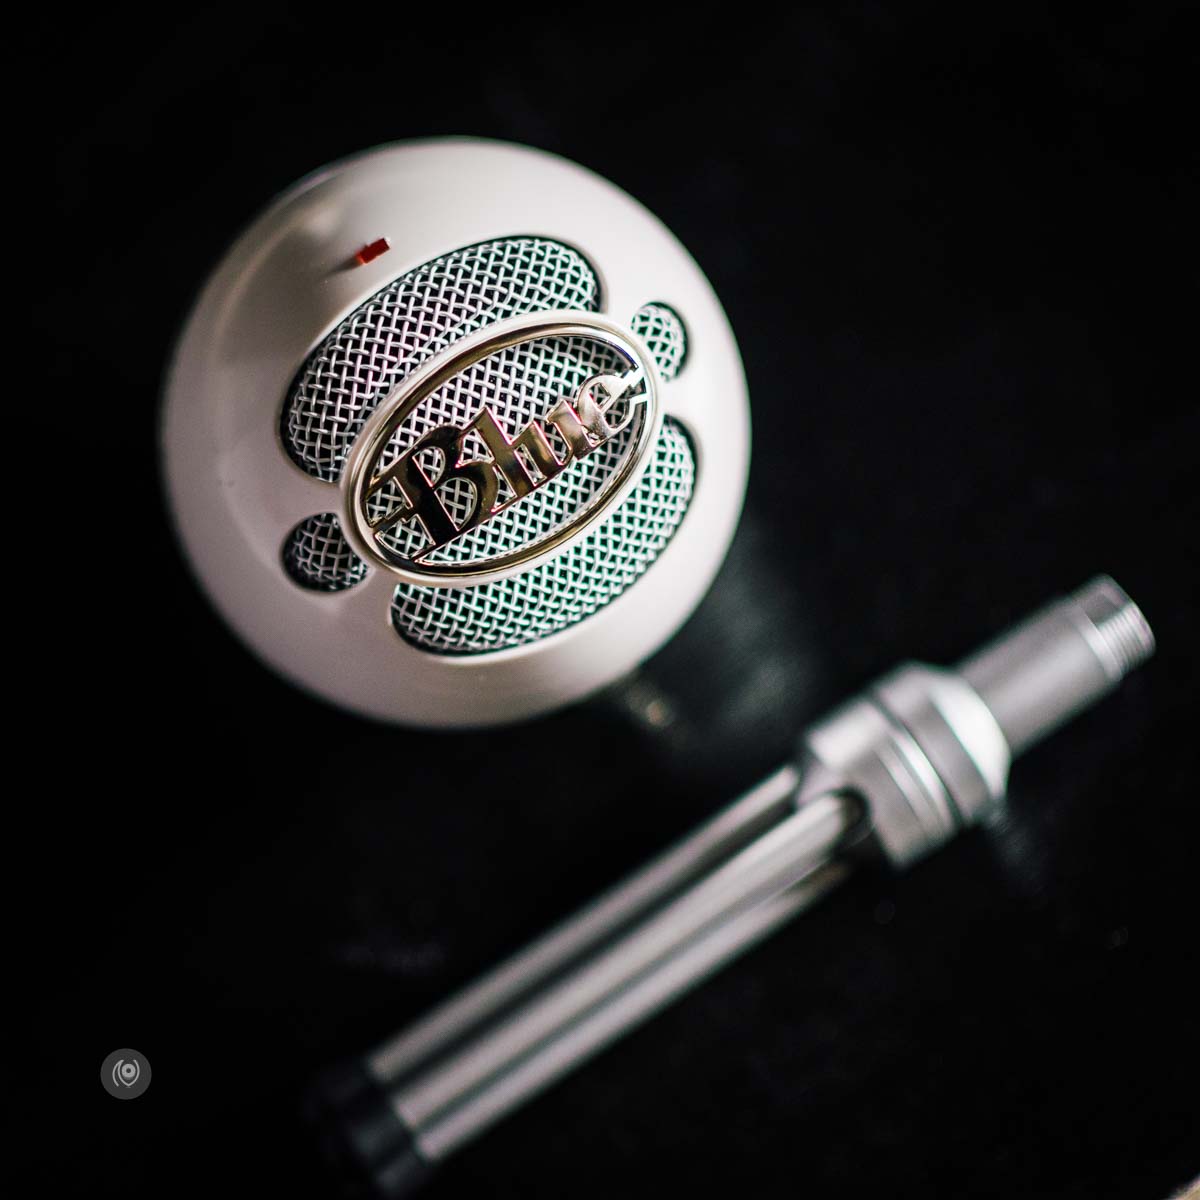
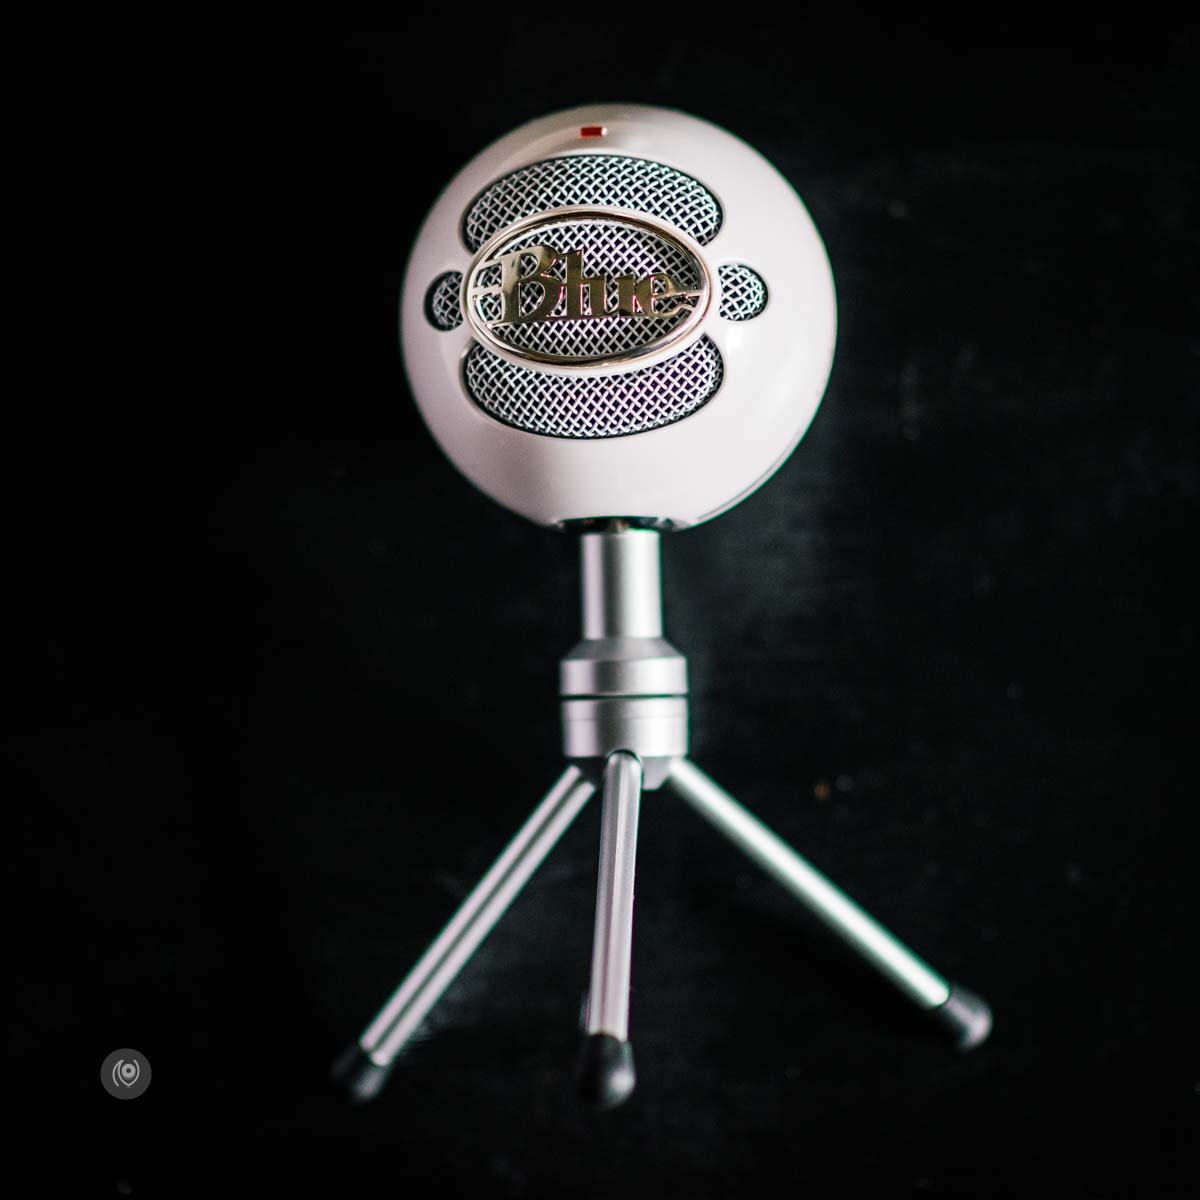
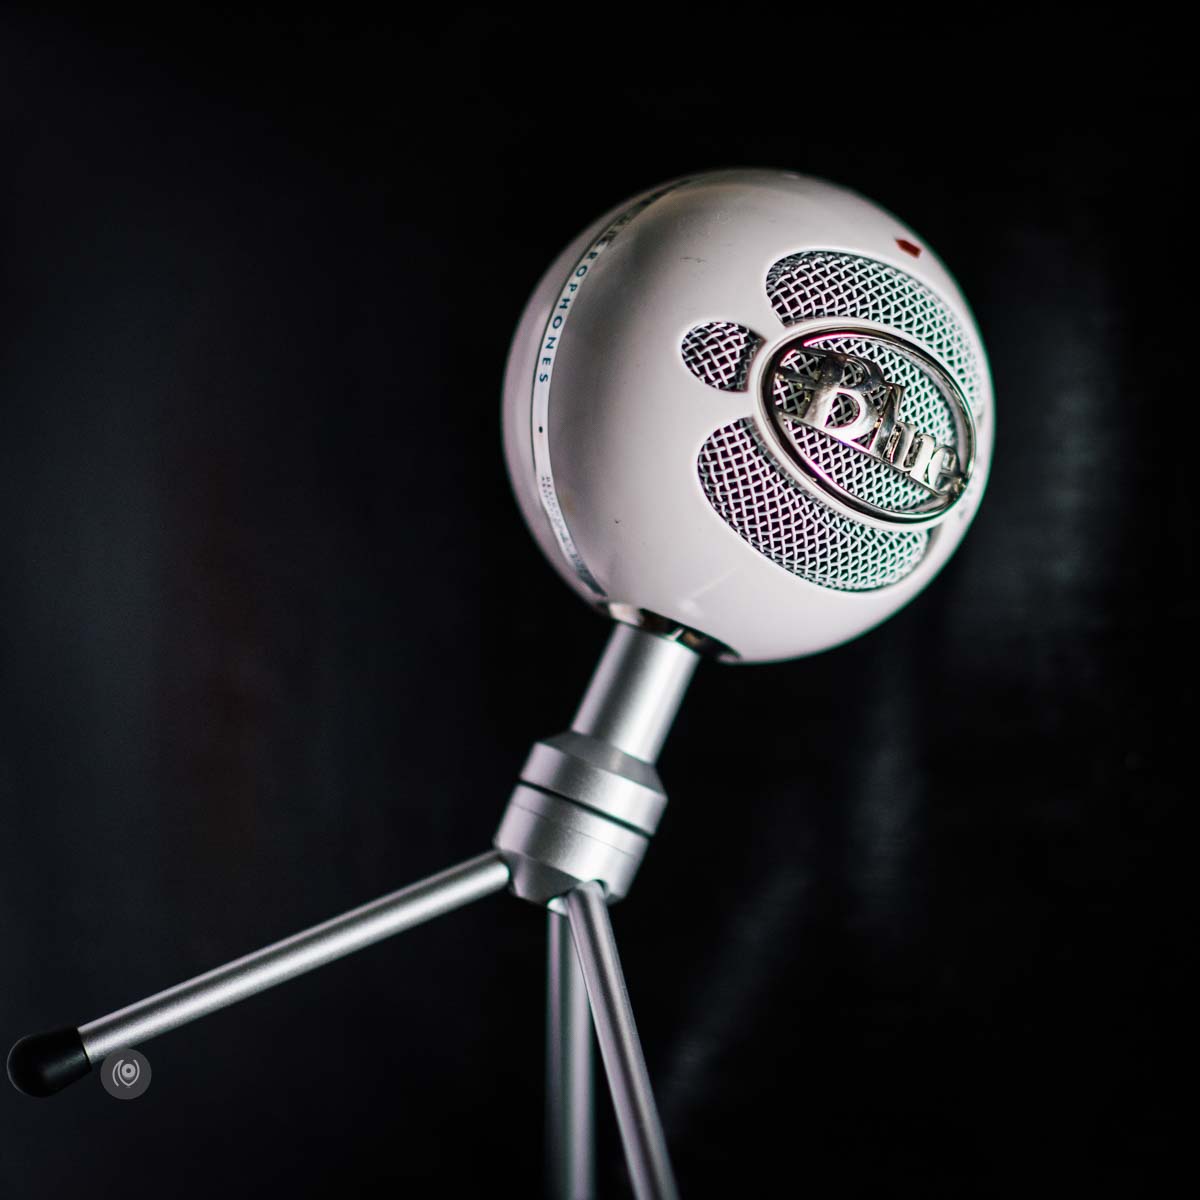
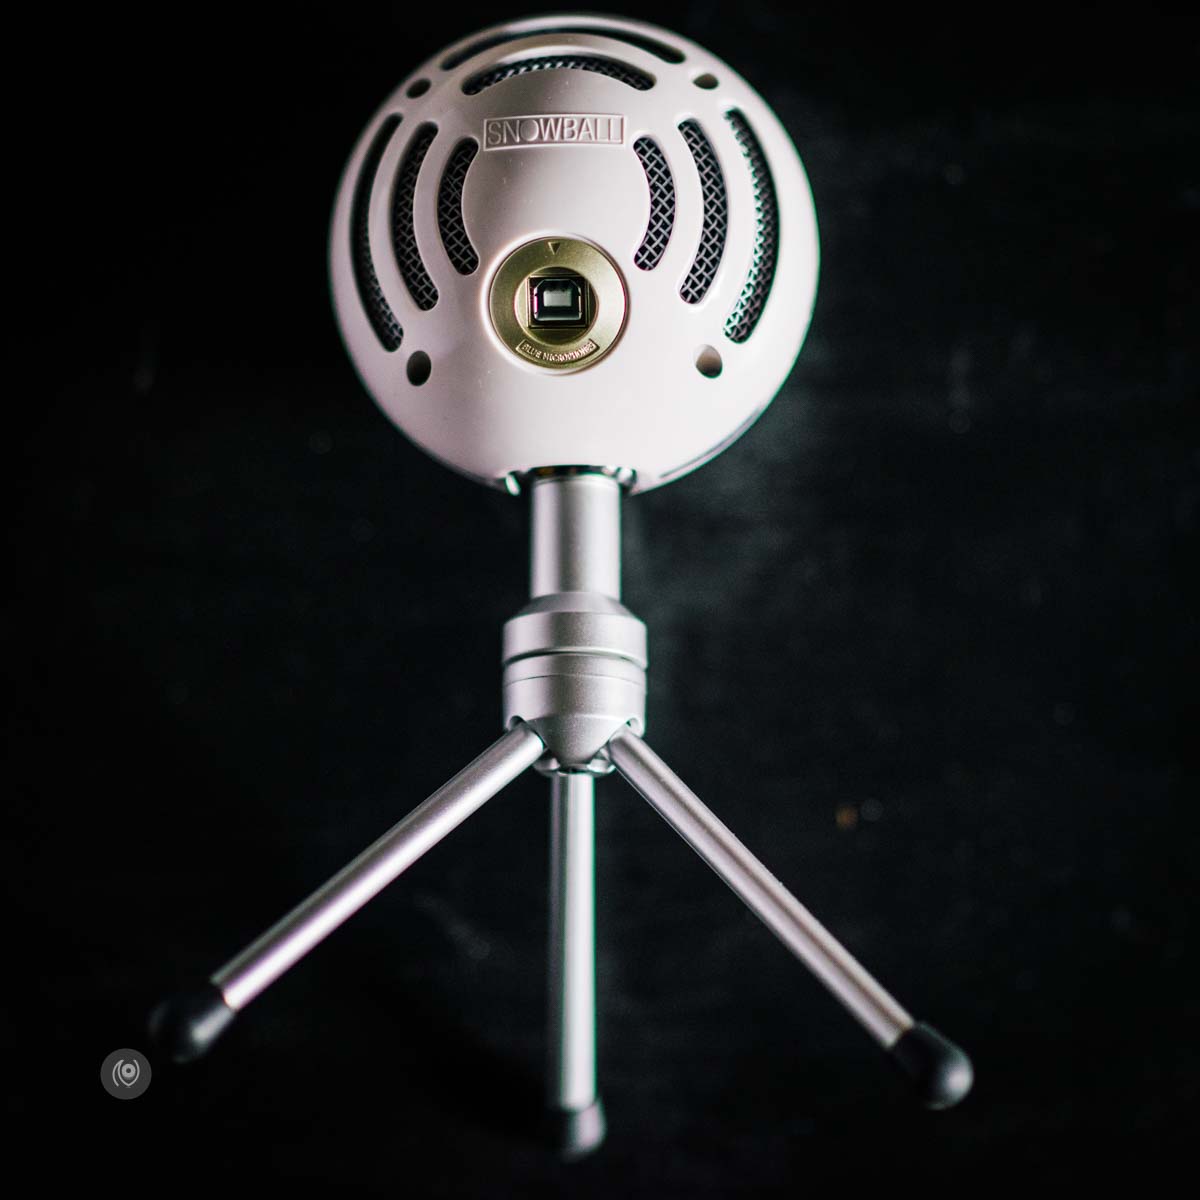
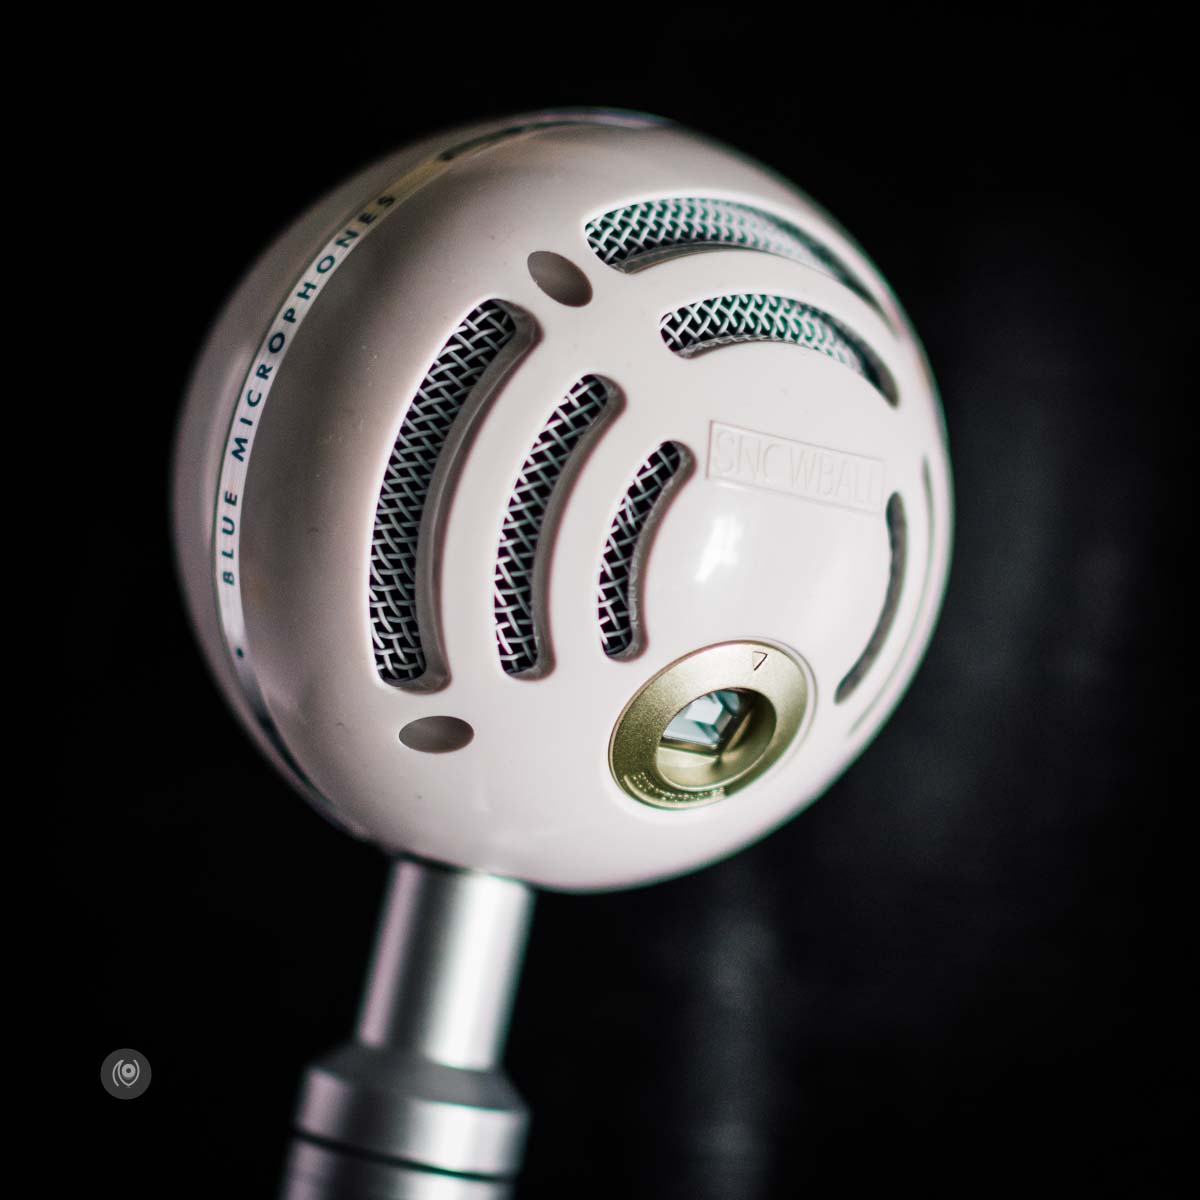
Having published a three part series about my podcast and how I got started, this can be considered Part 4 in the same chain. This microphone was added to my equipment much after I’d written and scheduled Part 3, where I talk about the equipment I used for the podcast.
Part 2 : Validating and Submitting My Podcast ( including iTunes submission )
Part 3 : Equipment and Workflow for My Podcast
At the outset, I had no plans of making any changes to the equipment I talk about in Part 3 above. But then the boy took it upon himself to get me a better microphone. He’s anyway more tech savvy than I am – especially when it comes to audio equipment ( he reviewed the JBL Bluetooth Charge 2+ Speaker too ). He’s the one who introduced me to podcasts and that’s how I subscribed to my first podcast ( The Joe Rogan Experience, in case you’re curious ).
He’d been seeing this microphone mentioned by other podcasters and after doing detailed research he ordered this one for me – as a surprise. I was not too pleased to add another piece of equipment to my podcasting process because I try to keep things simple. The simpler it is for me to think of a subject to talk about, record the audio and video, edit these and upload them, the more likely I am to keep doing it, consistently. Consistency is THE most important factor to consider when you’re starting anything new. Whether a training session, a blog or a podcast. You gain an audience slow BUT steady this way.
Another piece of equipment, in my head, meant an additional variable. I’d have to learn how to use this thing and then edit audio separately and then merge it with the video that I record on my mobile phone, etc.
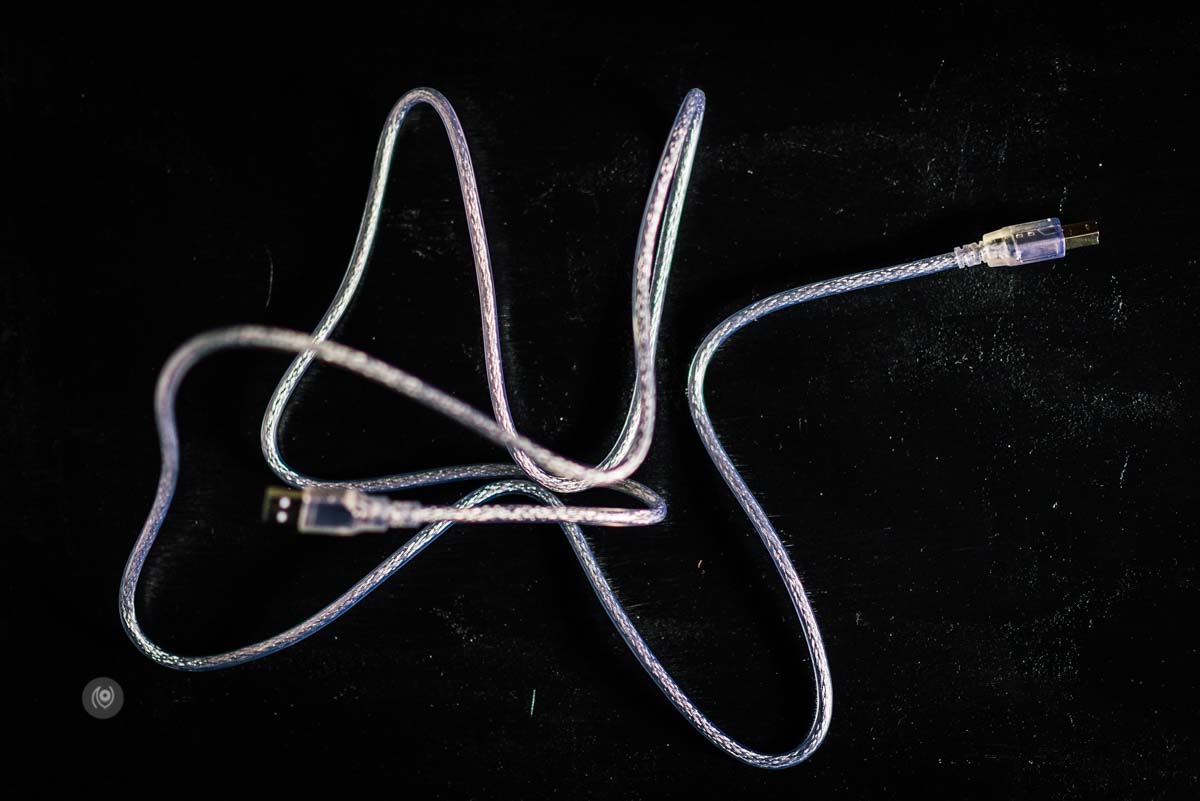
As it turns out – much the relief of the boy and me – it was easy and required to special expertise. The microphone is plug-and-play. All I had to do was install Adobe Audition to record and edit the audio independently. I plug the mic into one of the USB ports on my laptop and the mobile phone setup remain the same. I hit record in the Audition window and on the mobile phone and we’re off. ( These don’t have to be simultaneous – can leave a gap. In fact, leaving a gap is recommended. If you have 10-15 seconds of audio of just your surroundings, you can use the Noise Reduction Effect within Audition to create a “Noise Print” and the software automatically removes all ambient noise from the entire audio file. )
Get a brushed aluminium one from here on Amazon : Blue Microphones Snowball USB Microphone, Brushed Aluminum ( Mine’s white. There’s also a Glossy Black version : Blue Microphones SNOWBALL-GB USB Microphone(Gloss Black)
) These are affiliate links. This microphone is considered to be the best quality one at the most reasonable price for entry-level podcasters. In my opinion, unless you get a studio-record deal for your podcast, in which case they’ll be giving you all the equipment and you’ll be recording at a high-end pro-grade studio, this mic is all you’ll ever need.
Without claiming to be an audio expert, I can distinctly hear the difference in the sound I was recording on the mobile phone ( the Google Pixel XL ) and the sound that’s being recorded on the Blue Snowball Mic. Even if I apply the same post-production to the audio file recorded on the phone, it sounds inferior in quality to the one recorded via this mic. I couldn’t possibly define the specifics and qualify them. But I can tell you that the sound is clearer and sounds better.
My recommendation is that you buy this microphone only if you’re seriously considering podcasting in the long run. If your mobile device is even half as good as the Google Pixel XL, stick with it. You don’t need this mic above. But I do highly recommend that you use some audio editing software. If not Adobe Audition ( I use it because I have a subscription to the Adobe Creative Cloud ) then try Audacity, which is free and has a whole host of tools for you to use.
I edit the following :
- remove noise after capturing Noise Print from the “empty” sections of the audio
- use the Equalizer to increase bass a bit and reduce treble ( my voice can get shrilly when I’m excited and I’m naturally LOUD – so if I don’t do this, you might throw away your head phones while listening to my podcast 😛 )
- use the Amplitude & Compression > Dynamics Processing to reduce Echo ( I record in my living room and there IS echo – listen for it by increasing the volume
- increase Audio Gain by +5 decibels
The boy also got me a POP filter, which negates the requirement of using a similar effect within Adobe Audiotion. ( To reduce POP ) I have this one : Studio Microphone Mic Wind Screen Pop Filter/ Swivel Mount, 360° Flexible Gooseneck Holder
So basically, you can use your mobile phone to record audio but definitely use software to make basic edits. There’s nothing worse than having a great, useful podcast that attracts a large audience but is so terrible to listen to that it could have double the number of subscribers. There are some great podcasts that I would love to listen to but the audio is SO BAD that I cannot get myself to.
In any case, THE most important thing is to record and publish your podcast regularly, consistently.
If there’s new things I end up trying for my podcast series, I will share my experience here. Other #EyesForTechnology stories on Naina.co
Happy podcasting!

