
Having recently written about the Succulents Under My Desk, it was time for the long-pending disclosure of the self-watering pots I use for my indoor plants.
Since I travel a lot for work – hello photographer life! – and I’ve always wanted to try my hand at growing plants, I’ve always had my eyes open for reasonably priced self-watering solutions. There are a few solutions available to buy these days, thankfully. But there weren’t any when I started trying my hand at indoor plants some 7-8 years ago.
You can get inverted glass globule-headed test tubes to shove into the soil of each pot. But these can be costly, especially if you have more than a few pots. You can also get a drip-irrigation type system setup. That has an initial investment but then it grows as you continue to add pots.
For someone who isn’t sure of their green-fingers prowess just yet, I found these self-watering pots of be exactly what I needed.
These pots have managed to keep my plants alive for more than 30 days without additional watering. A month-long vacation, is possible, without you having to fret about the condition of your green babies.
Link to the product listing for the 9-inch diameter self-watering pots that I use. I have also ordered the 12 inch diameter pots from the same seller. The product does not come with any instructions, see images below for a step-by-step description with images.
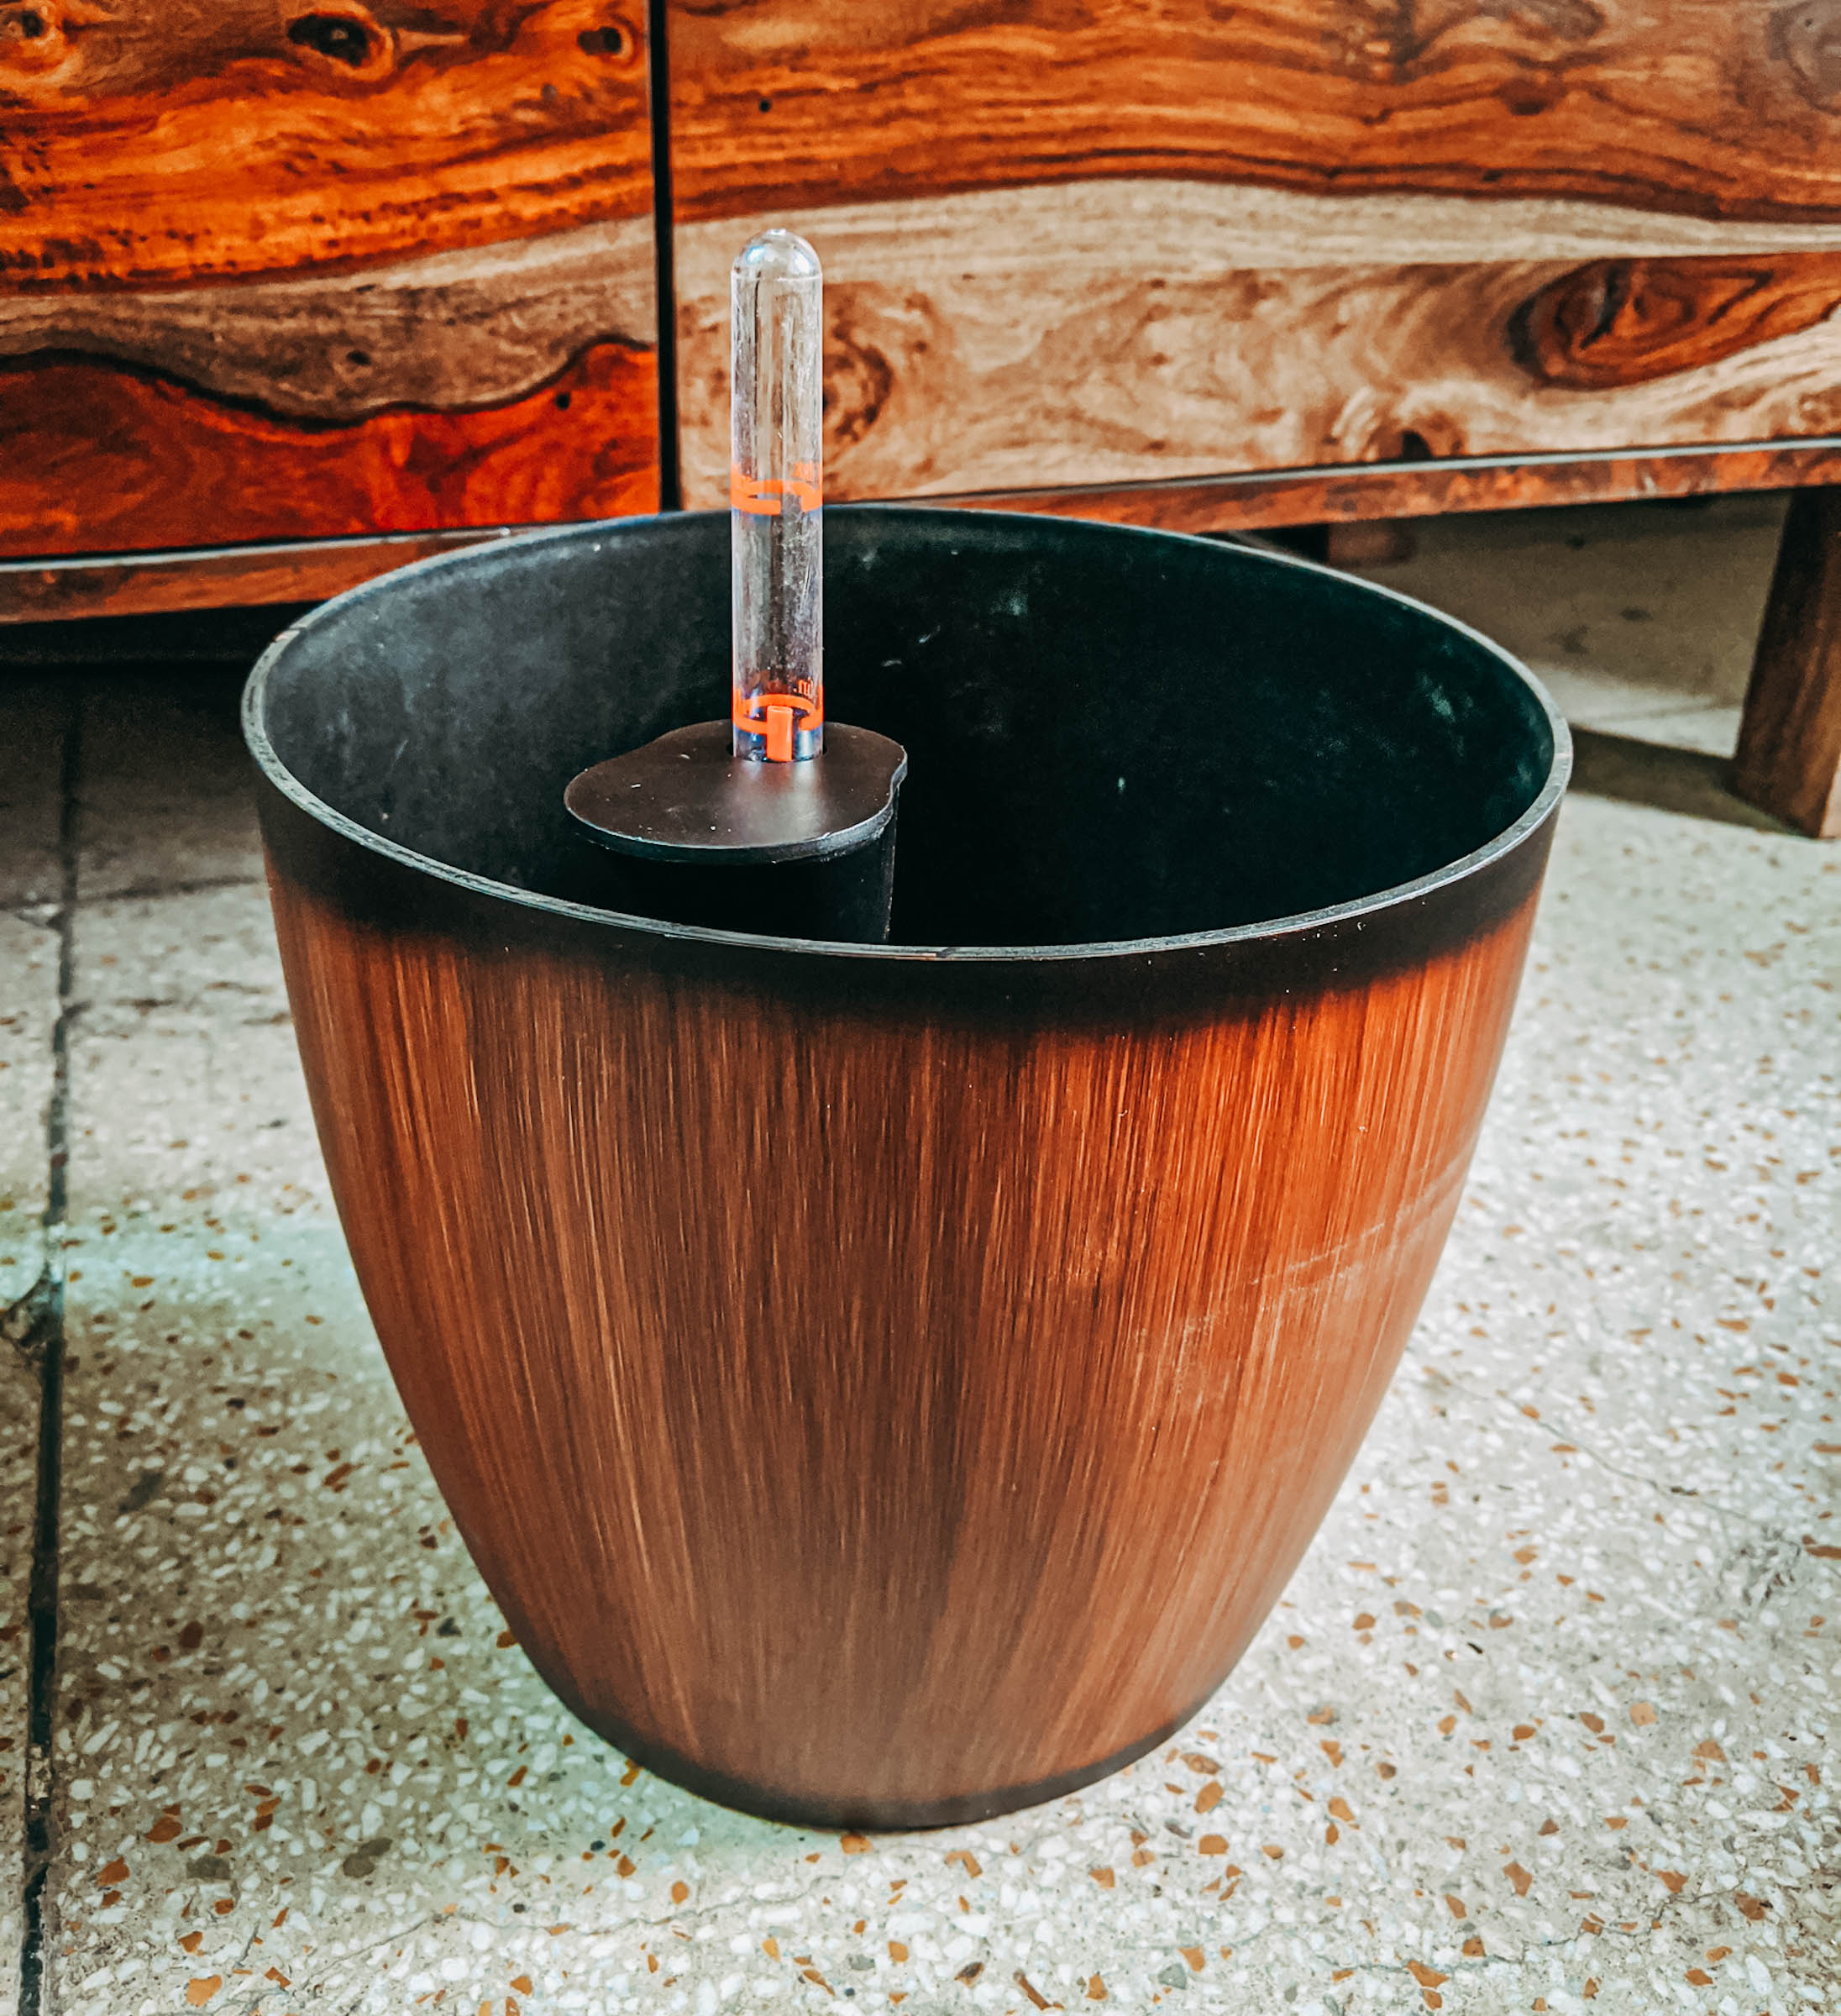
The pot is made from solid plastic. If you dig around a bit more at the product link above, you will find other color variations from the same seller, and you can order whichever one suits your fancy. I like the faux wood finish because it is the least tacky variety to my eyes.
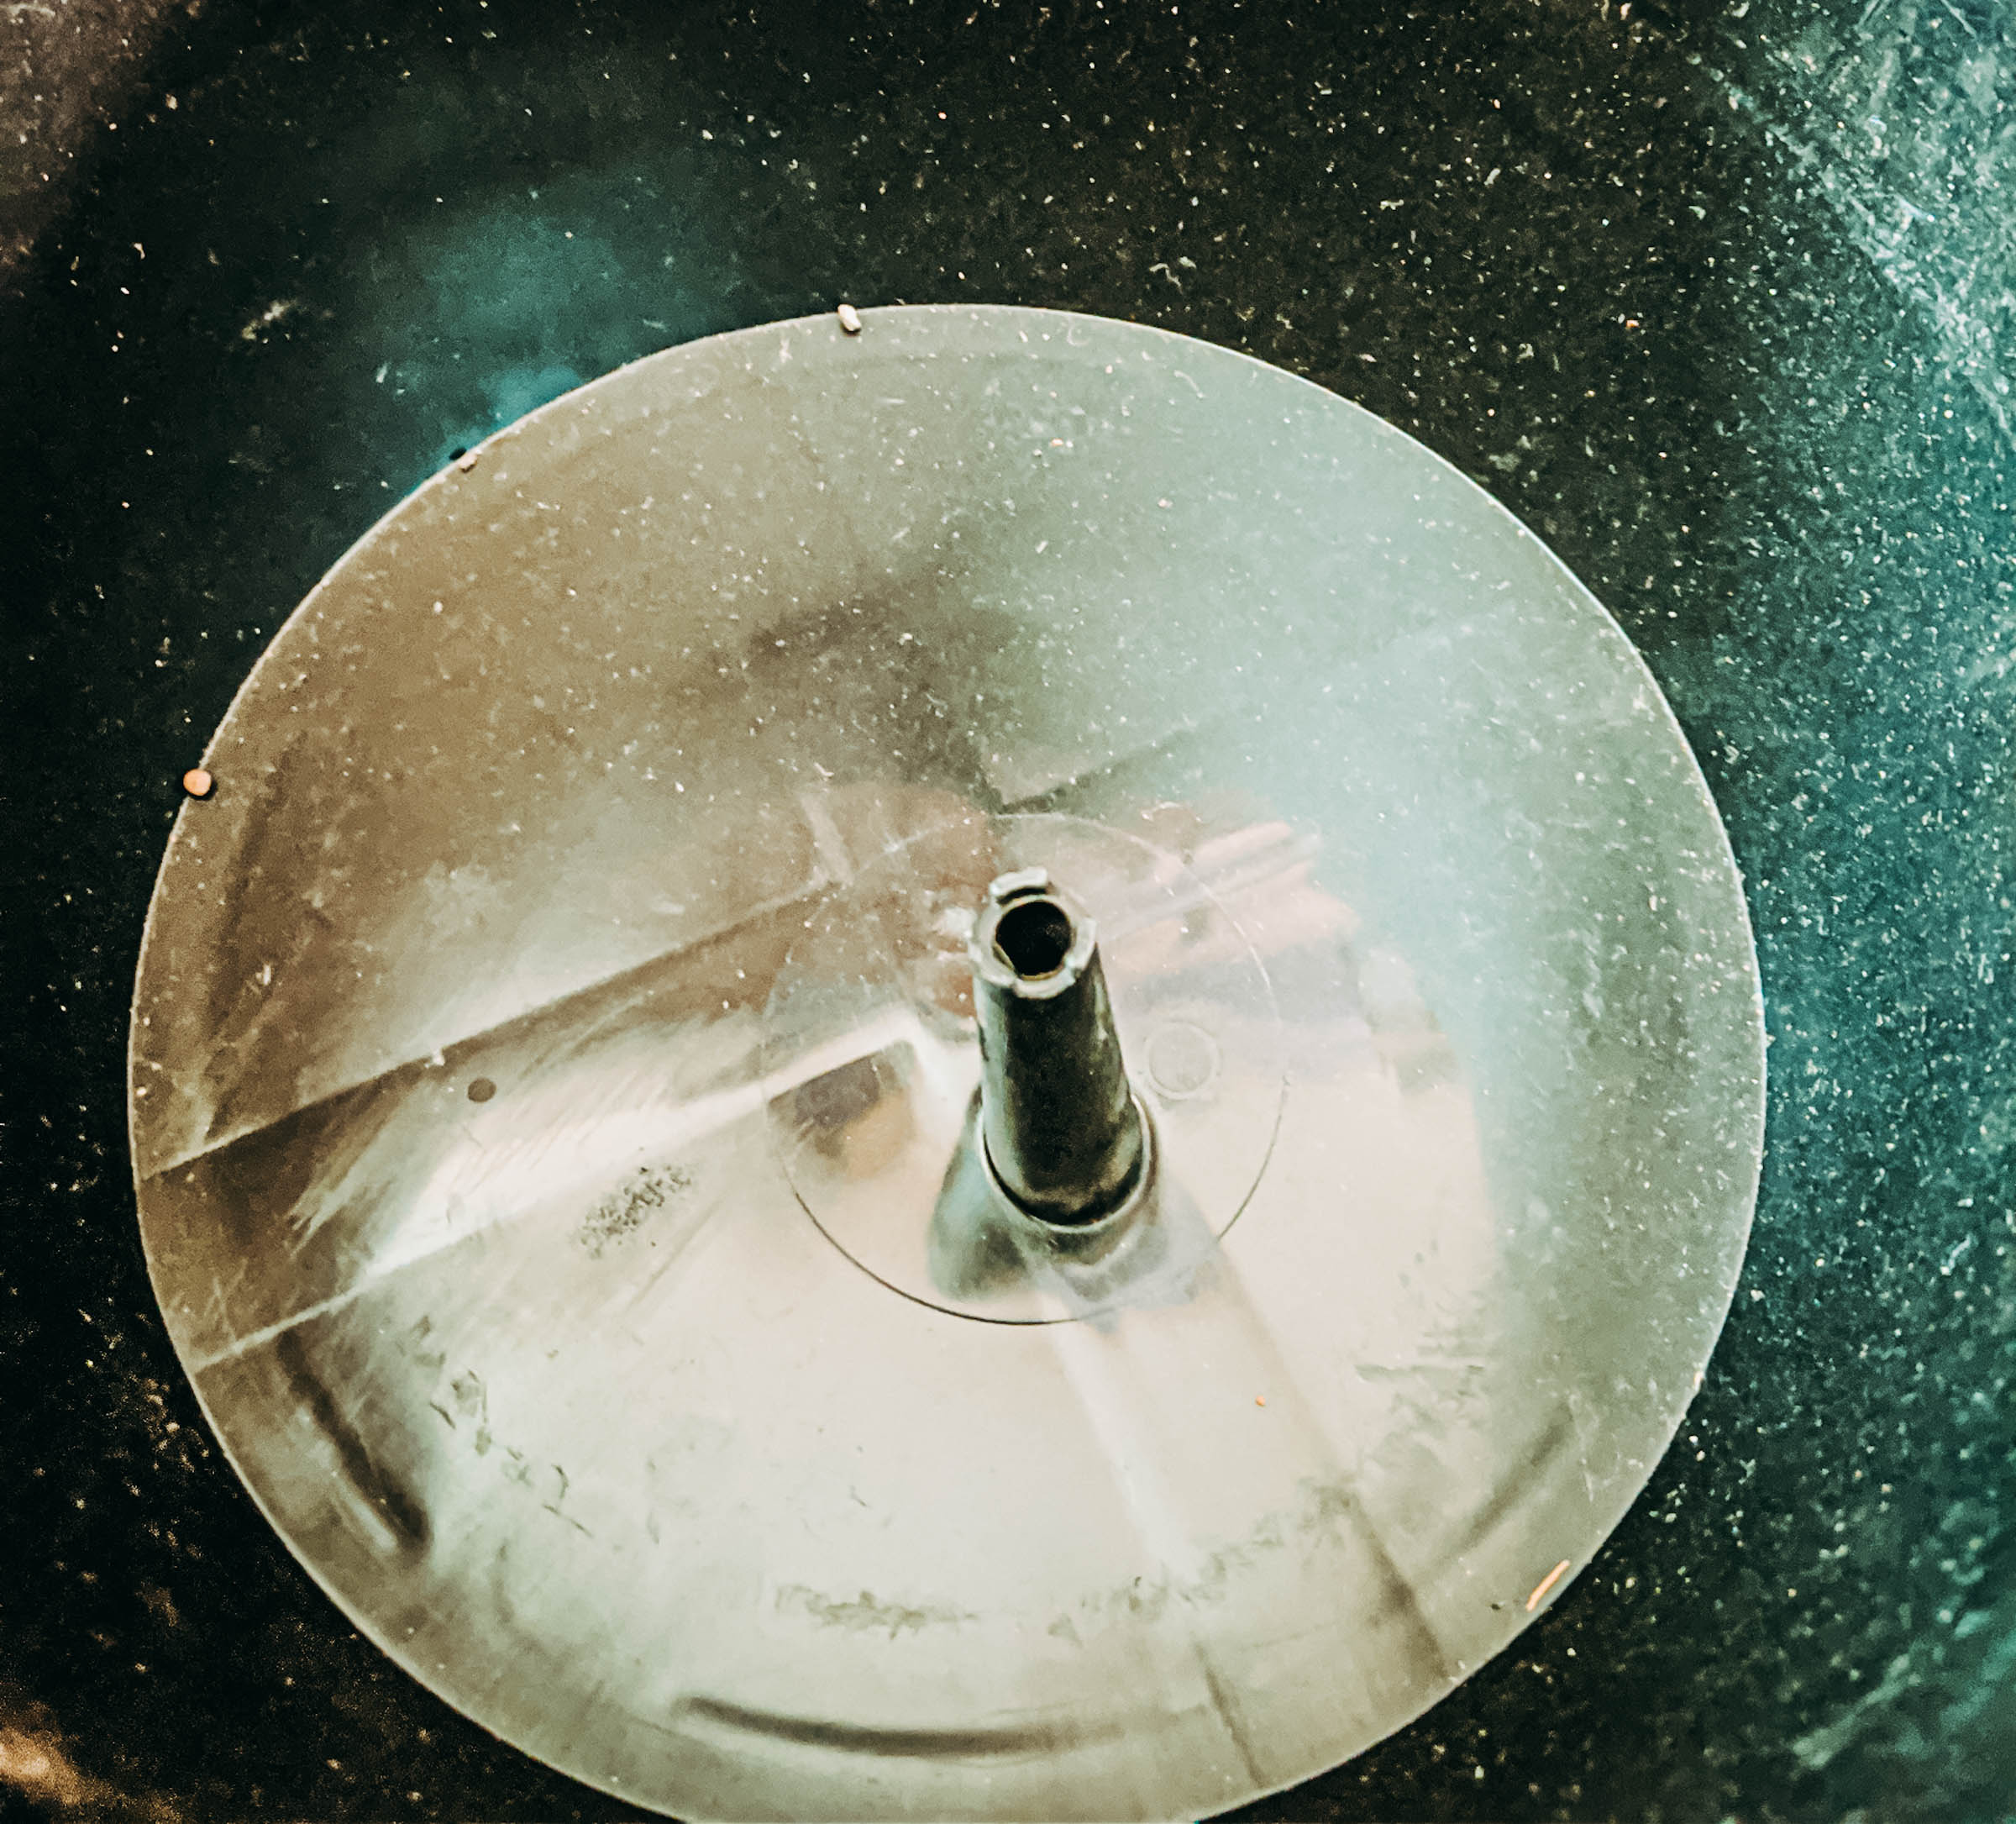
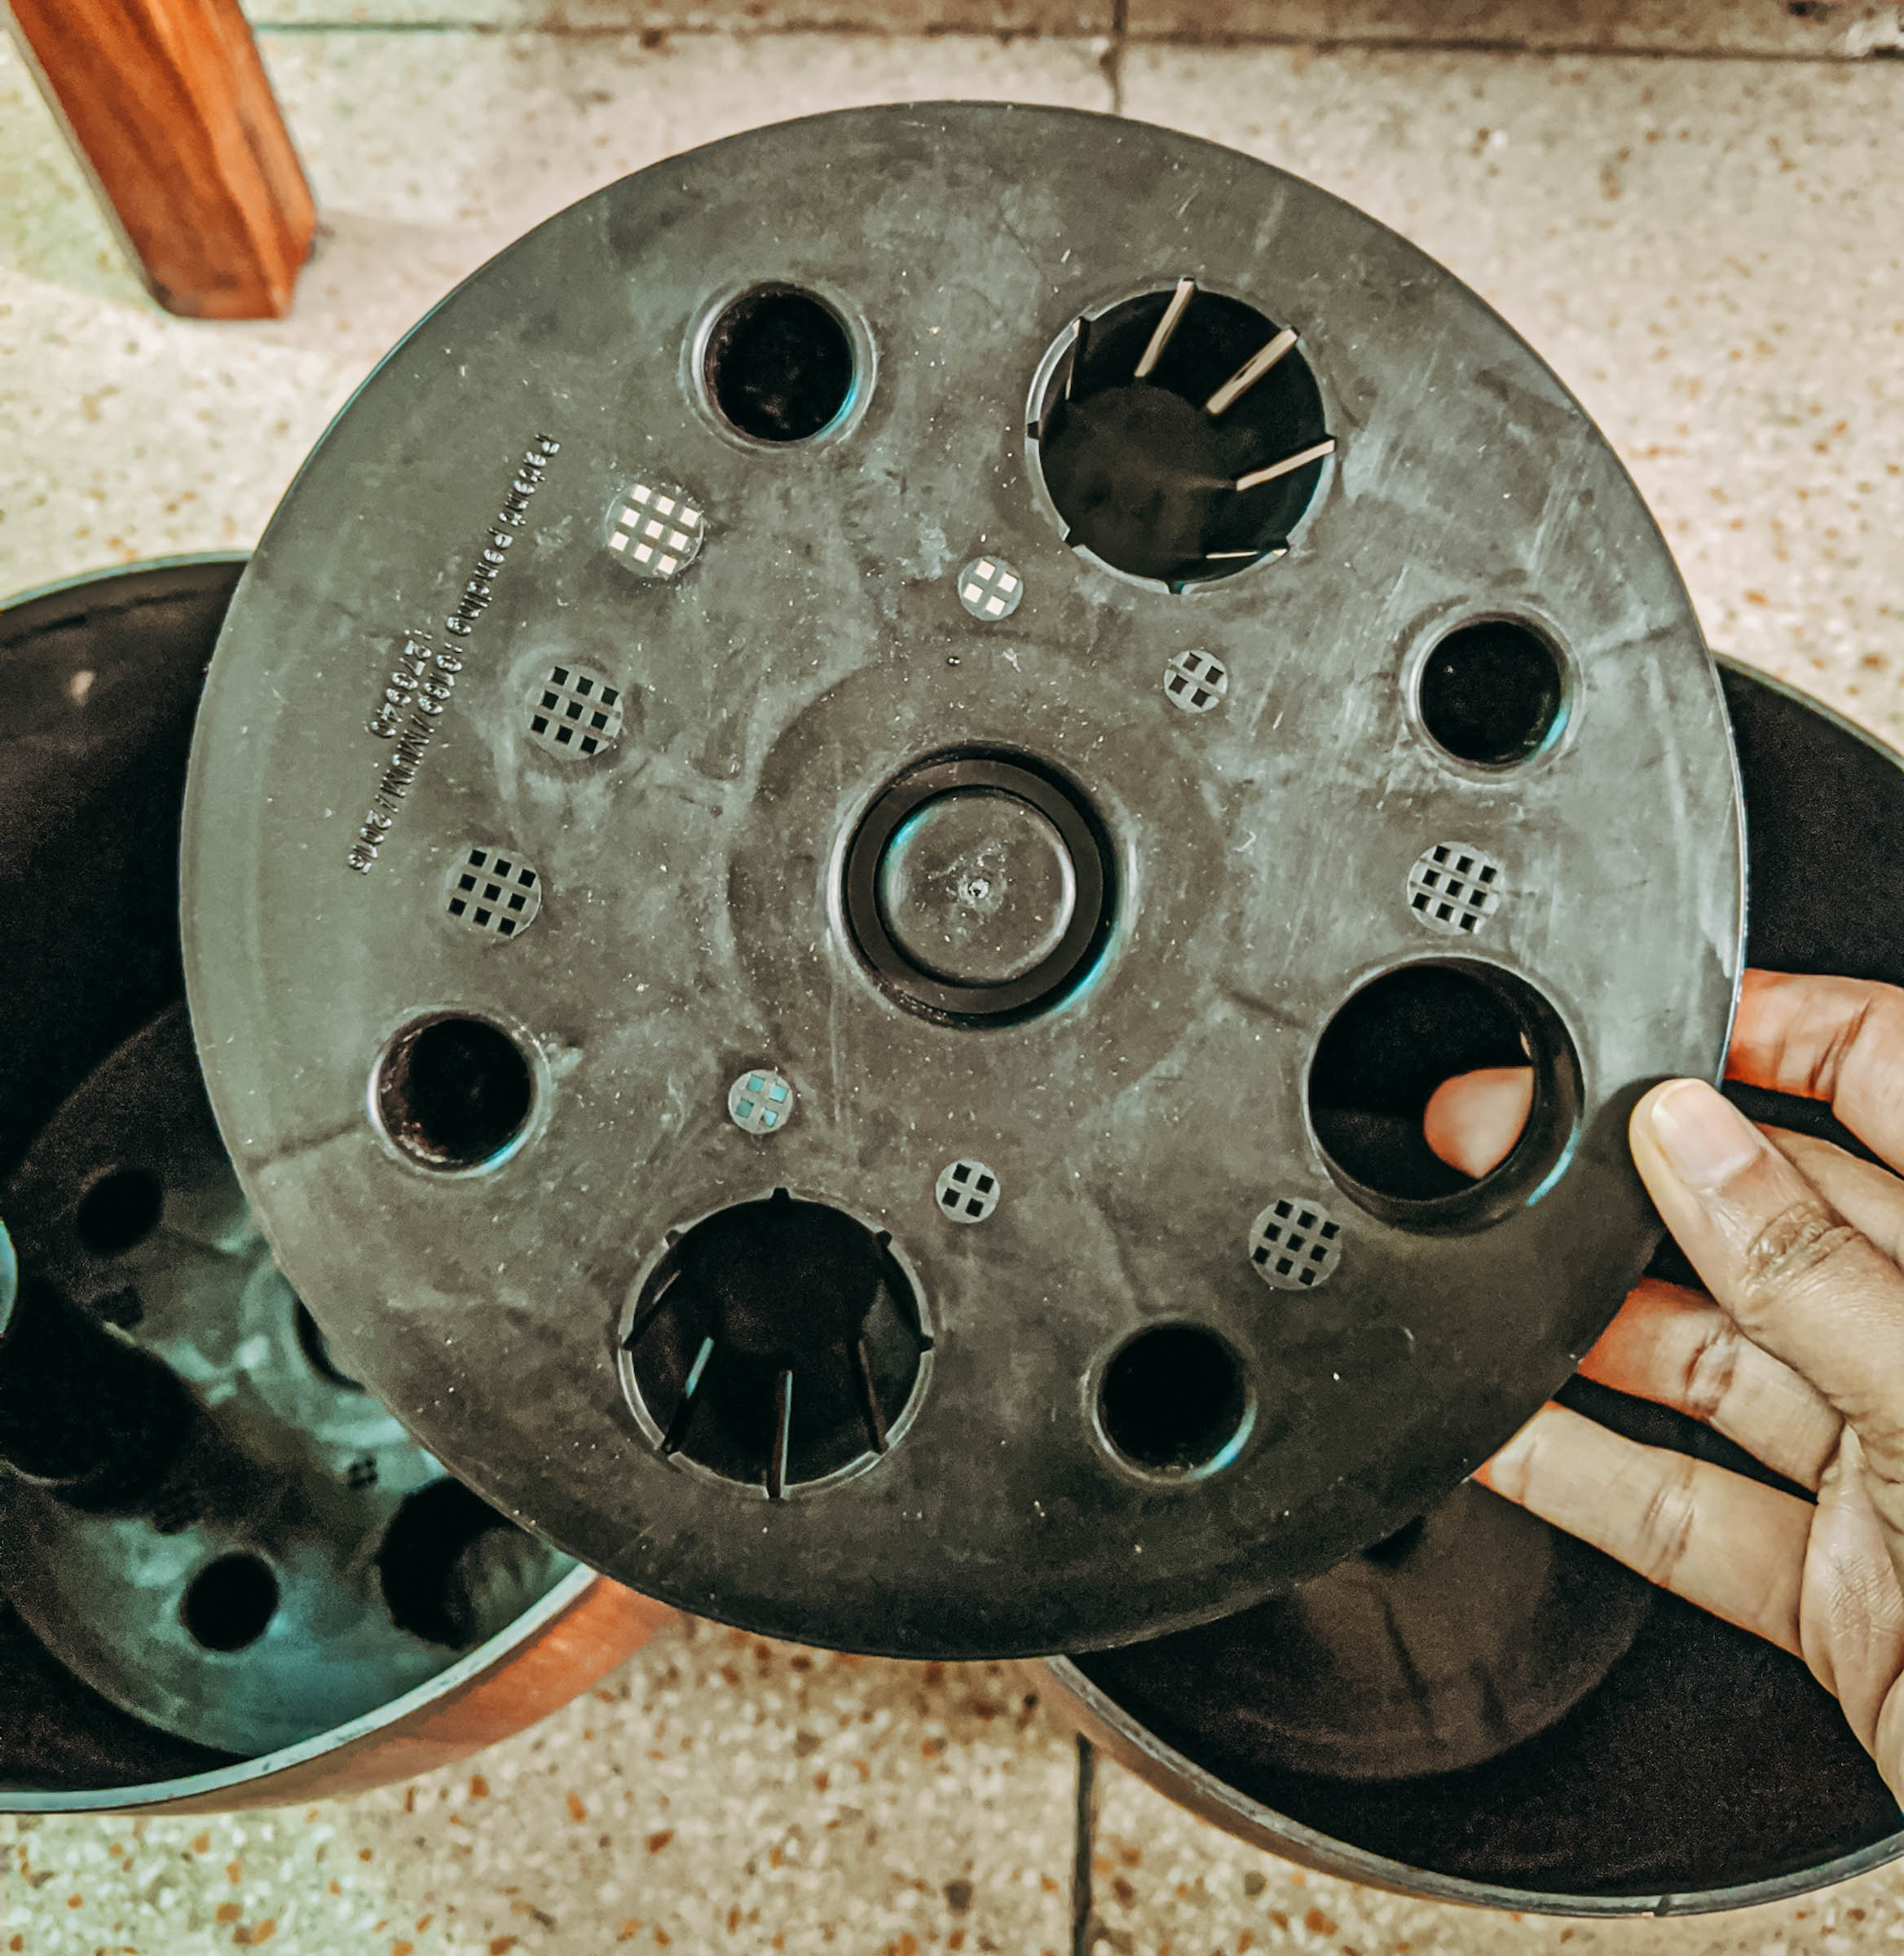
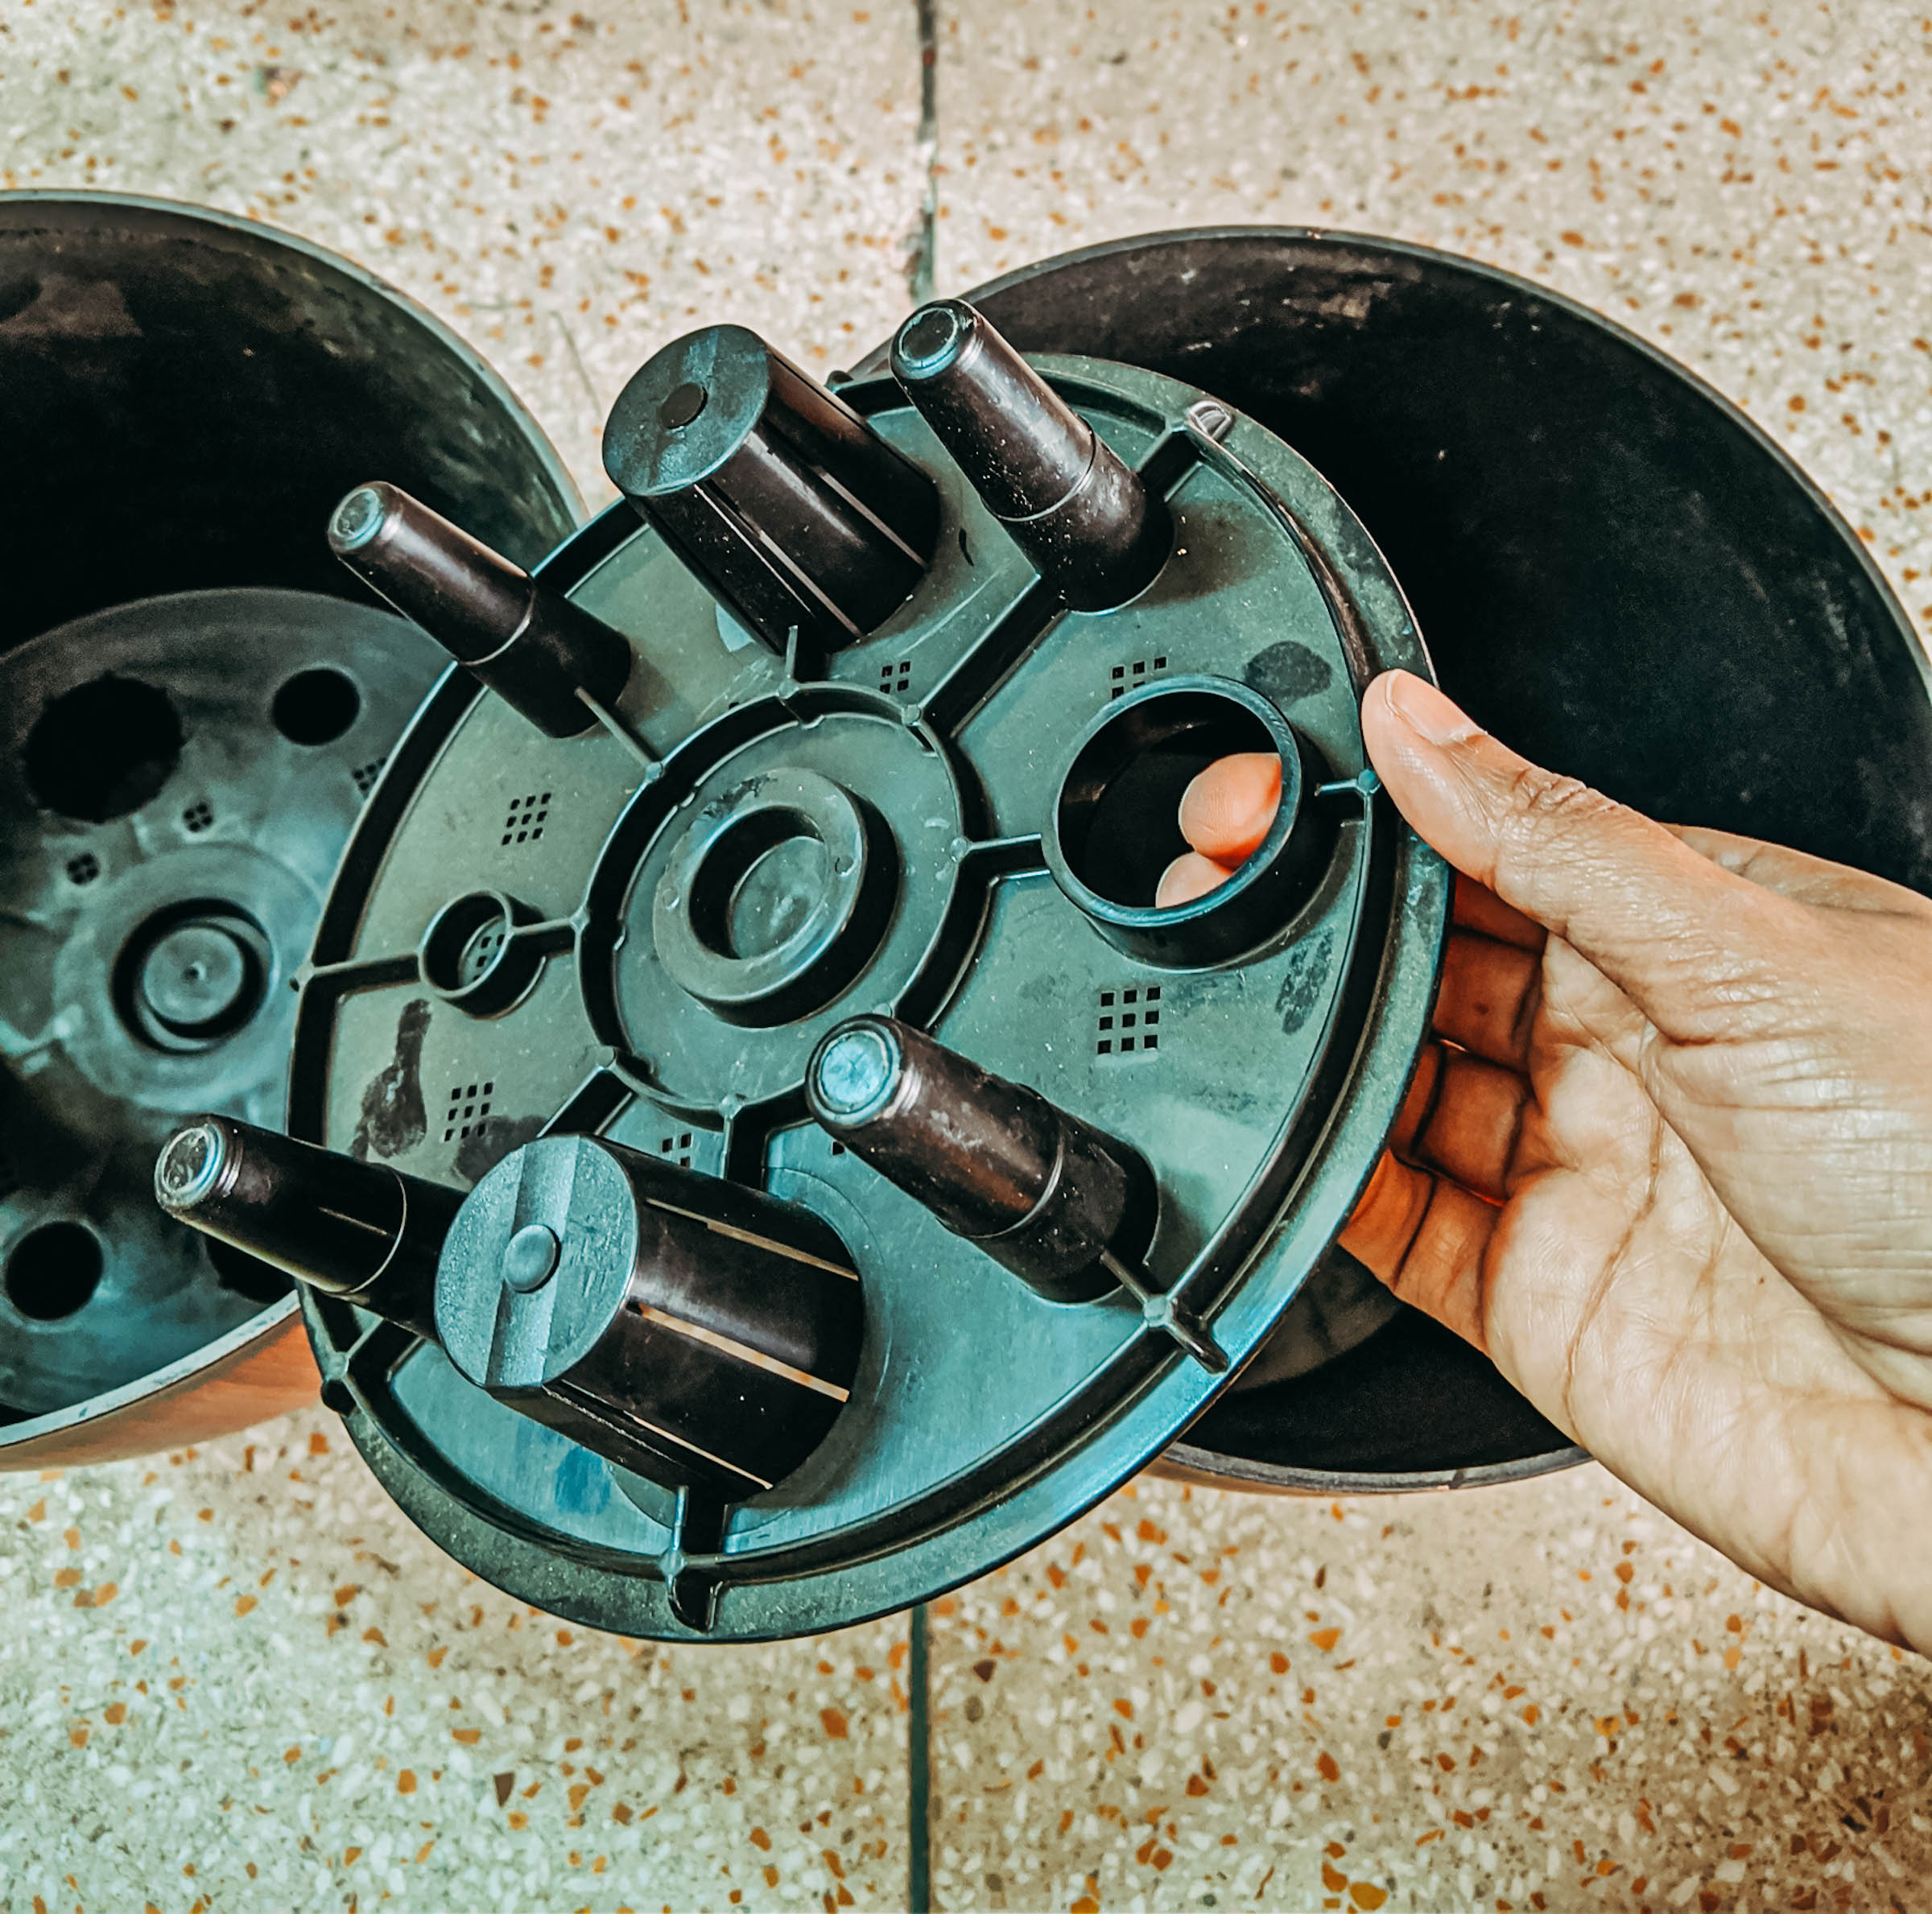
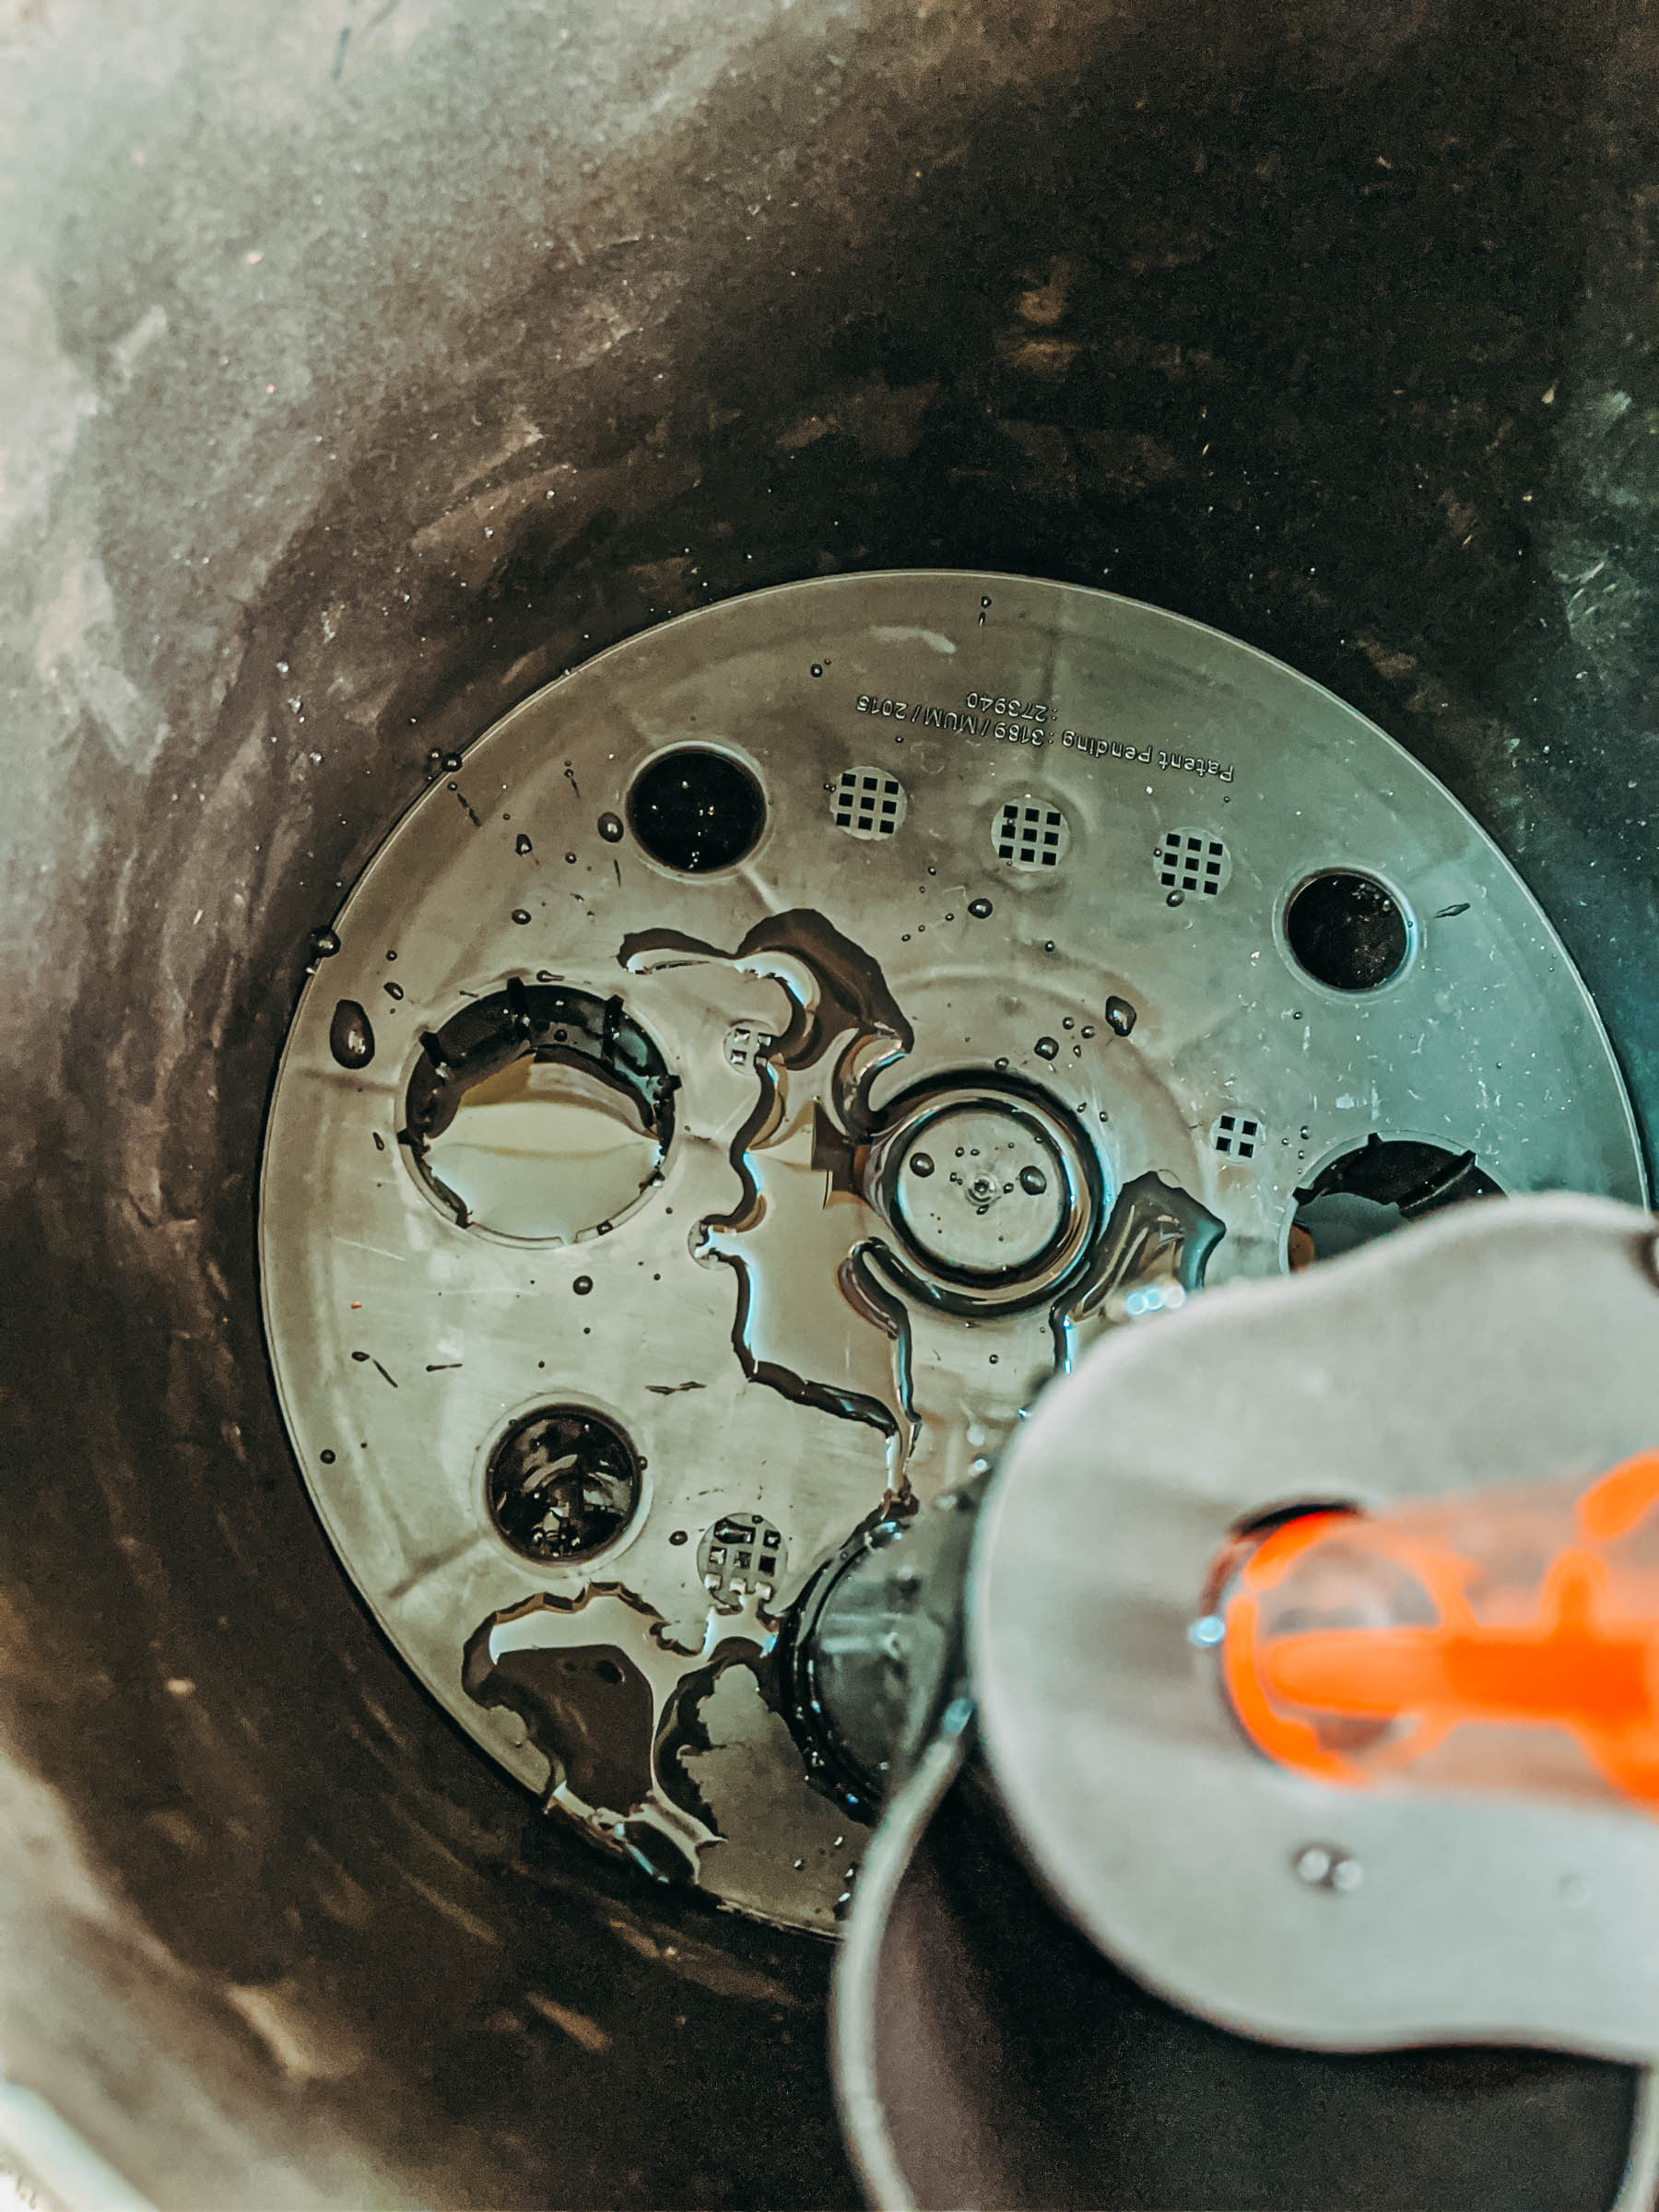
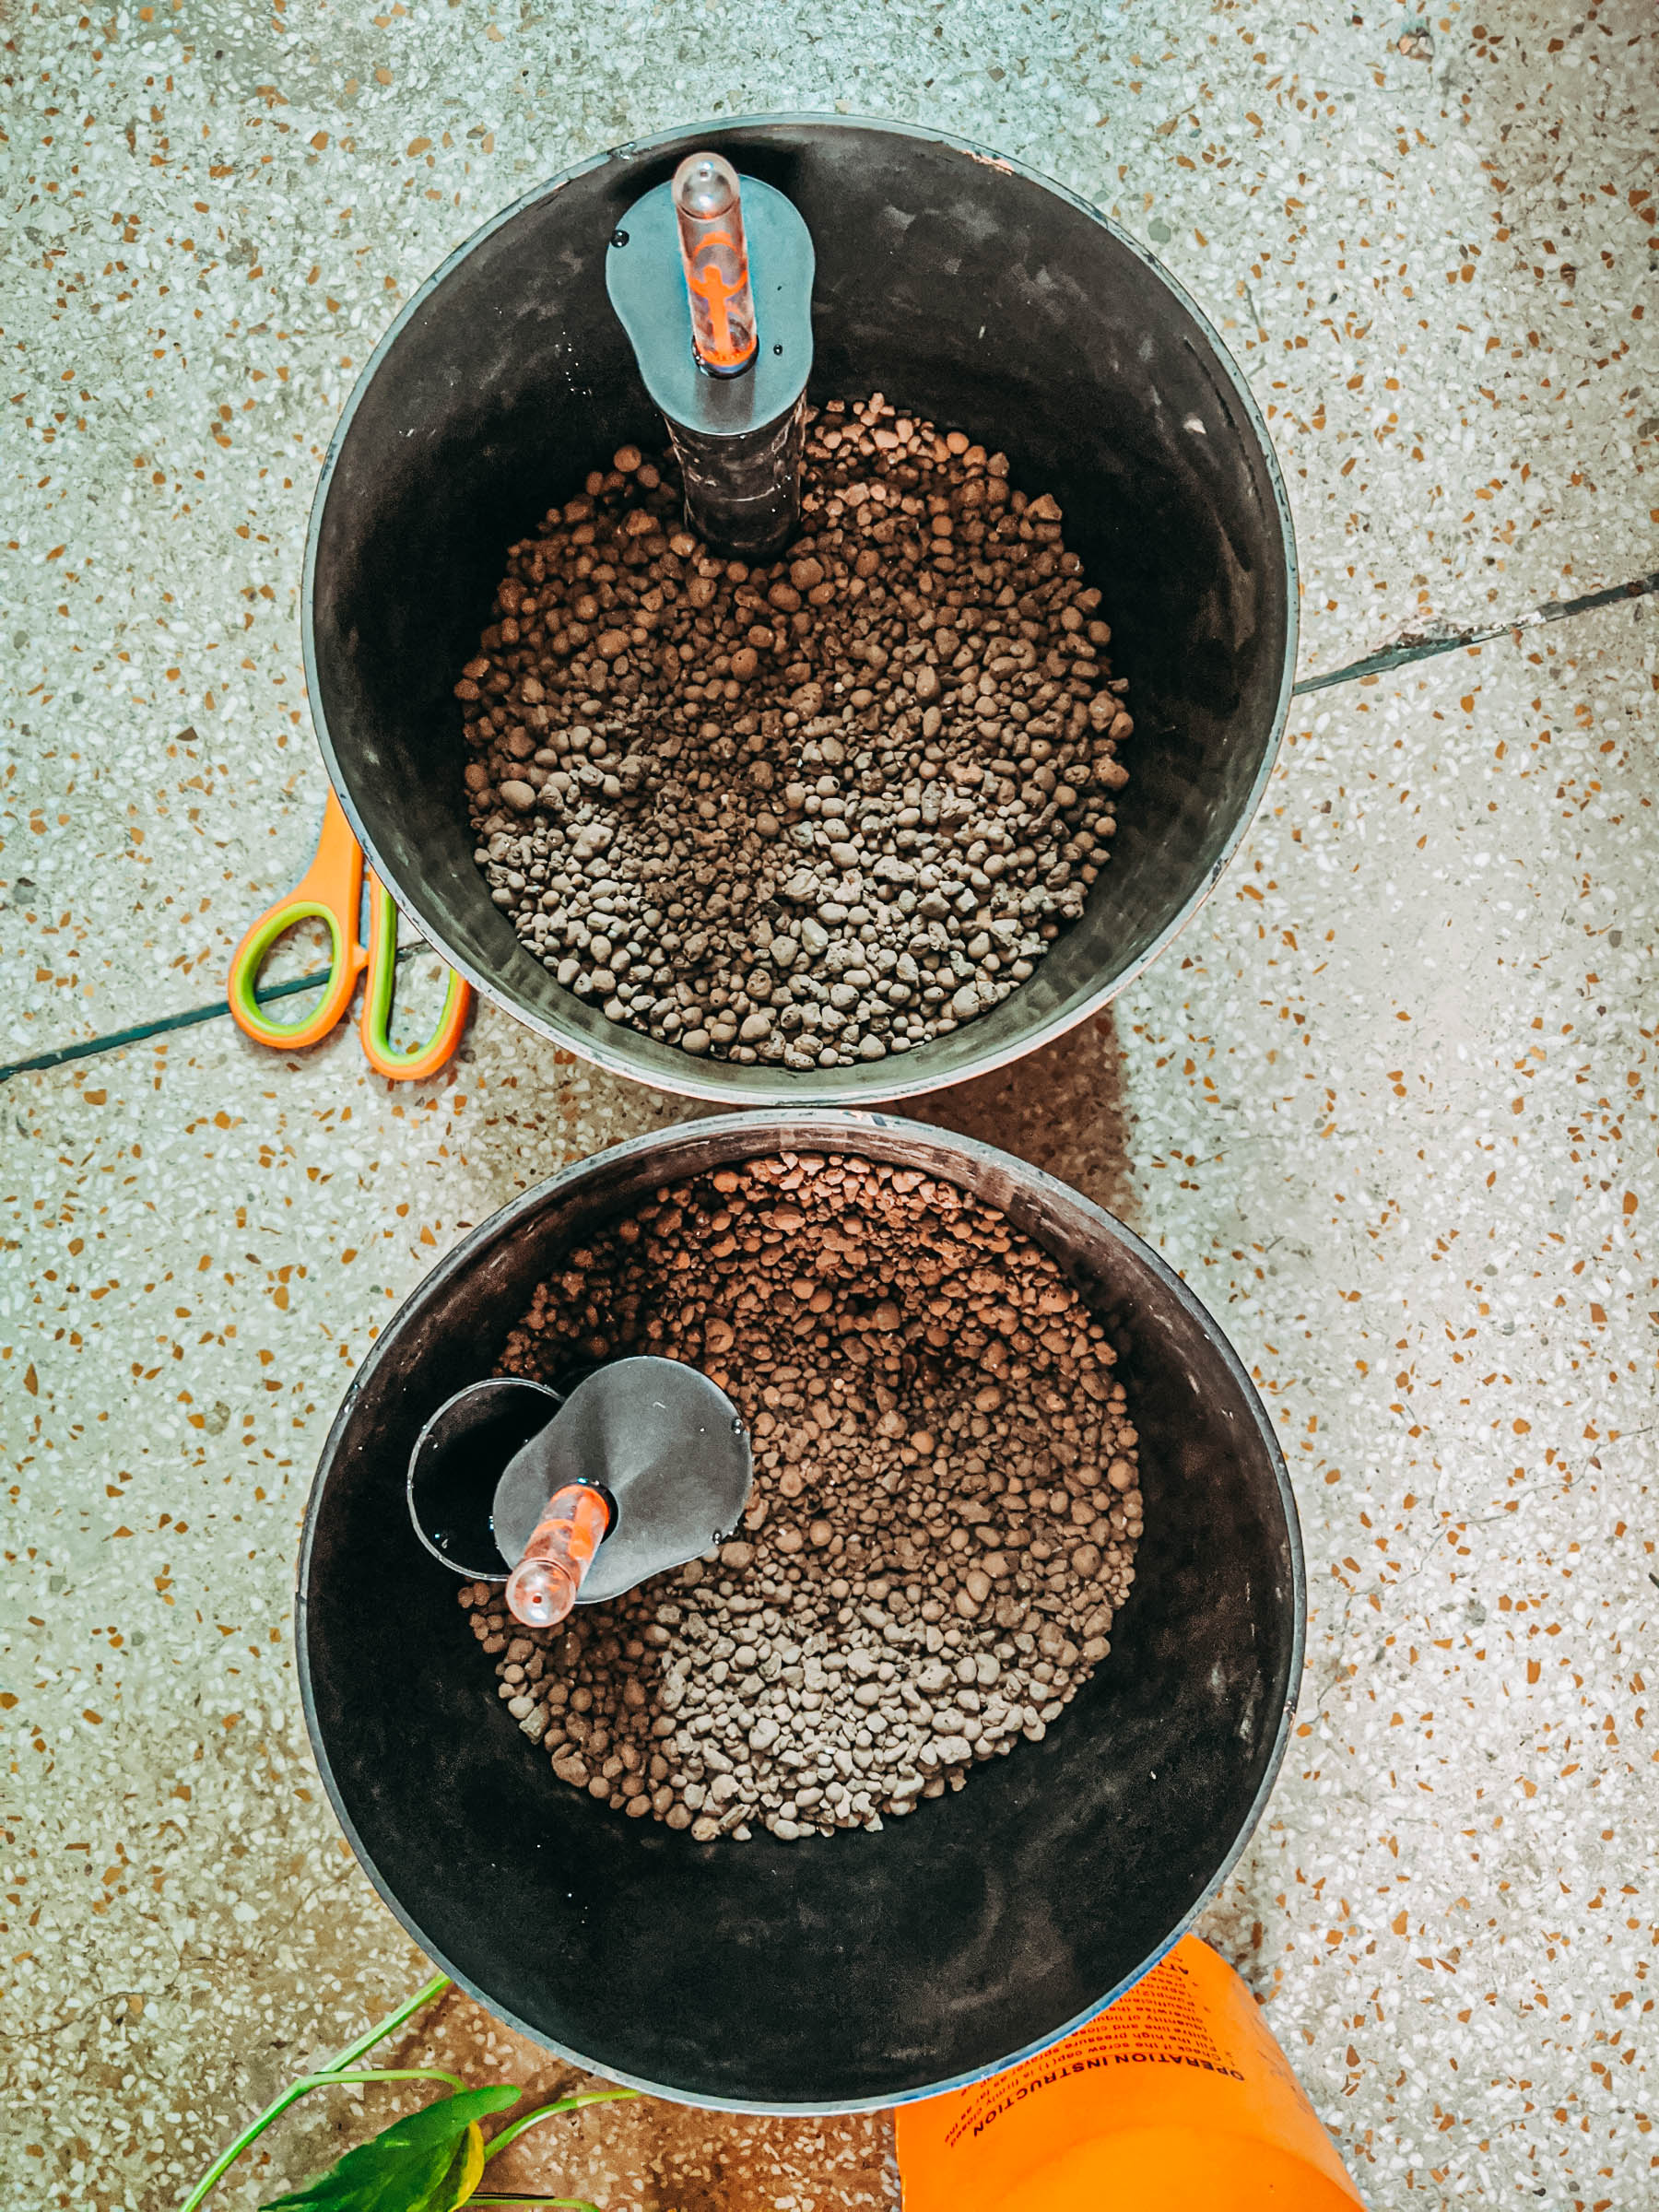
The bottom of the pot has an overflow vent, so if you end up pouring more water than required, it simply flows out from here. The plastic tray is placed at the bottom, flat side up. The soil and gravel / coco peat is poured onto this. But only after the water conduit and indicator are securely fastened.

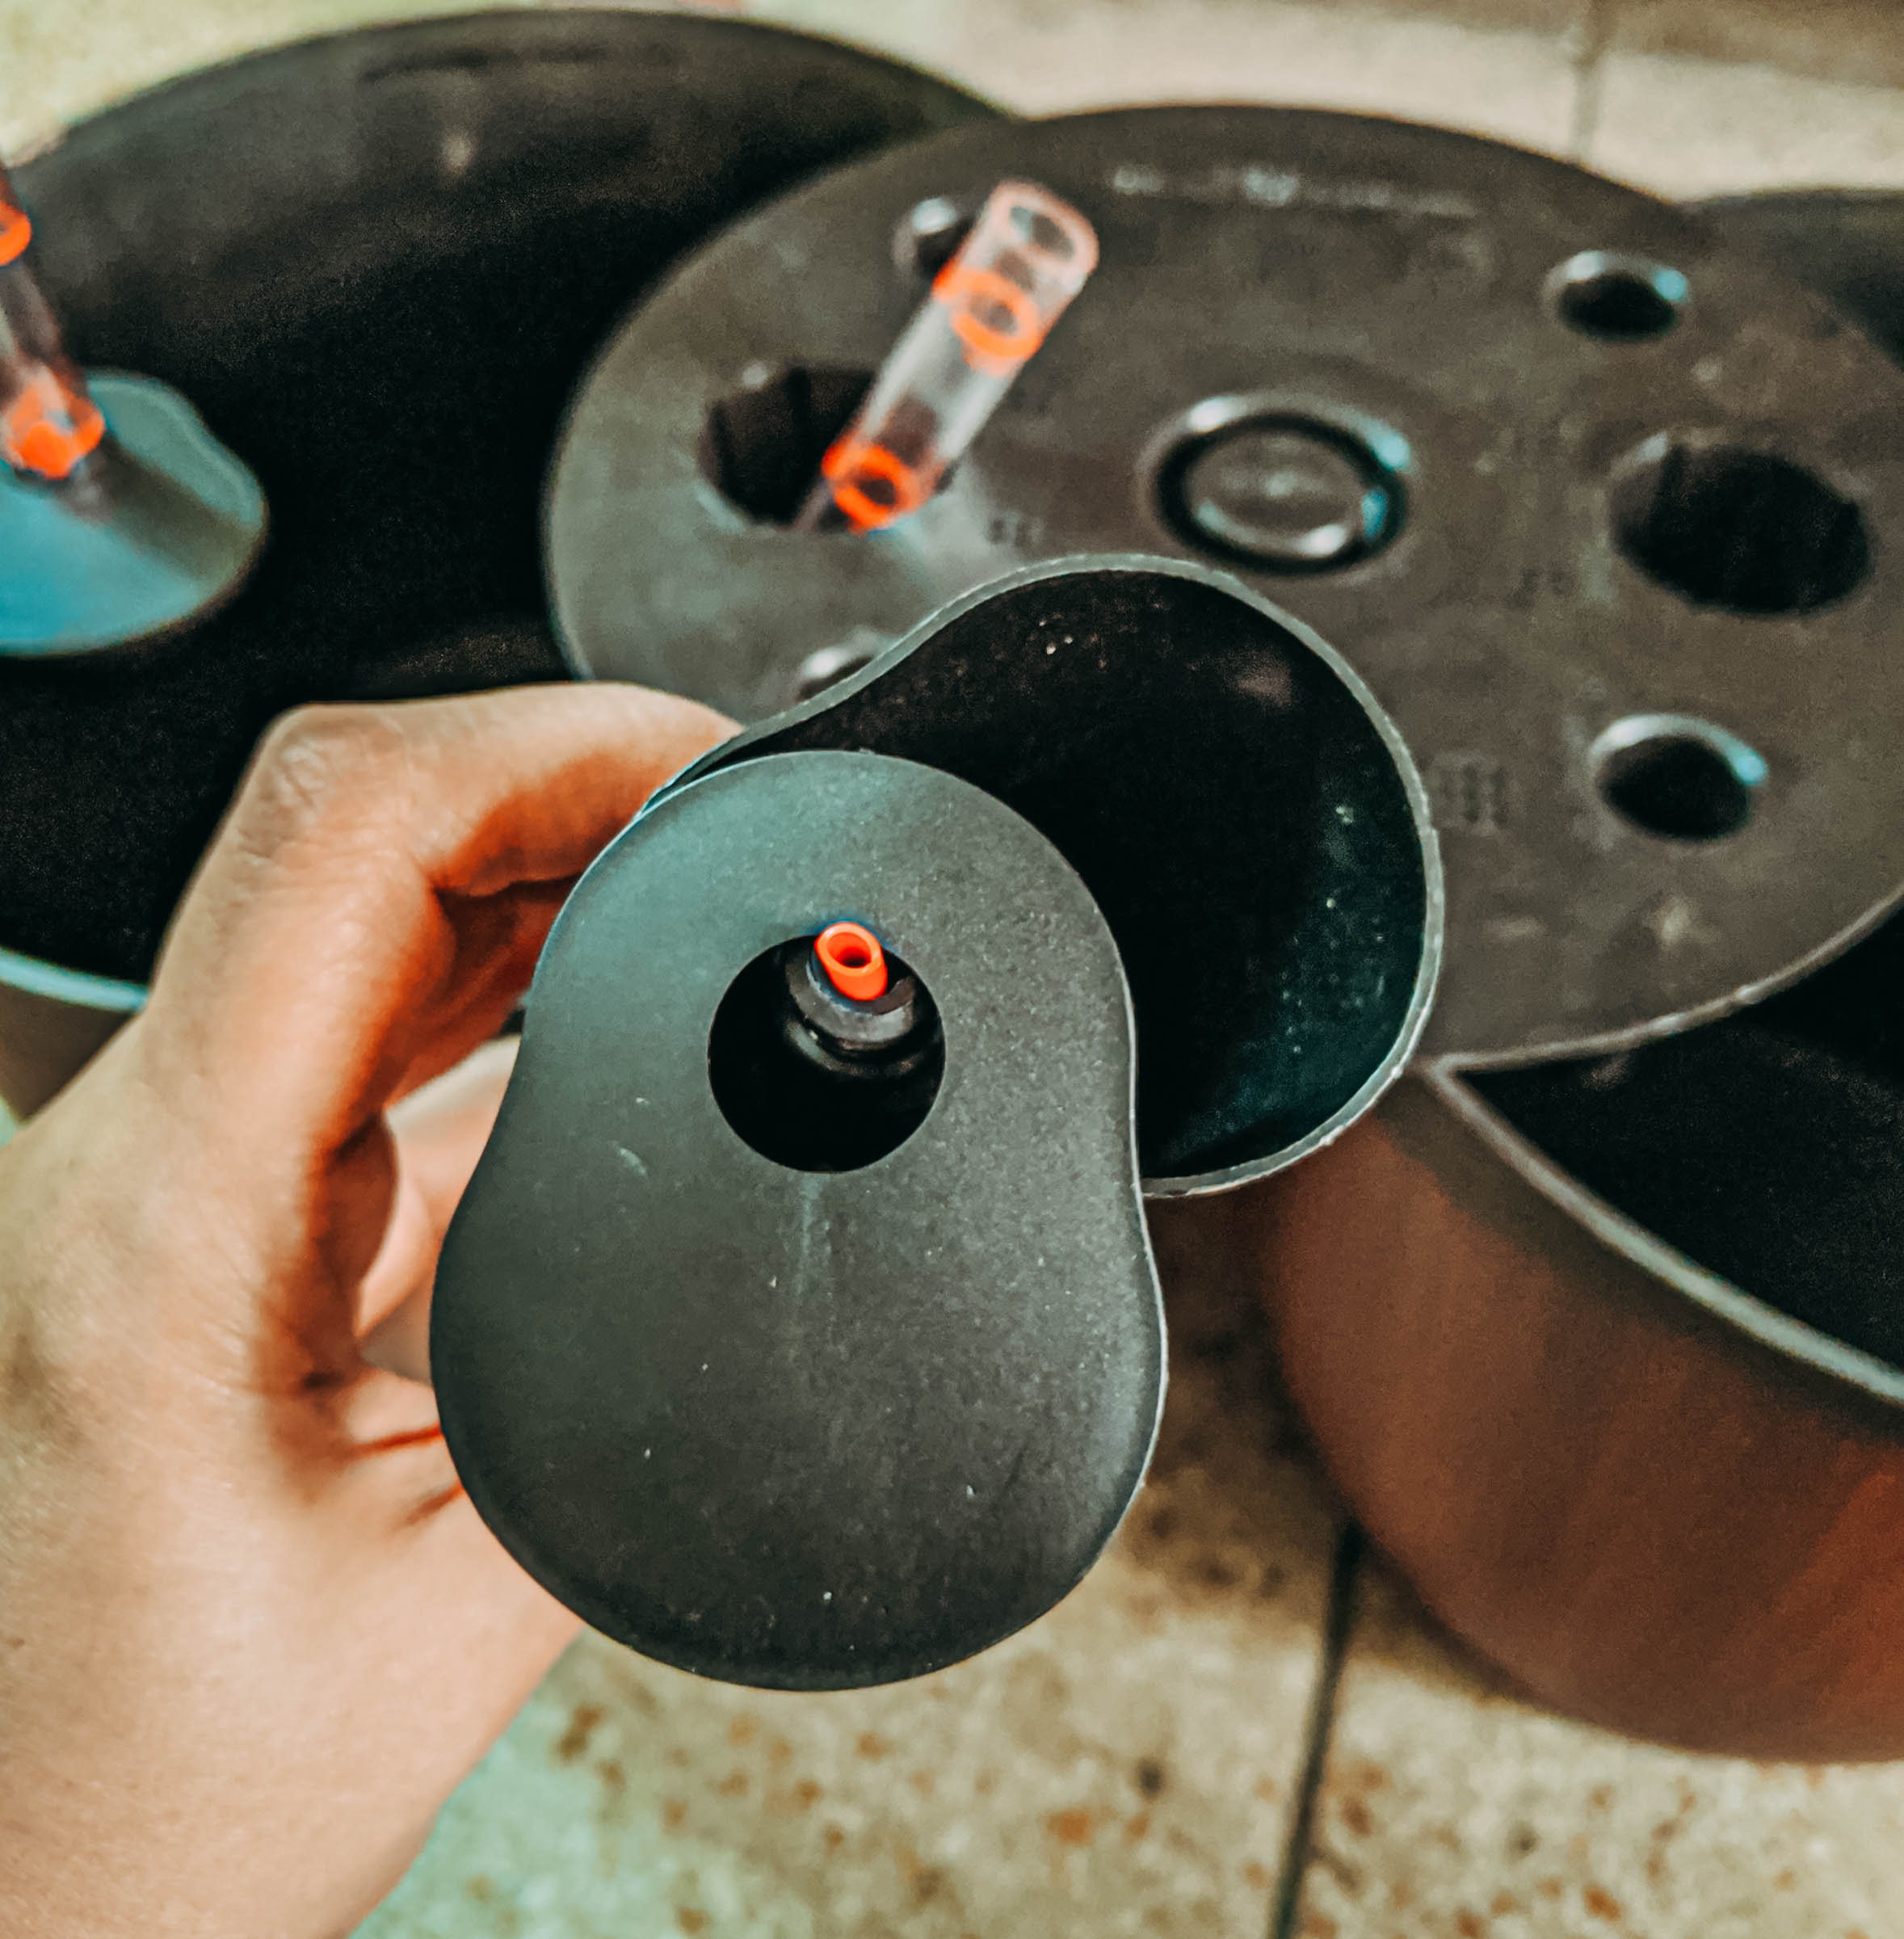
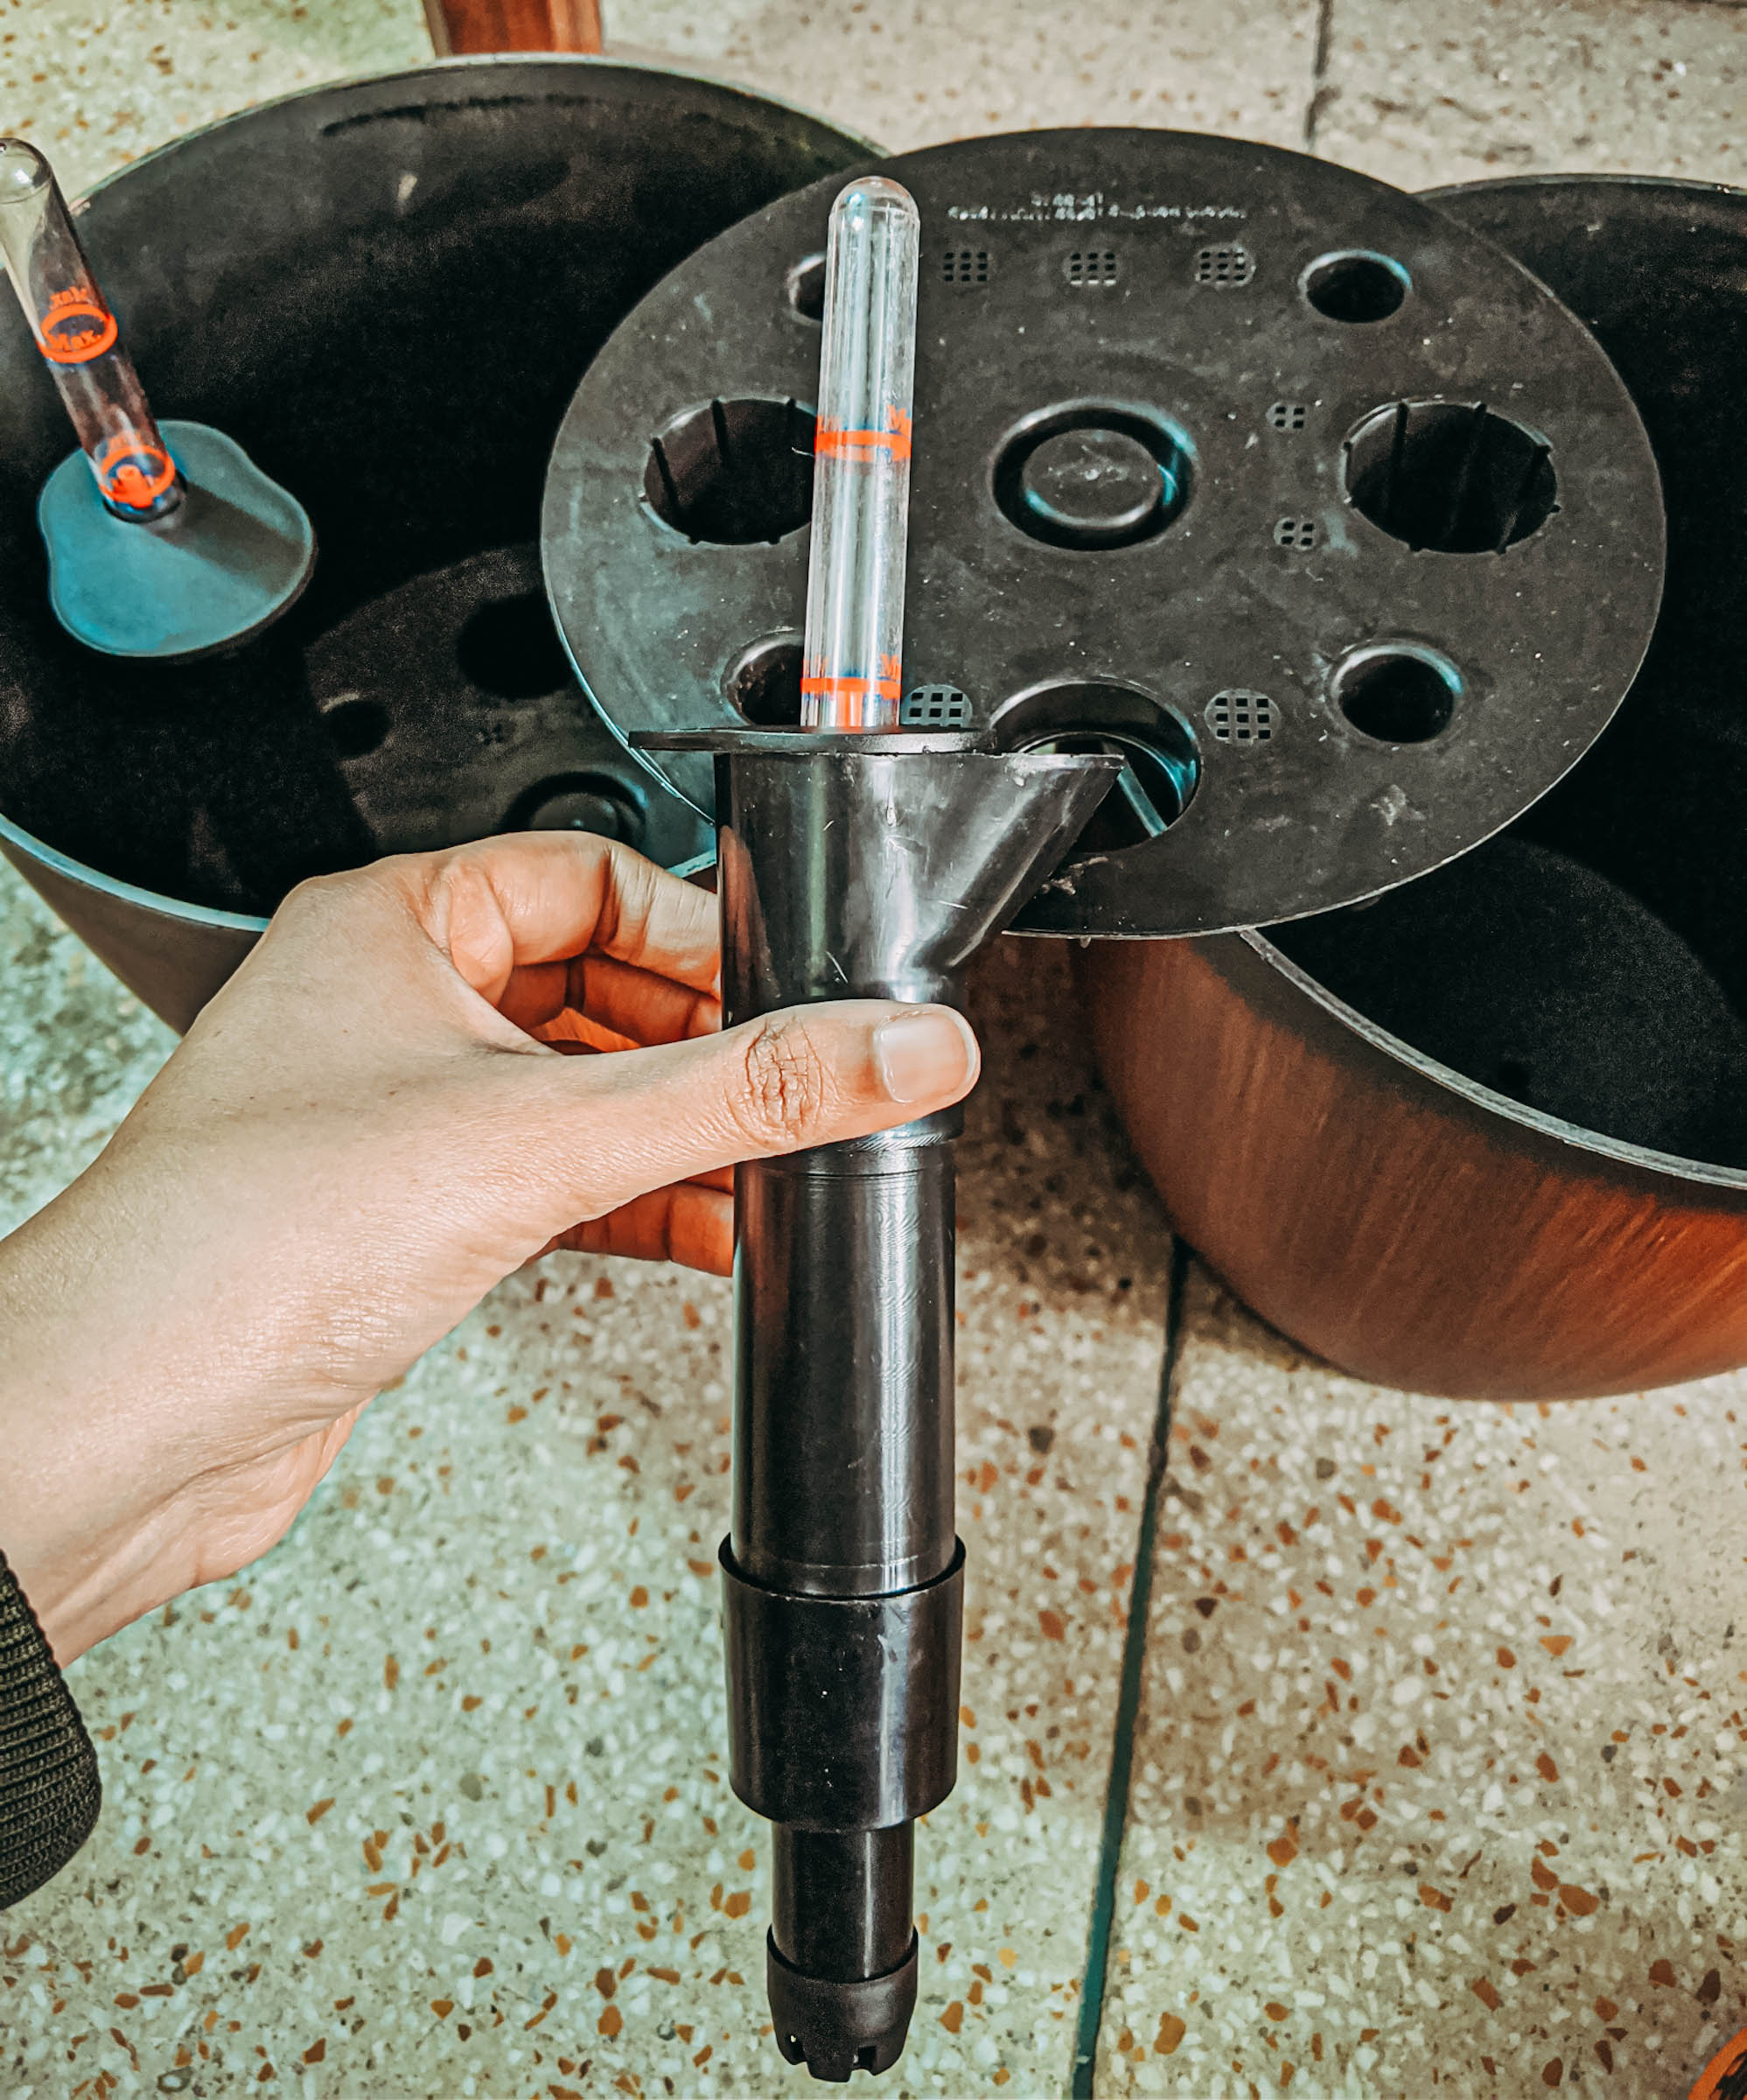
The indicator is a hollow red pipe that floats with the water level as you pour and as the water is used by the plant. The transparent inverted plastic test tube on top of it is to help indicate the level at which water will begin to leak out of the overflow vent. This contraption can be fastened into only one depression on the bottom tray inside the pot. It should be pushed in till it is tight else soil can leak through and fill up the space meant for the water.
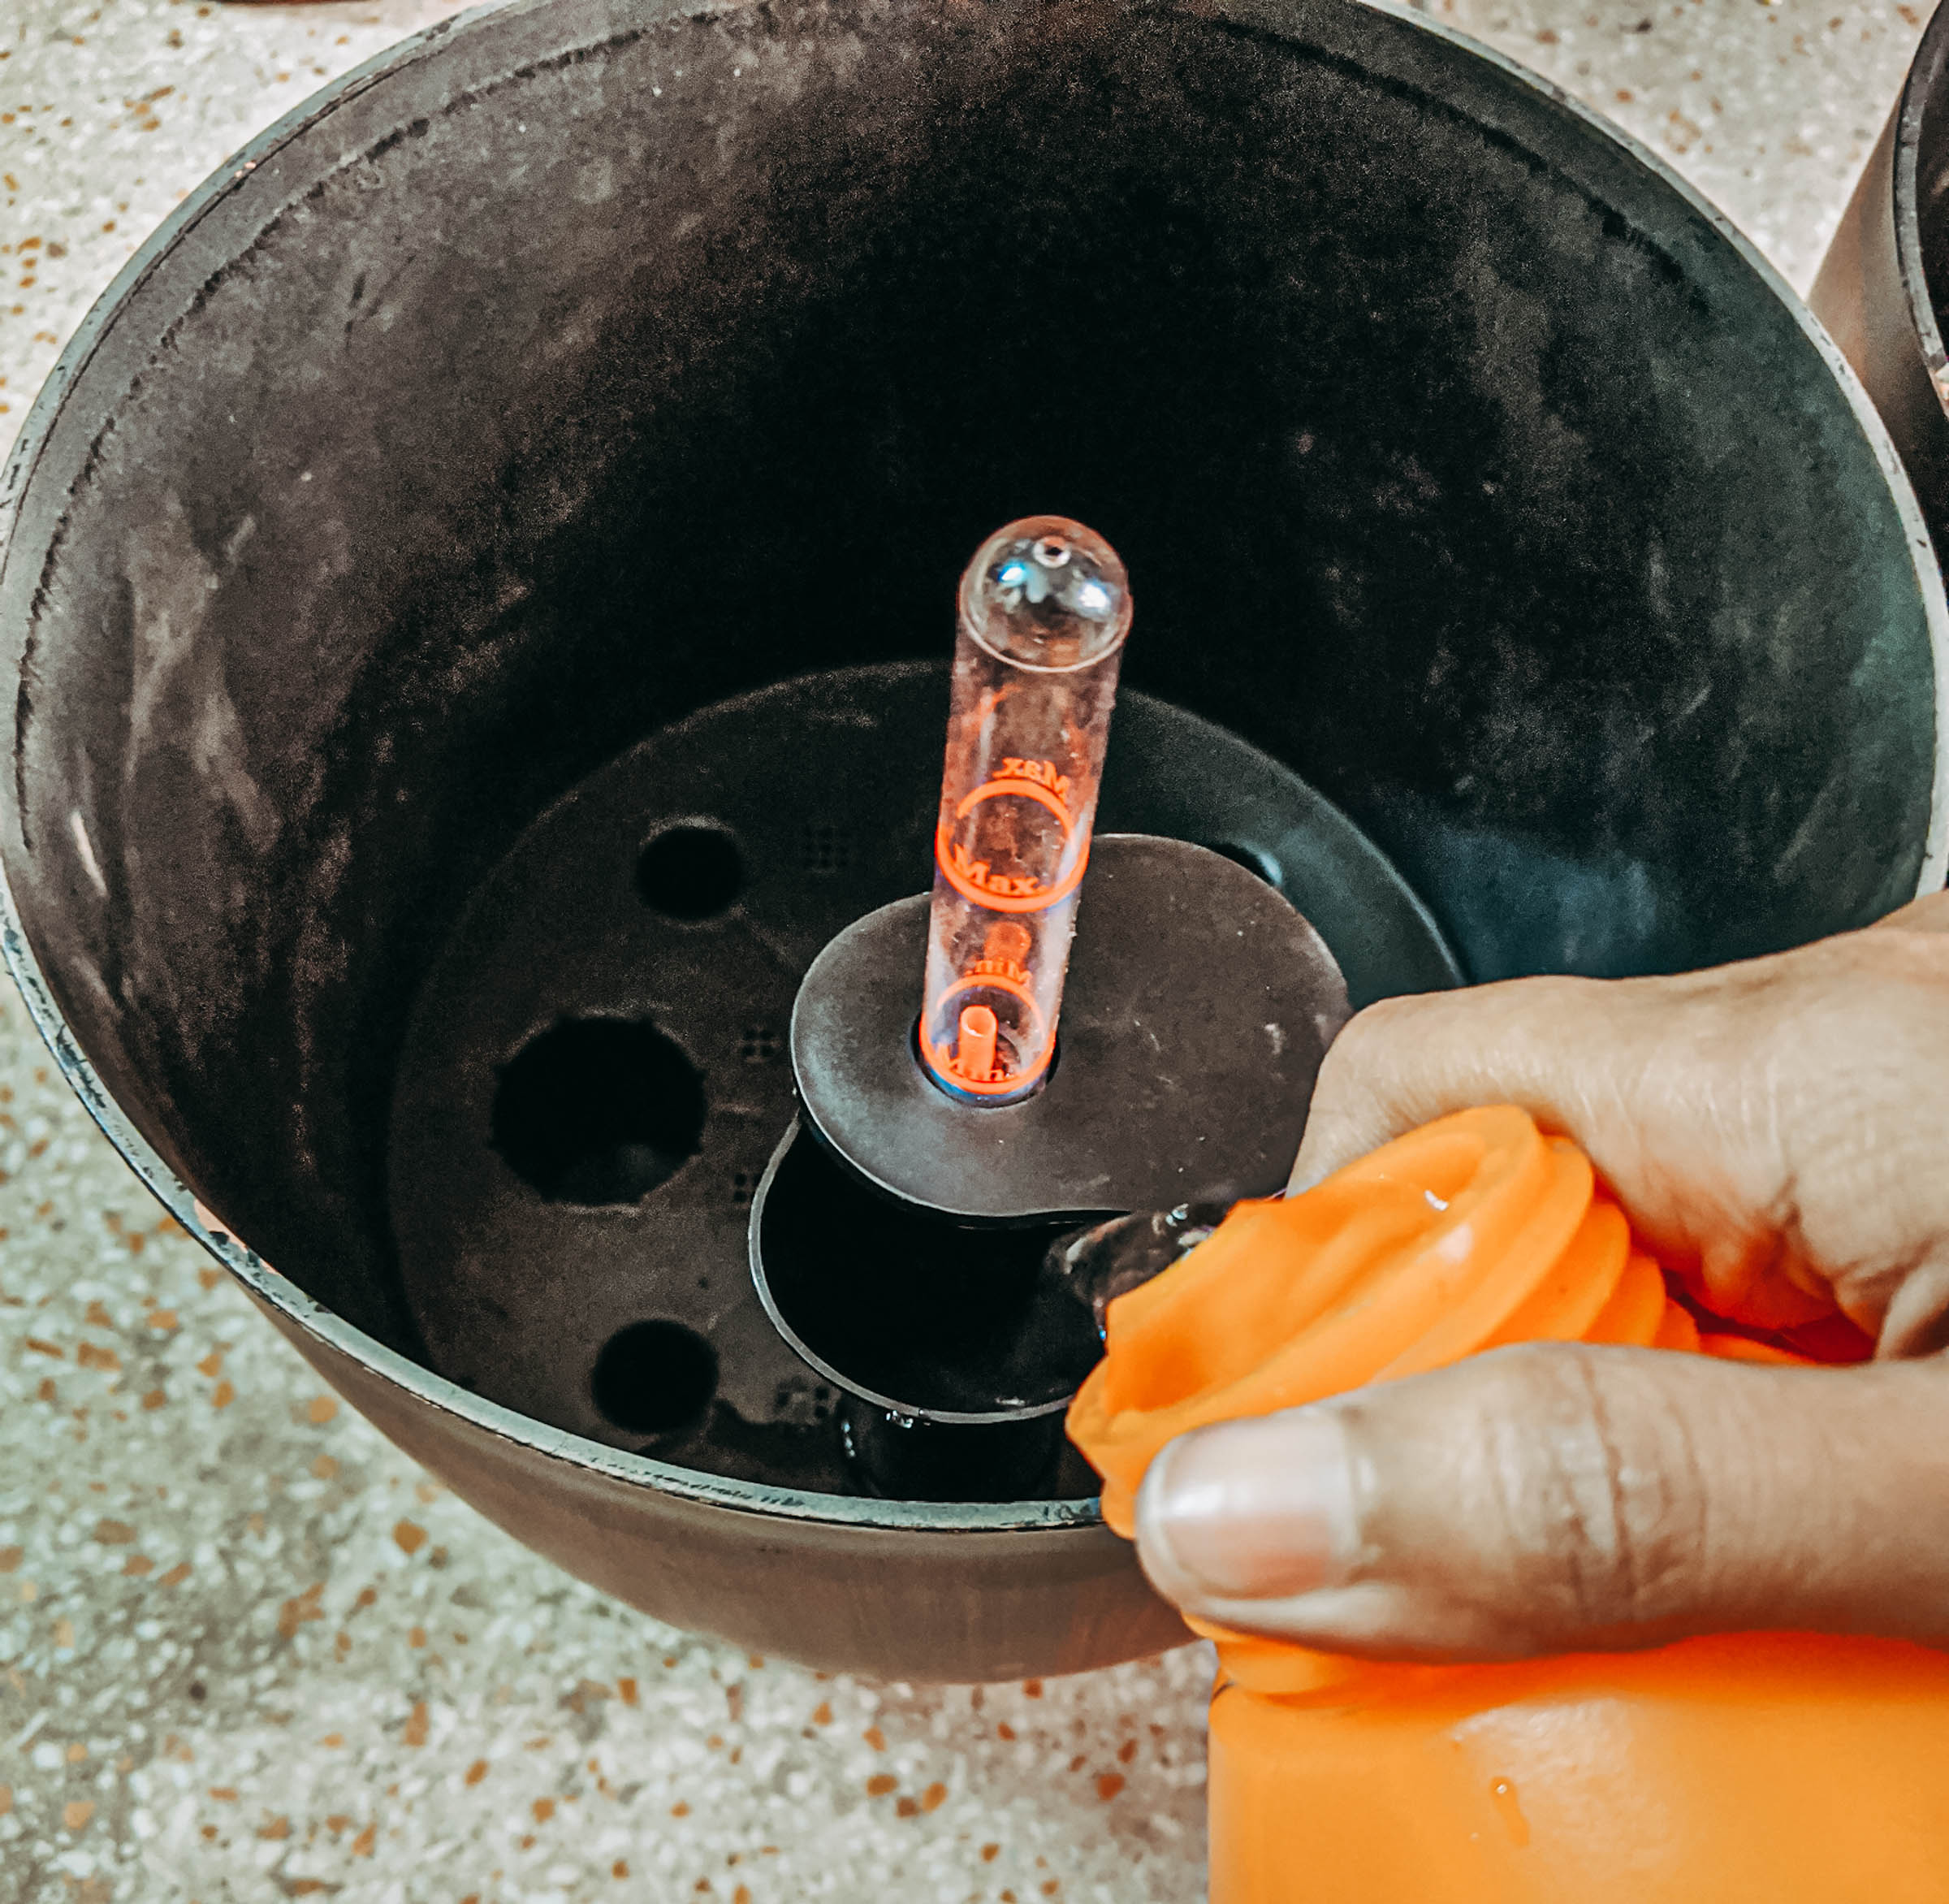
For the first time, I pour water in before I put in the soil. Gives me an idea if any of the holes are clogged. You won’t be able to figure this out after pouring in the soil and it will get messier if you have to clean and re-start the whole process.
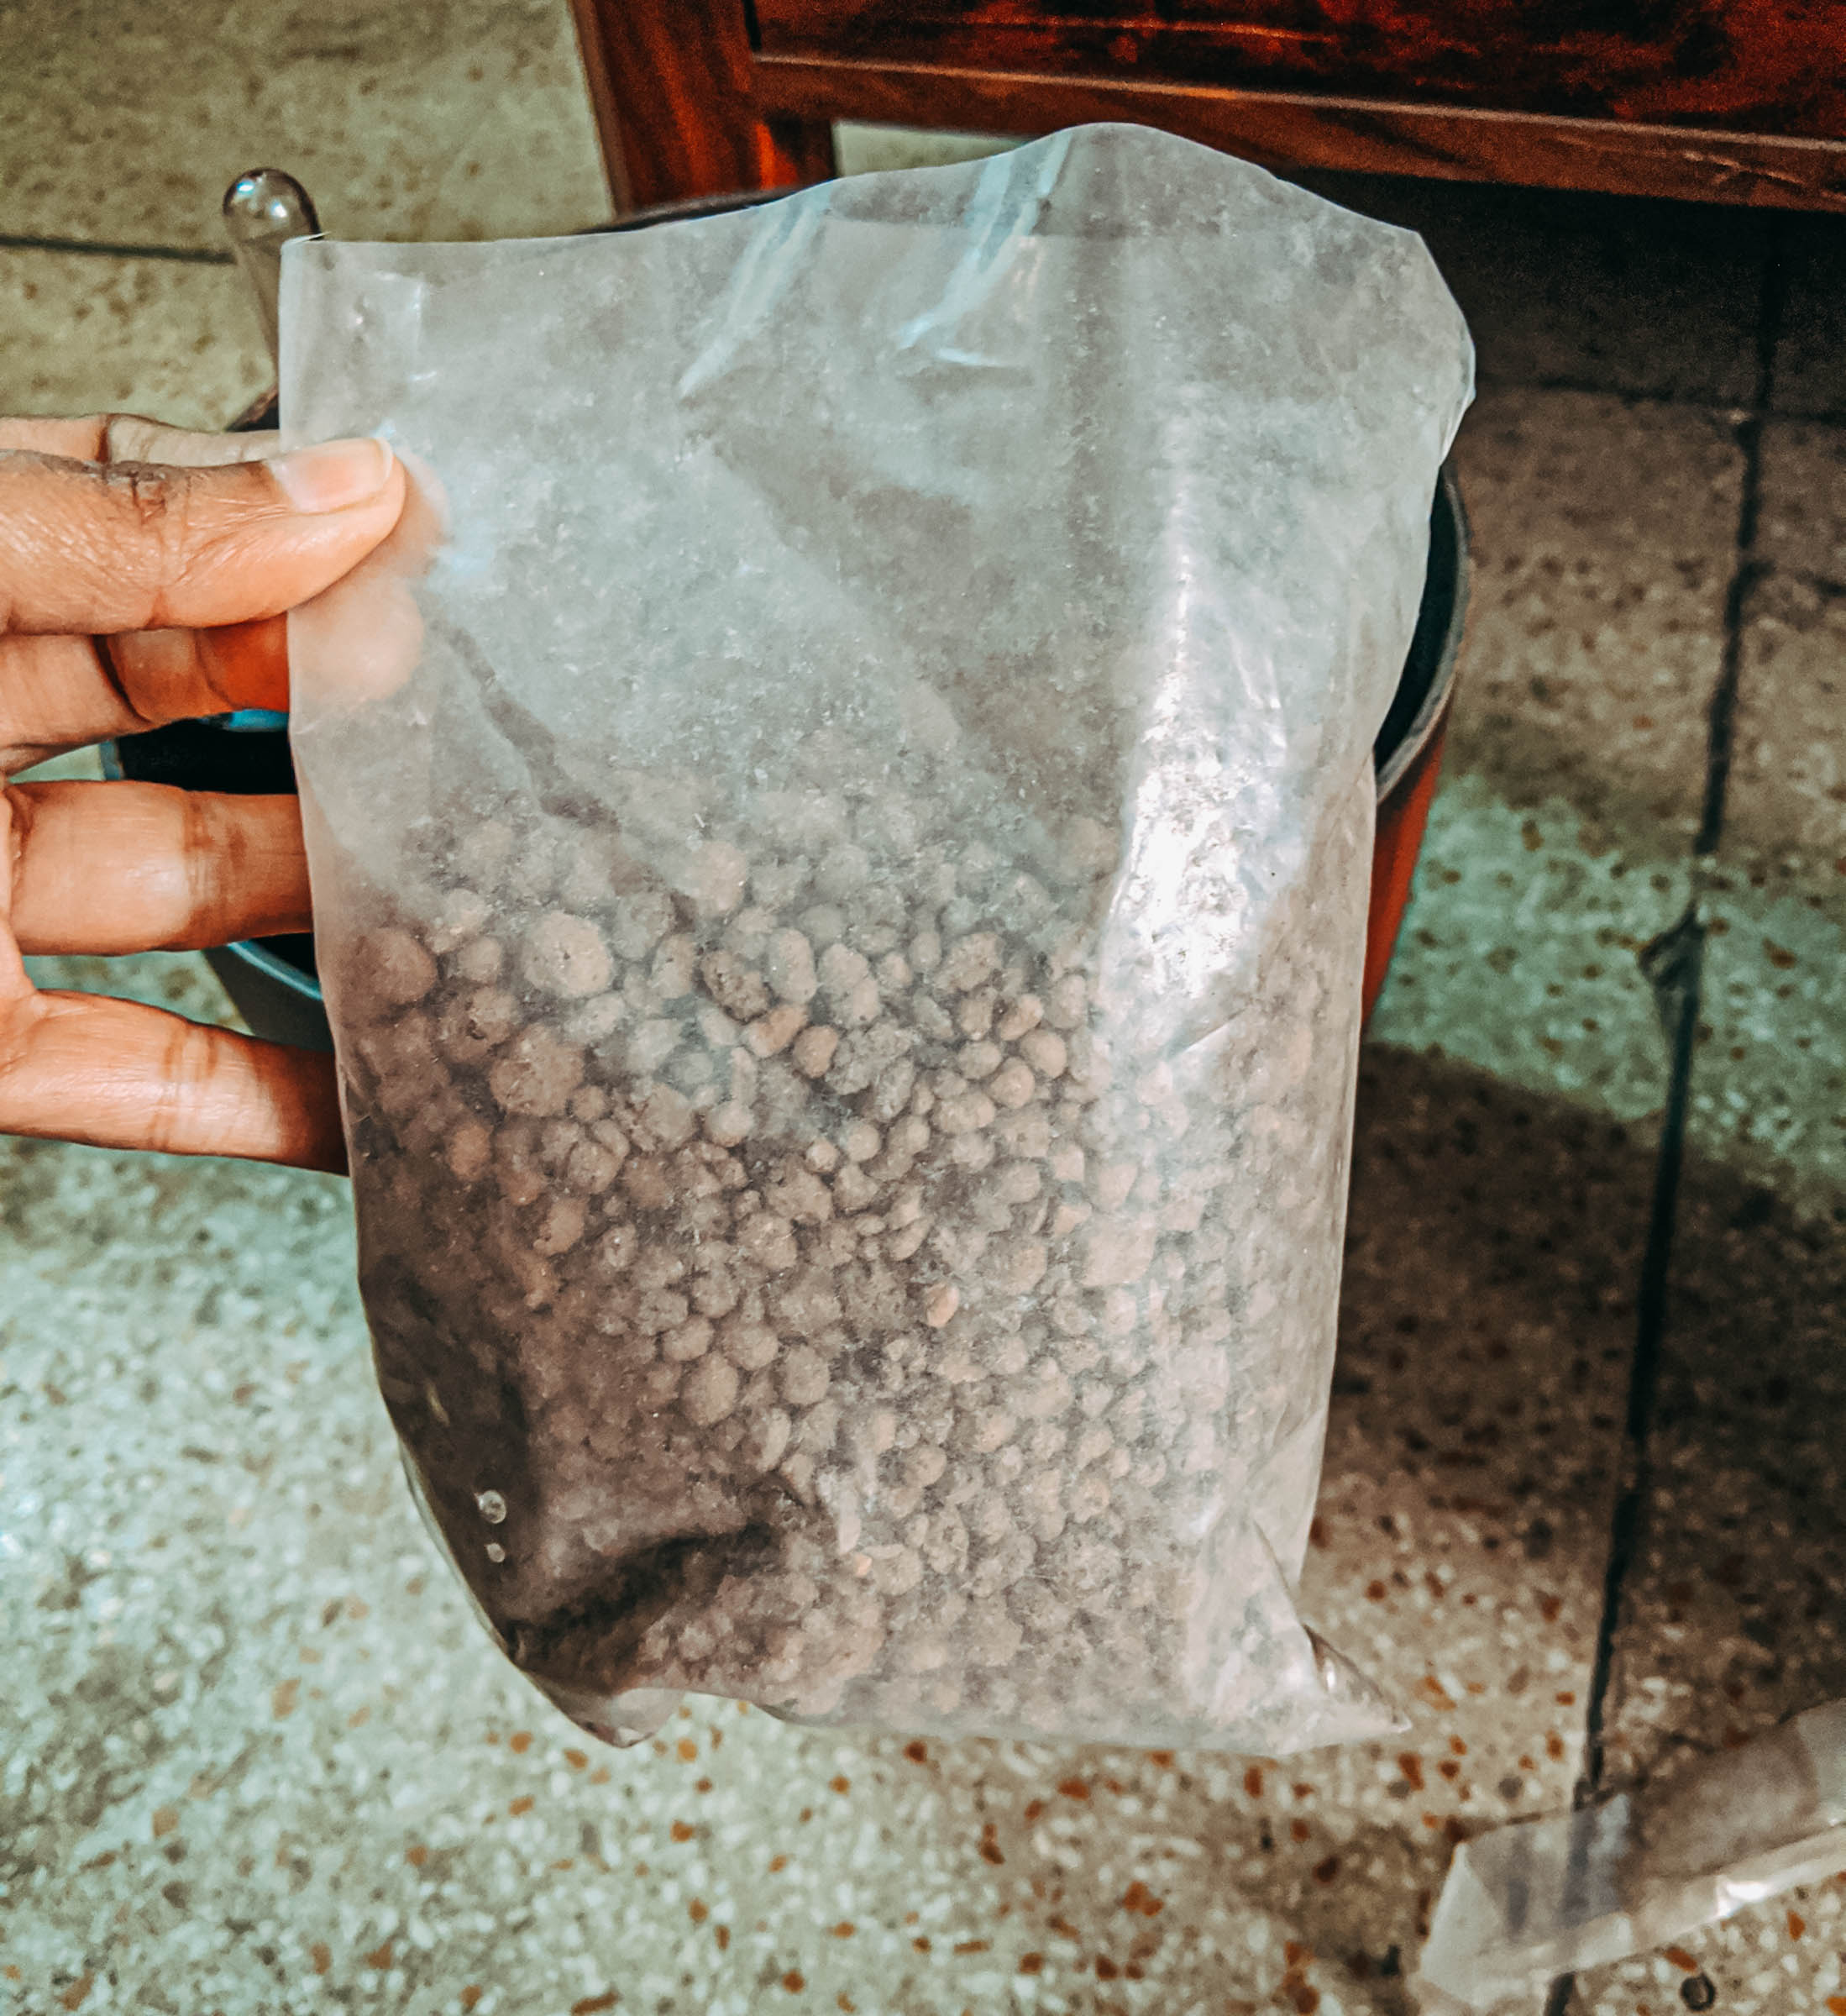
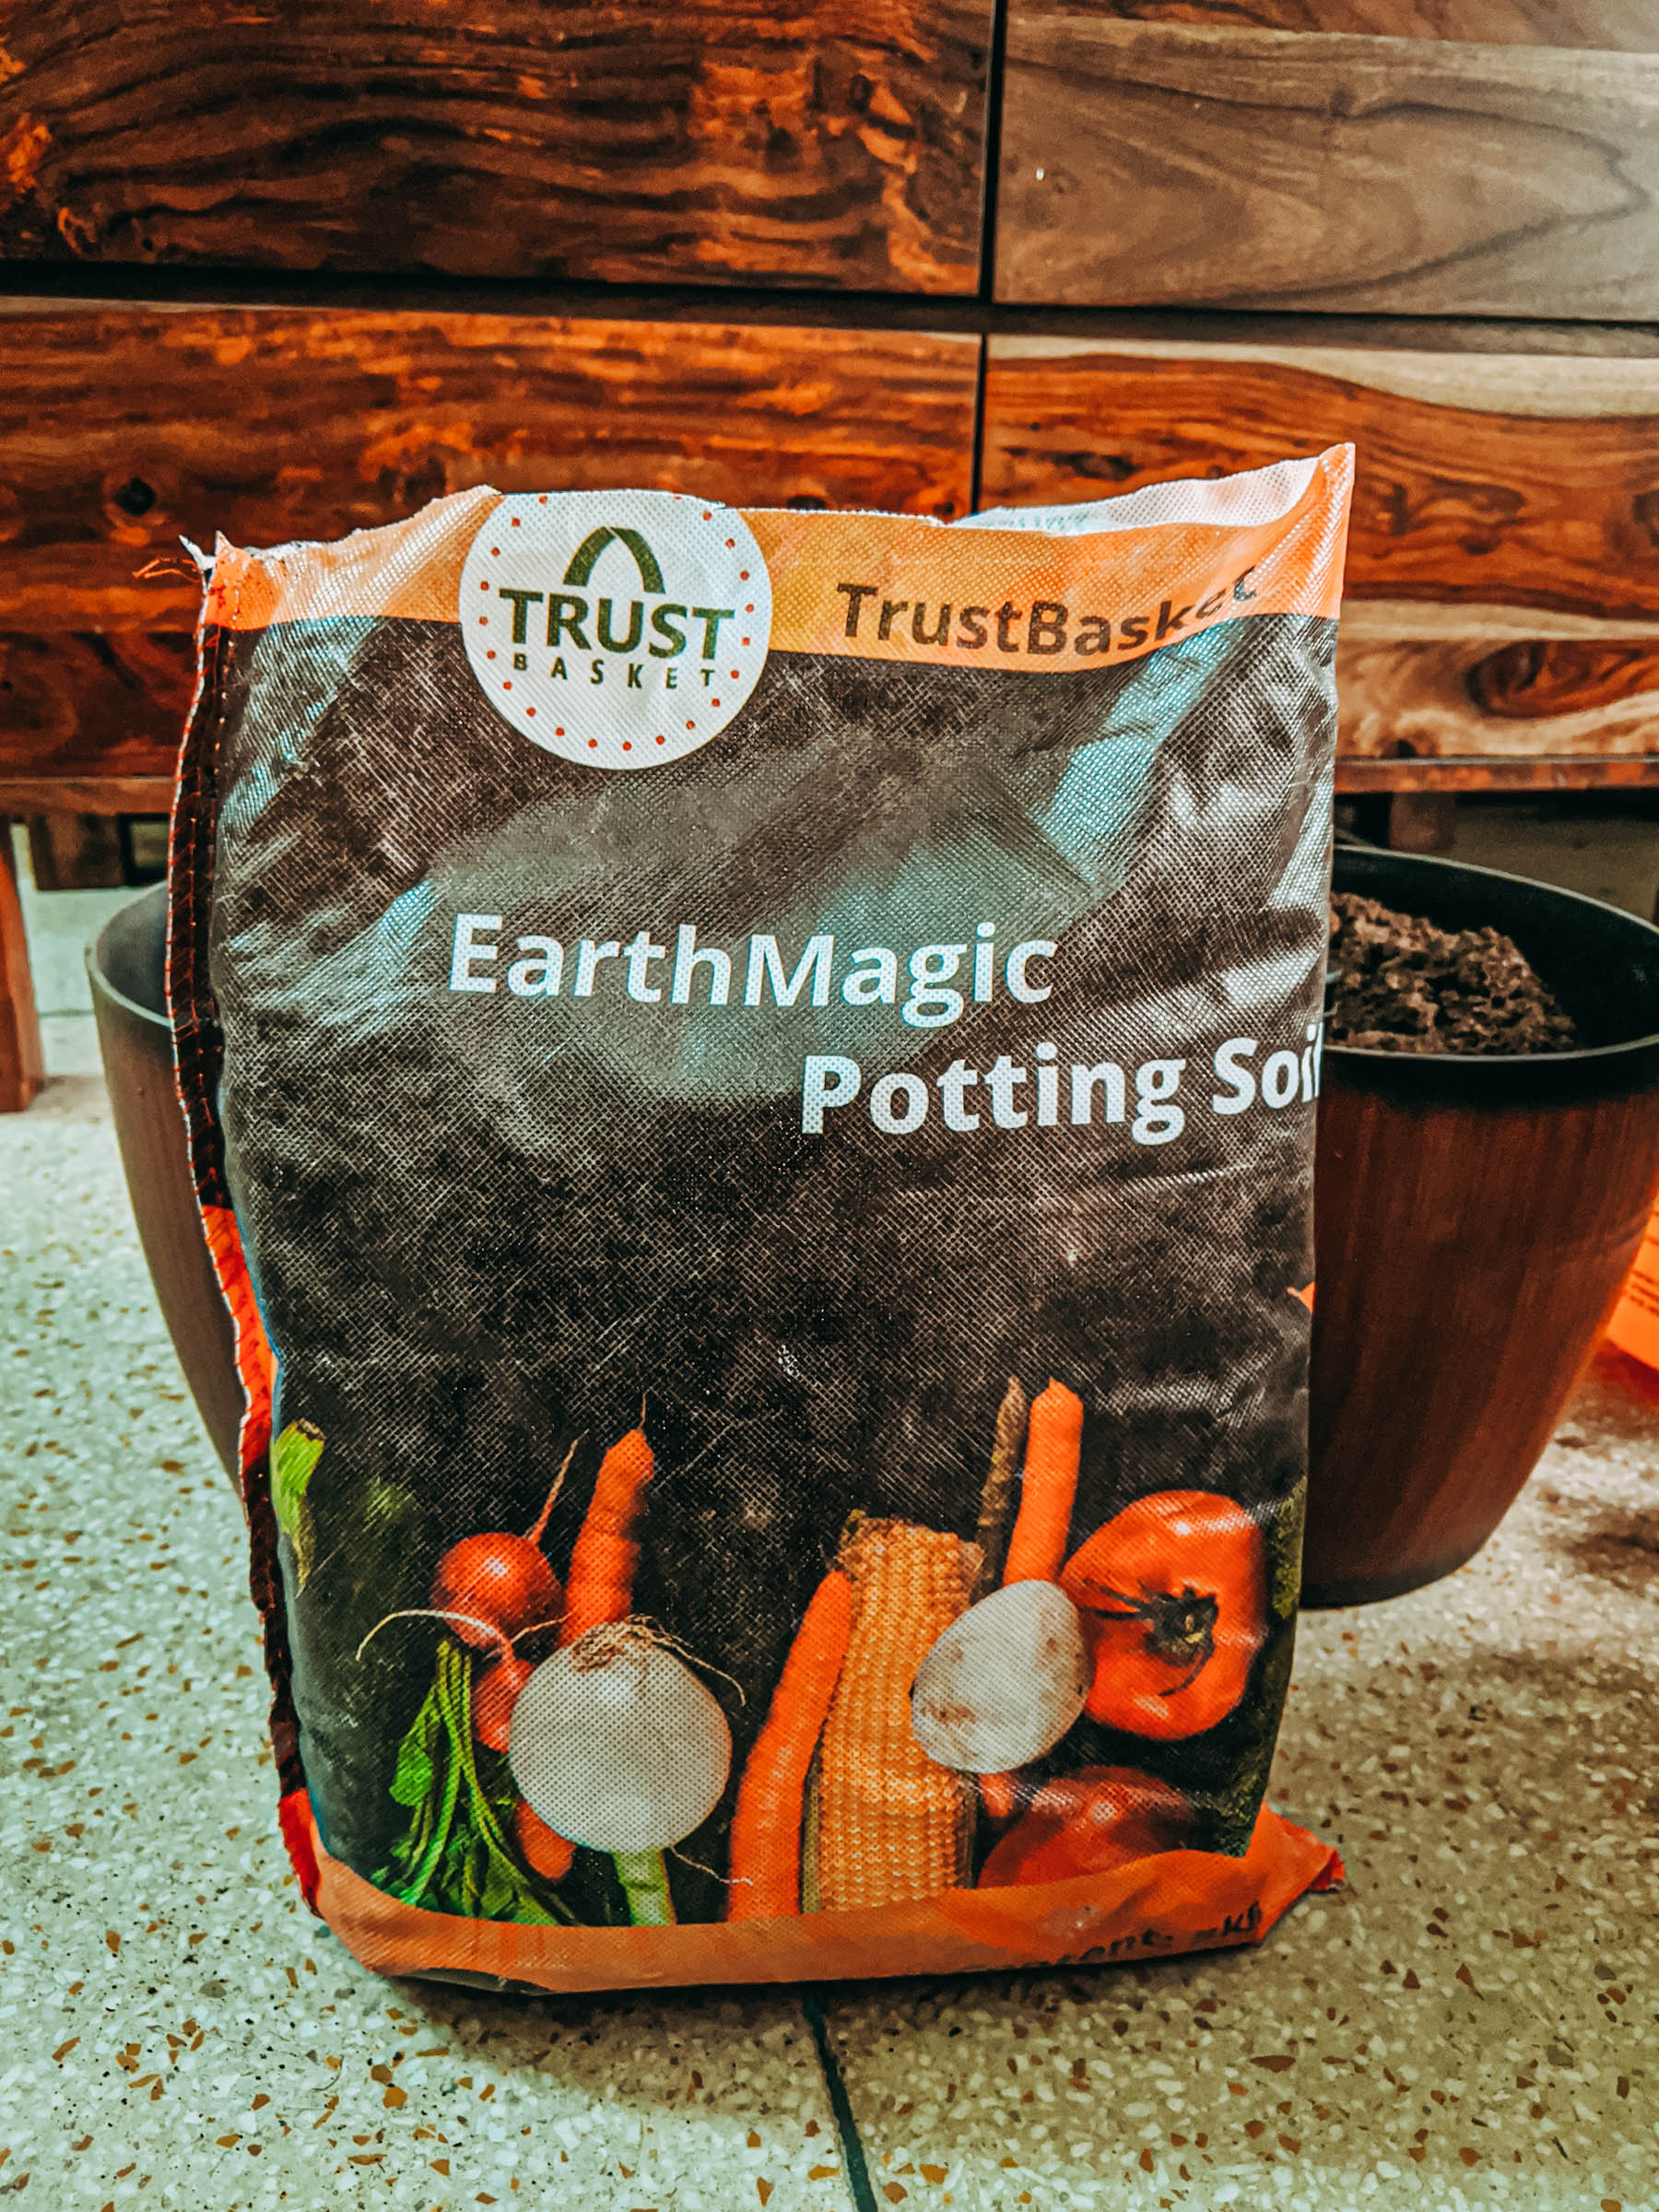
The seller of these pots also sends along a small plastic bag of coco peat, which I use to layer the bottom of the pot, right above the tray. The soil I use in all my pots is the bag top right. You don’t have to get the same of course. I’ve tried a few pre-packaged ones and seem to like this one. Or, you could go to a local nursery and just pick up some soil from there or if you have a backyard, you have a ready supply anyway.
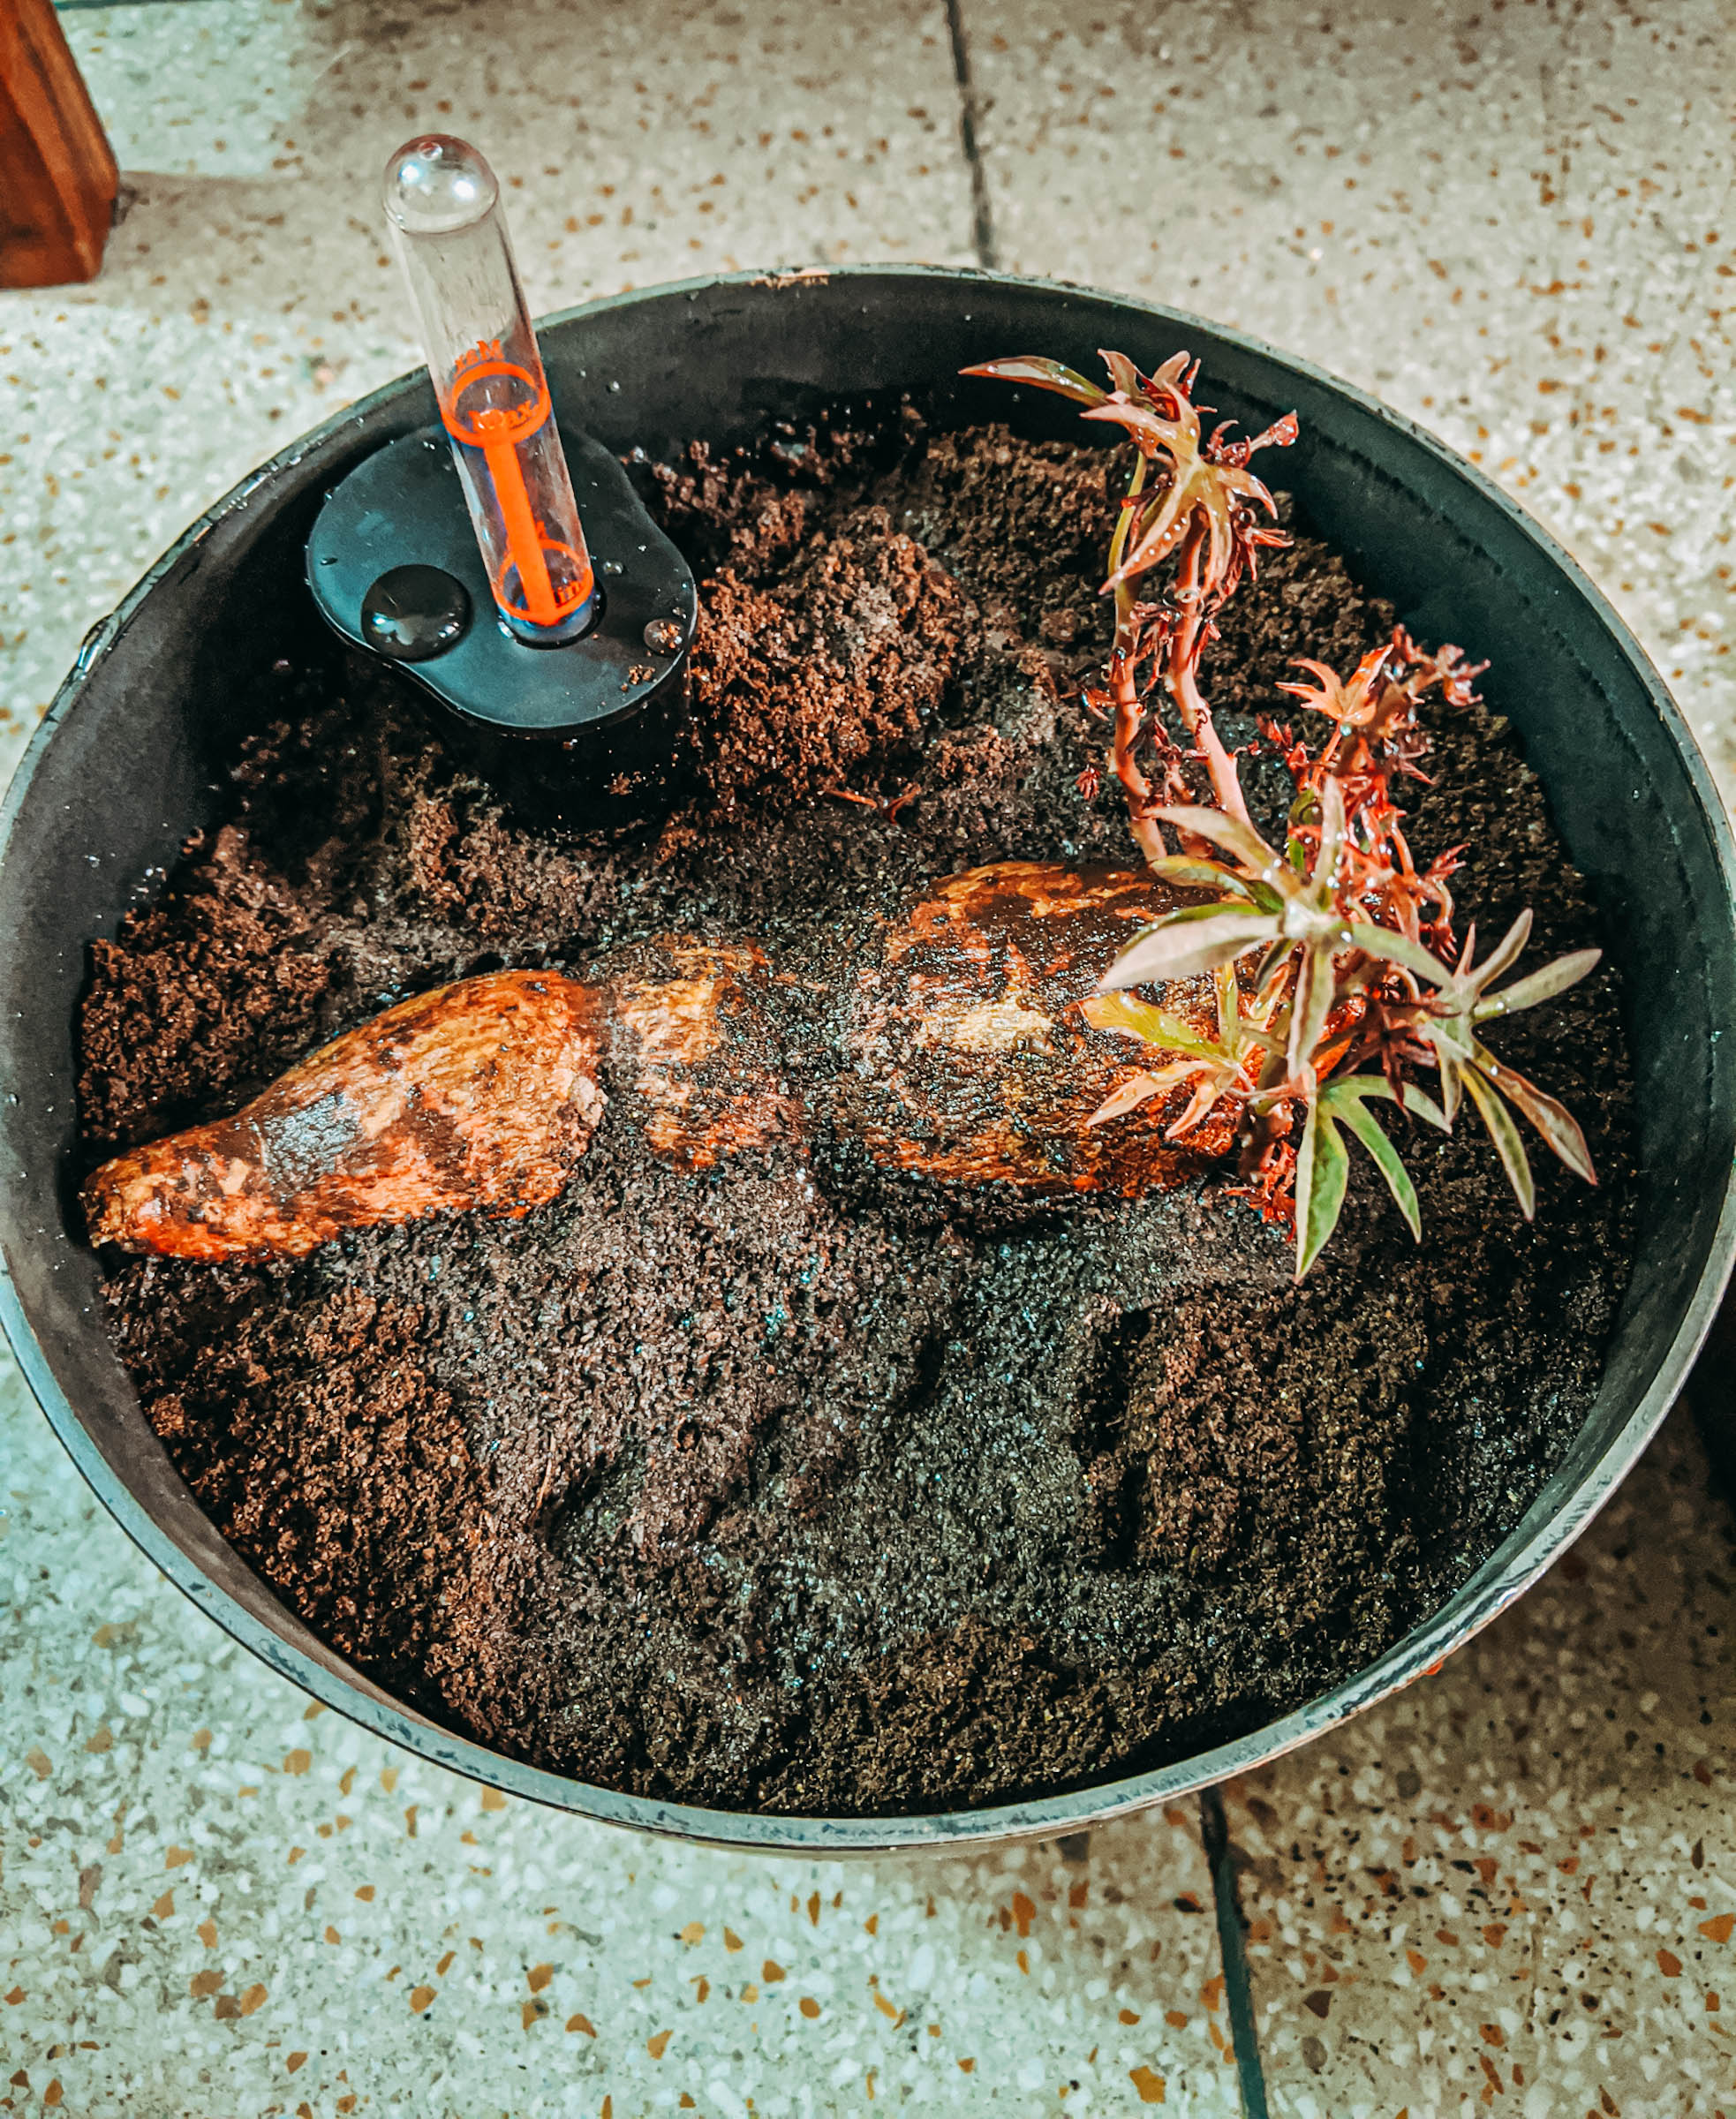

I was potting the two Sweet Potatoes that grew shoots in my kitchen. Documented the process with images during this. Sweet Potatoes can make beautiful looking plants with purple leaves. These are my first, so I’m unsure of their fate just yet. Let’s see how it goes. I haven’t buried the entire tuber into the soil because they don’t need that just yet. They’ve been sitting on a shelf in the kitchen without soil or moisture just fine.
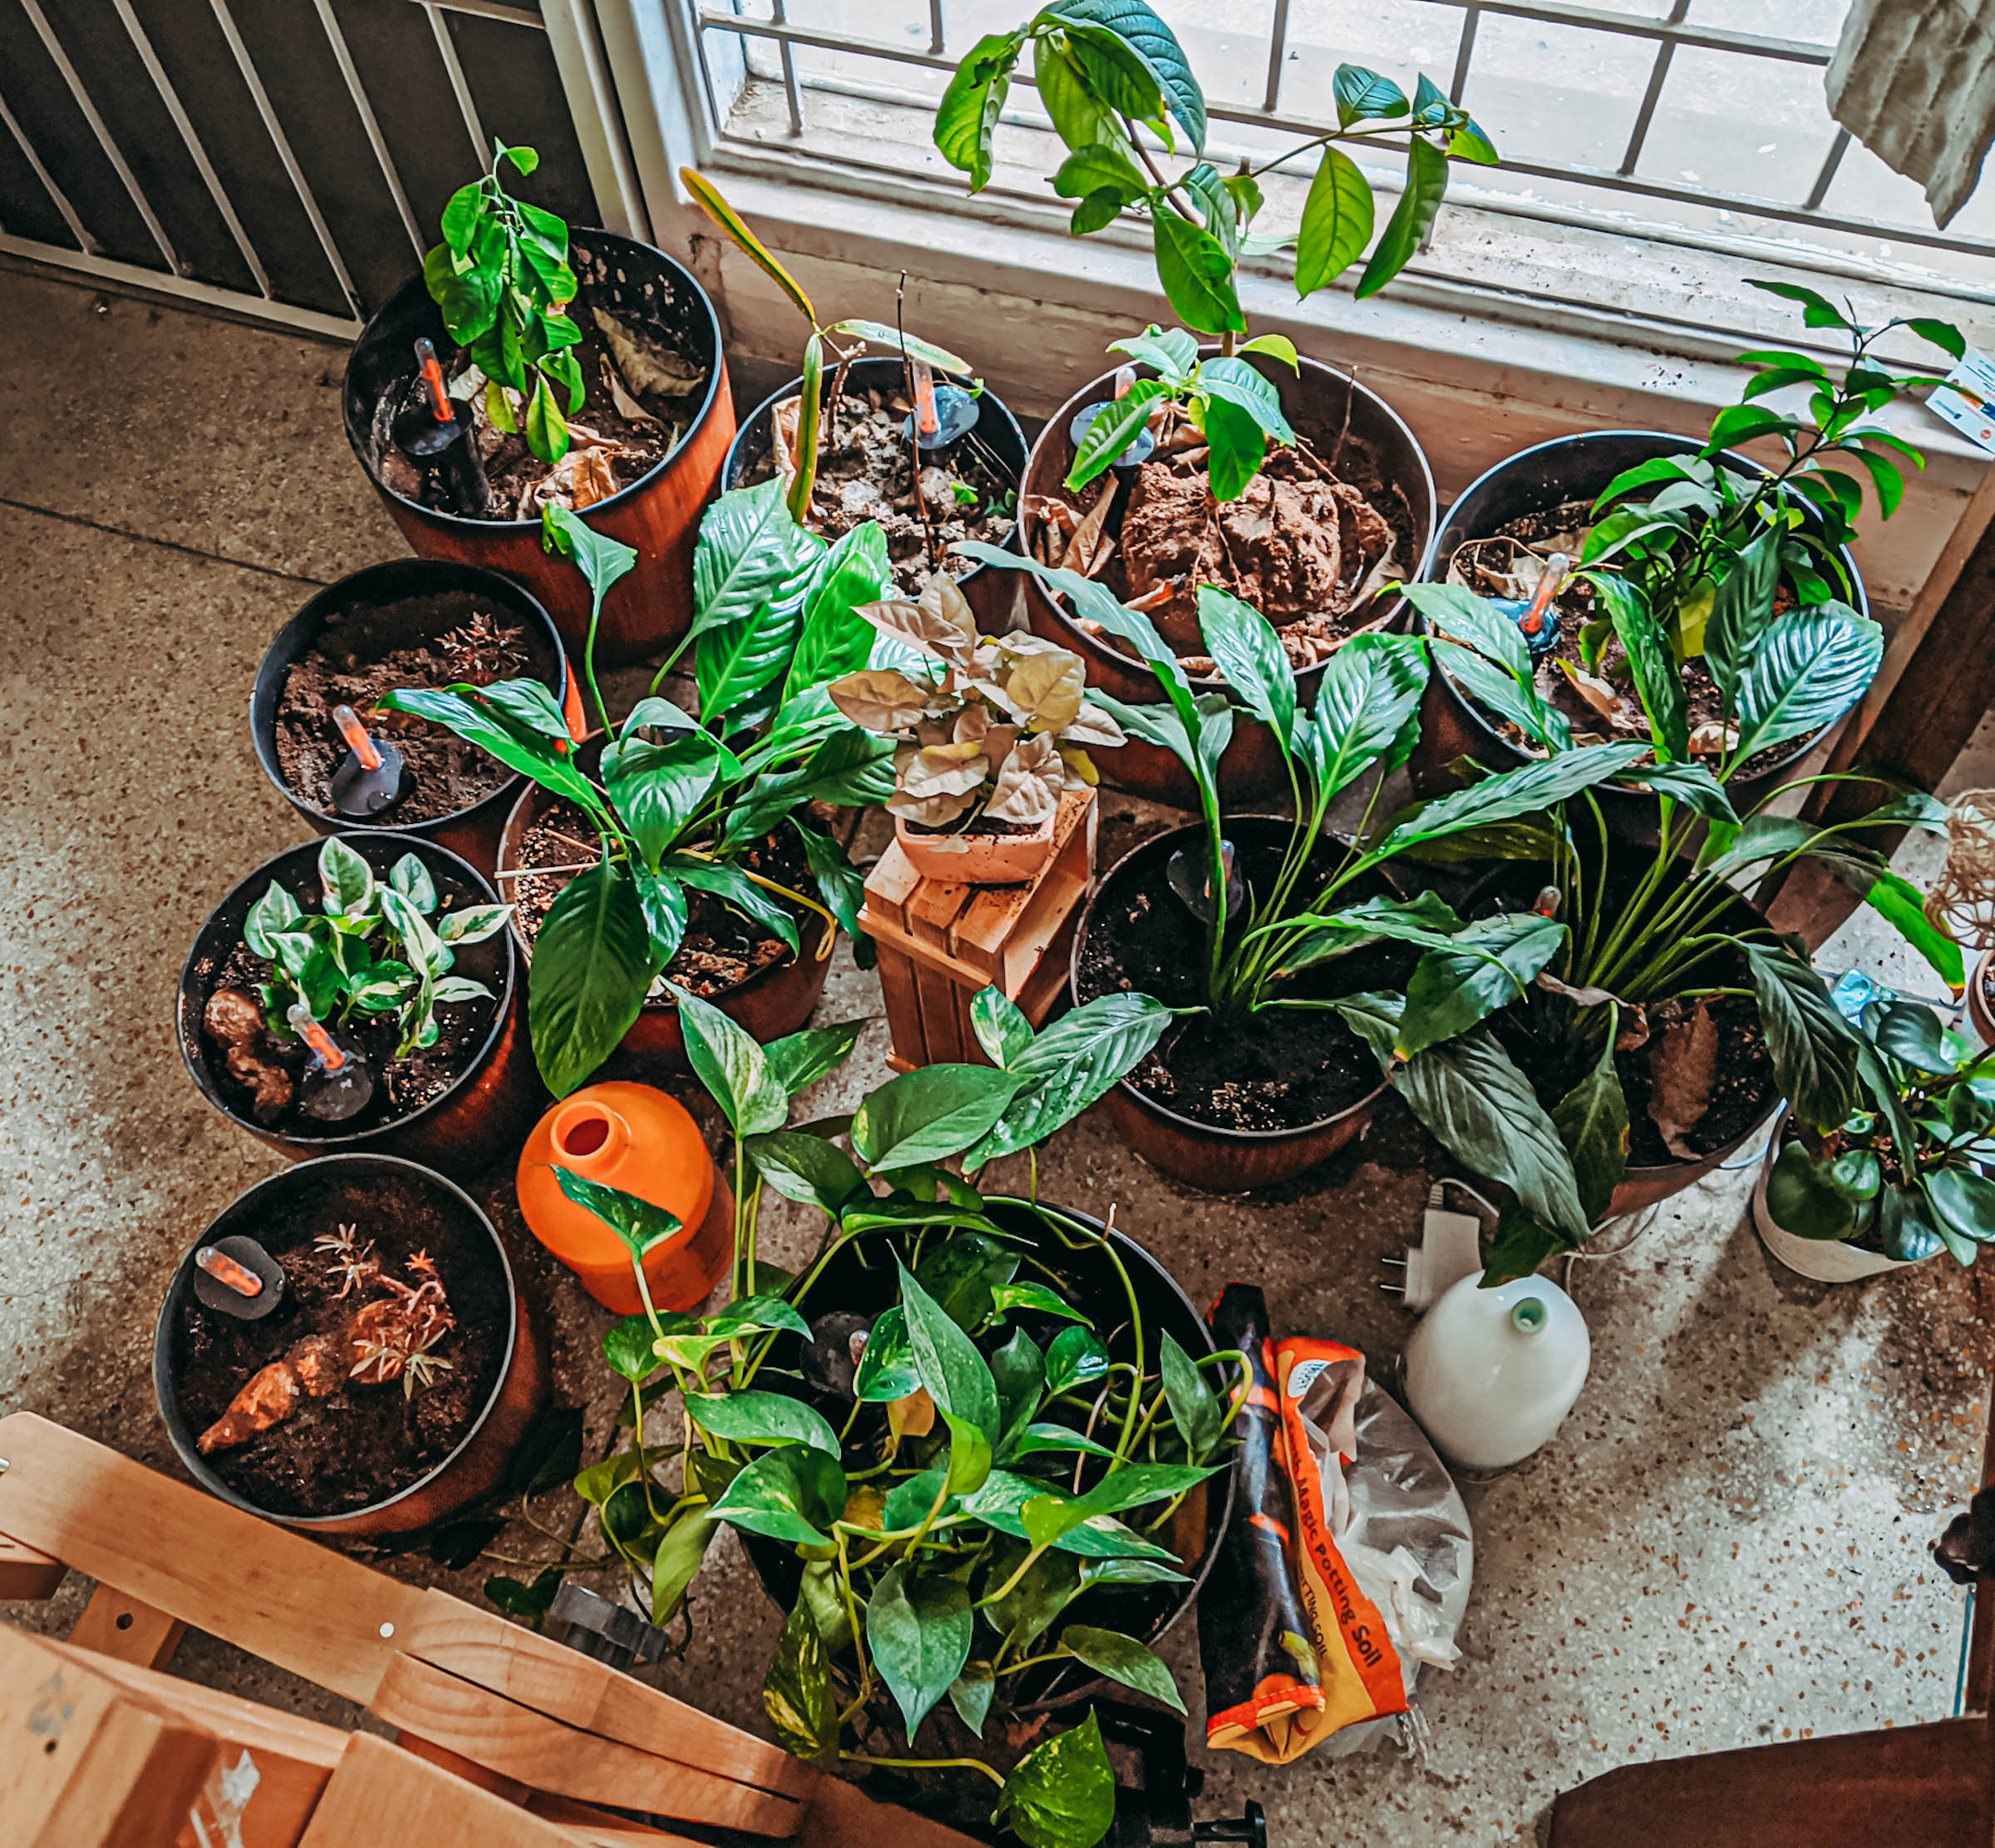
And that is what my indoor apartment garden looks like. This is placed to the left of the Succulent Garden, which is under my desk. This is a South-West facing wall with lots of glass from pretty much ceiling to floor. Probably the only place inside the apartment that gets this much sunlight during the winters. During summers, it can get scorchingly hot, so I move the plants about a meter further in towards the room so that the worst of the glass-focused heat doesn’t wilt the leaves.
A Golden Pothos and perhaps a Pearls & Jade Pothos, Crepe Myrtle, three Peace Lilies ( the first plants I started with ), two Kinnows, one Croton, two Sweet Potatoes, one Pink Arrowhead. That’s the family of plants, for now.
Once again, link to self-watering pot product, link to soil, and link to the blog post about my succulents, which includes links to where I buy my plants from, where I buy ceramic pots for the succulents and the gravel I use in the pots for the succulents.
Happy Green Fingers!
Love,
Naina