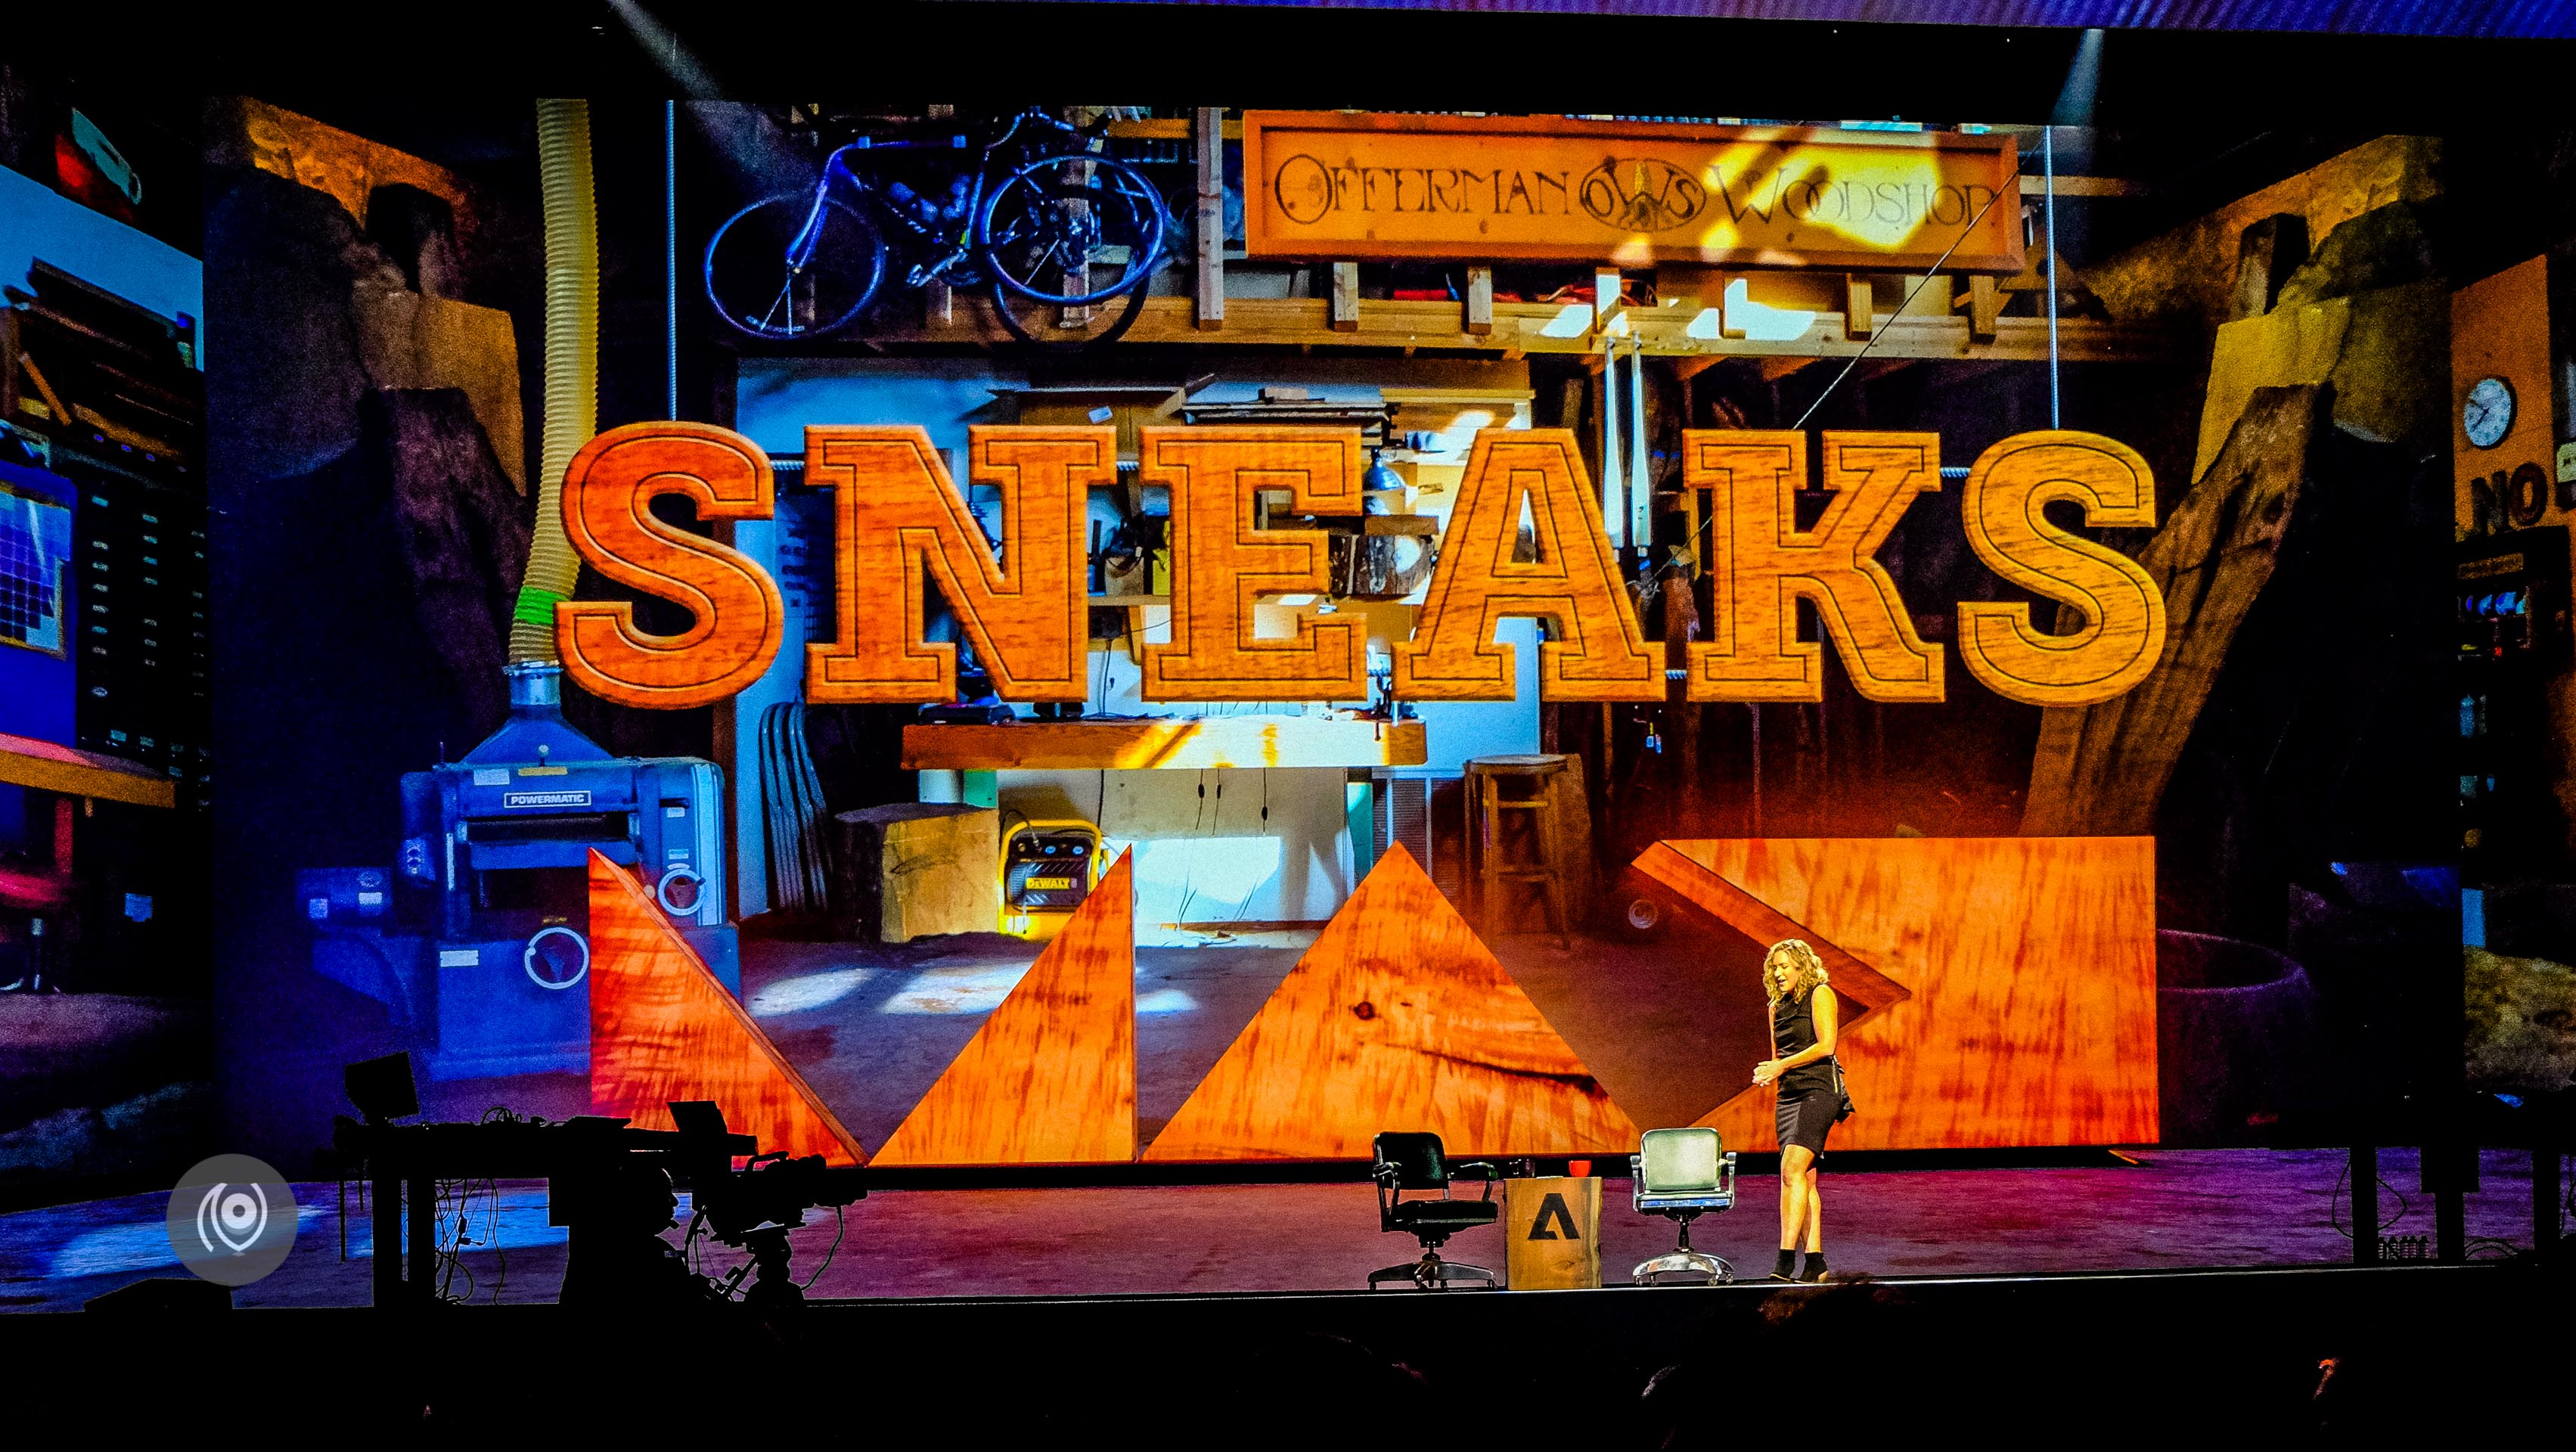
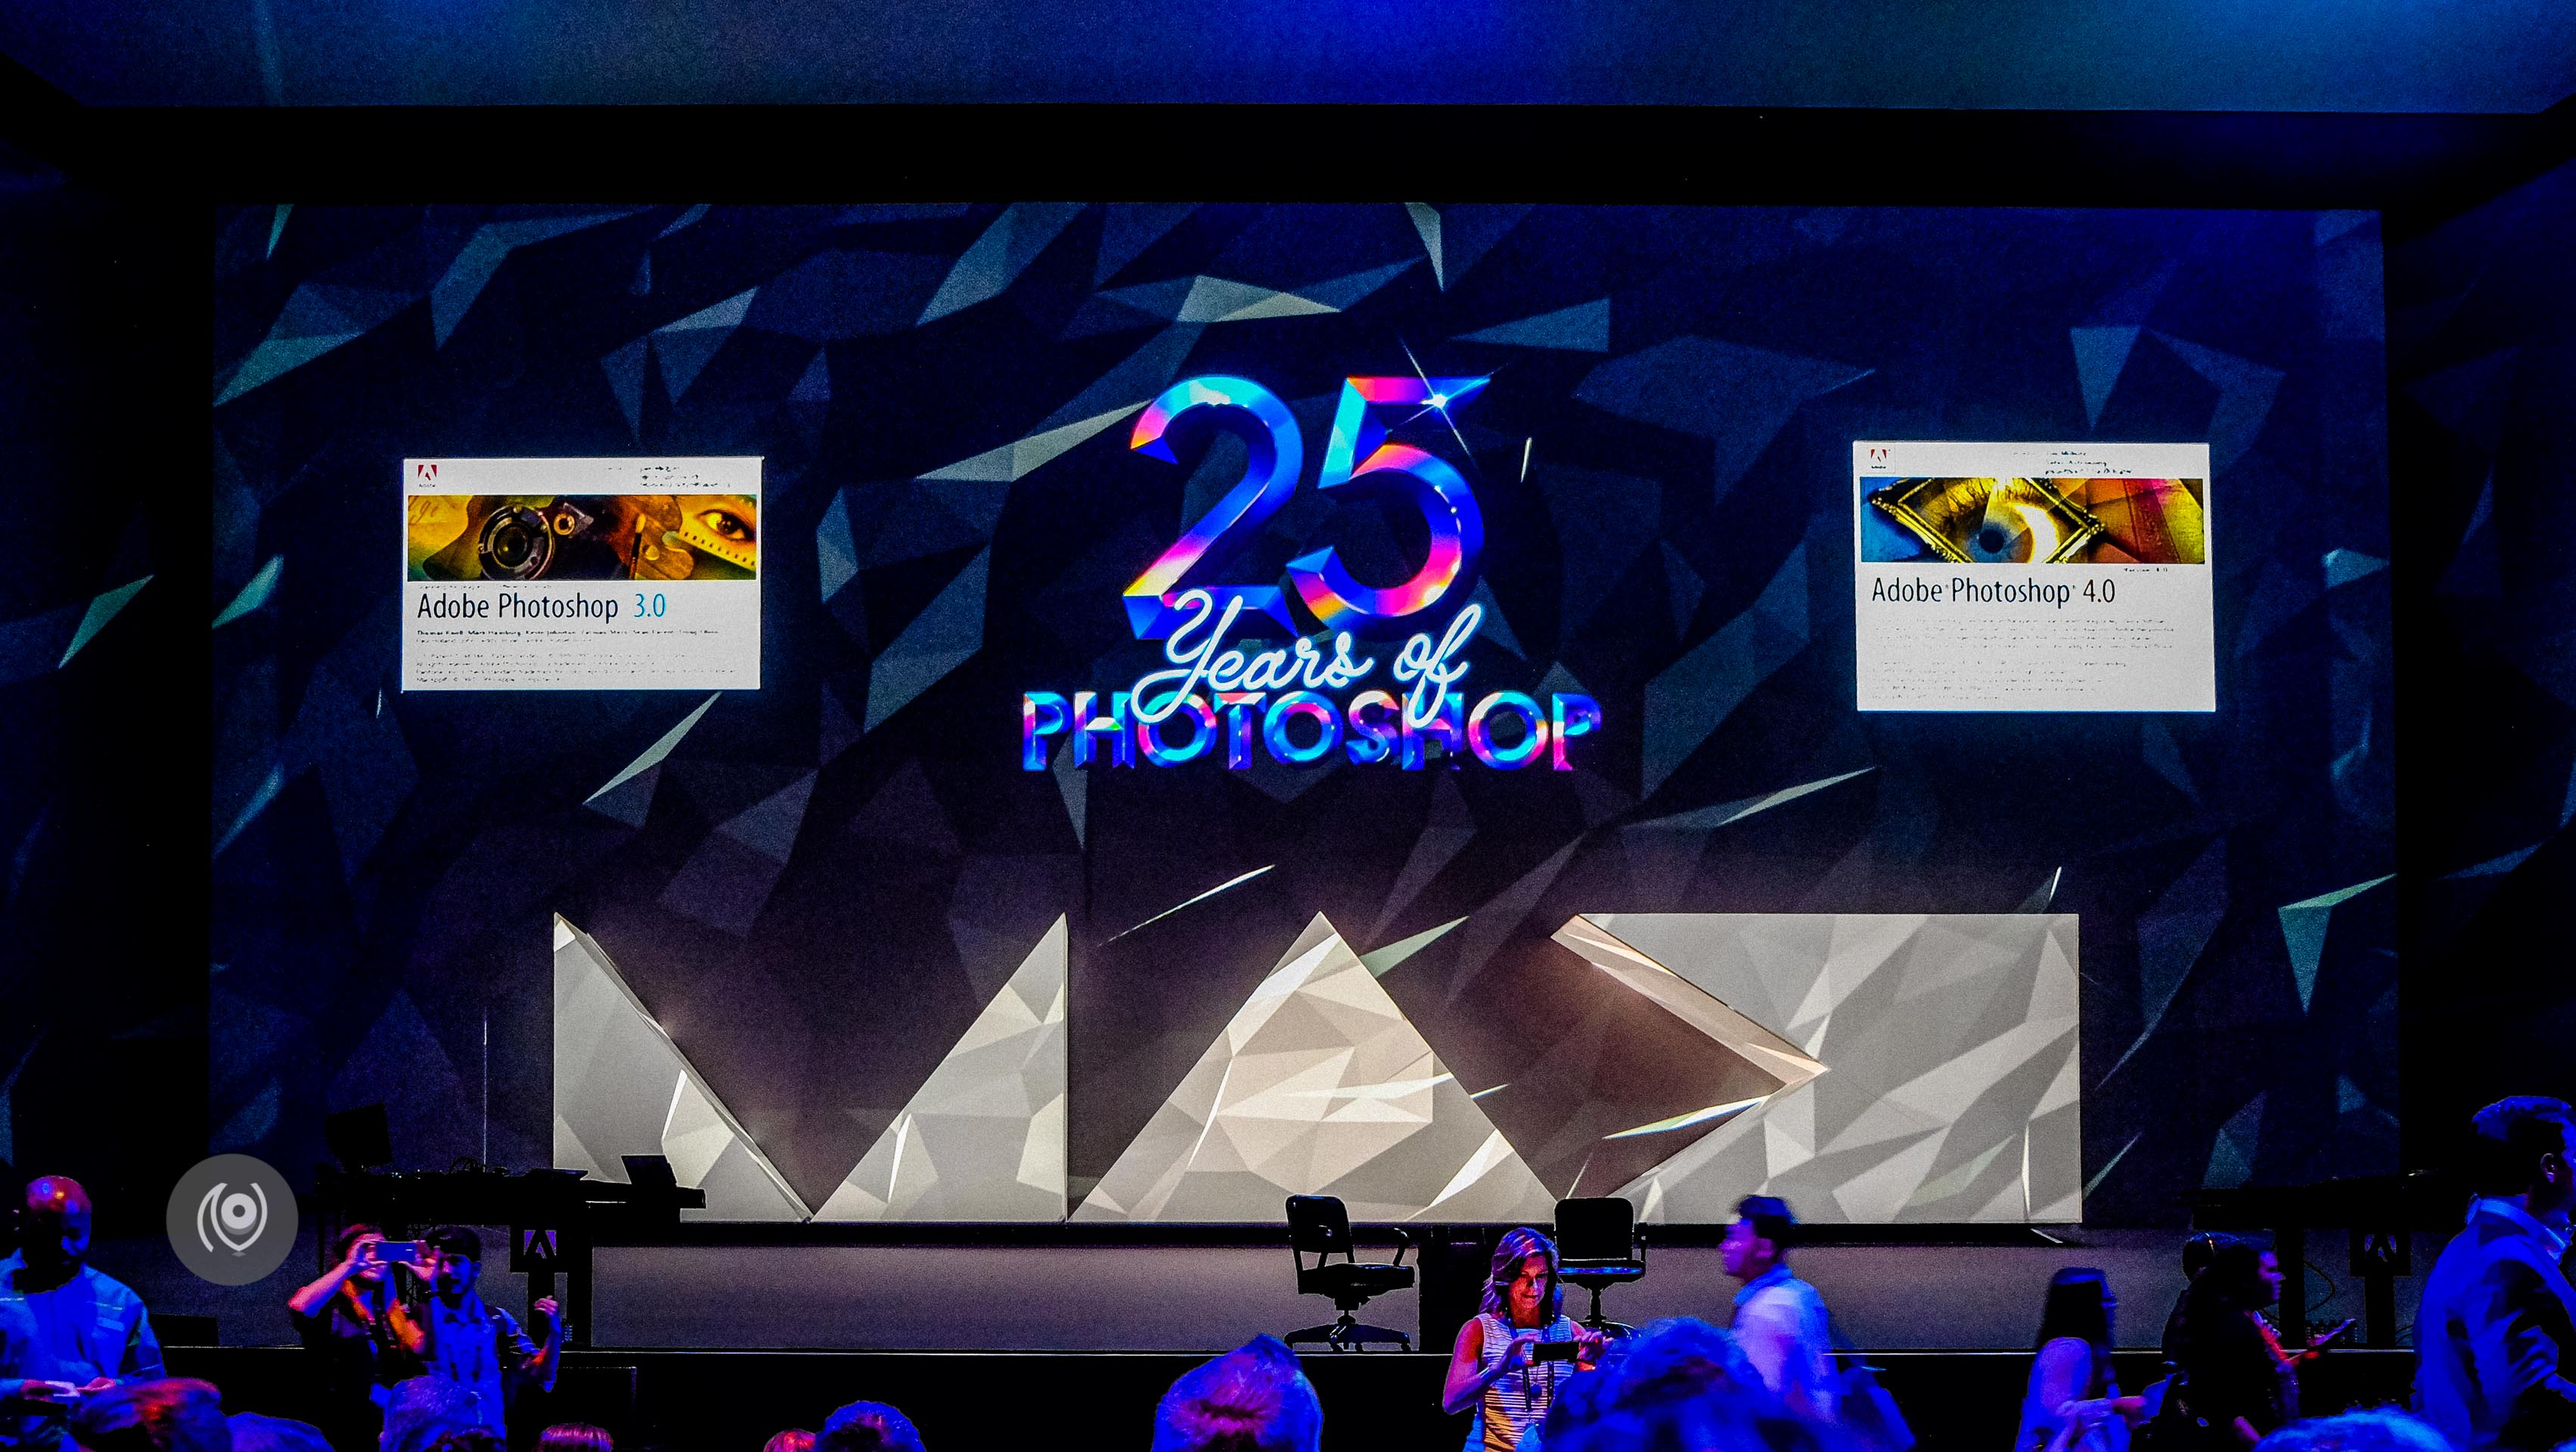
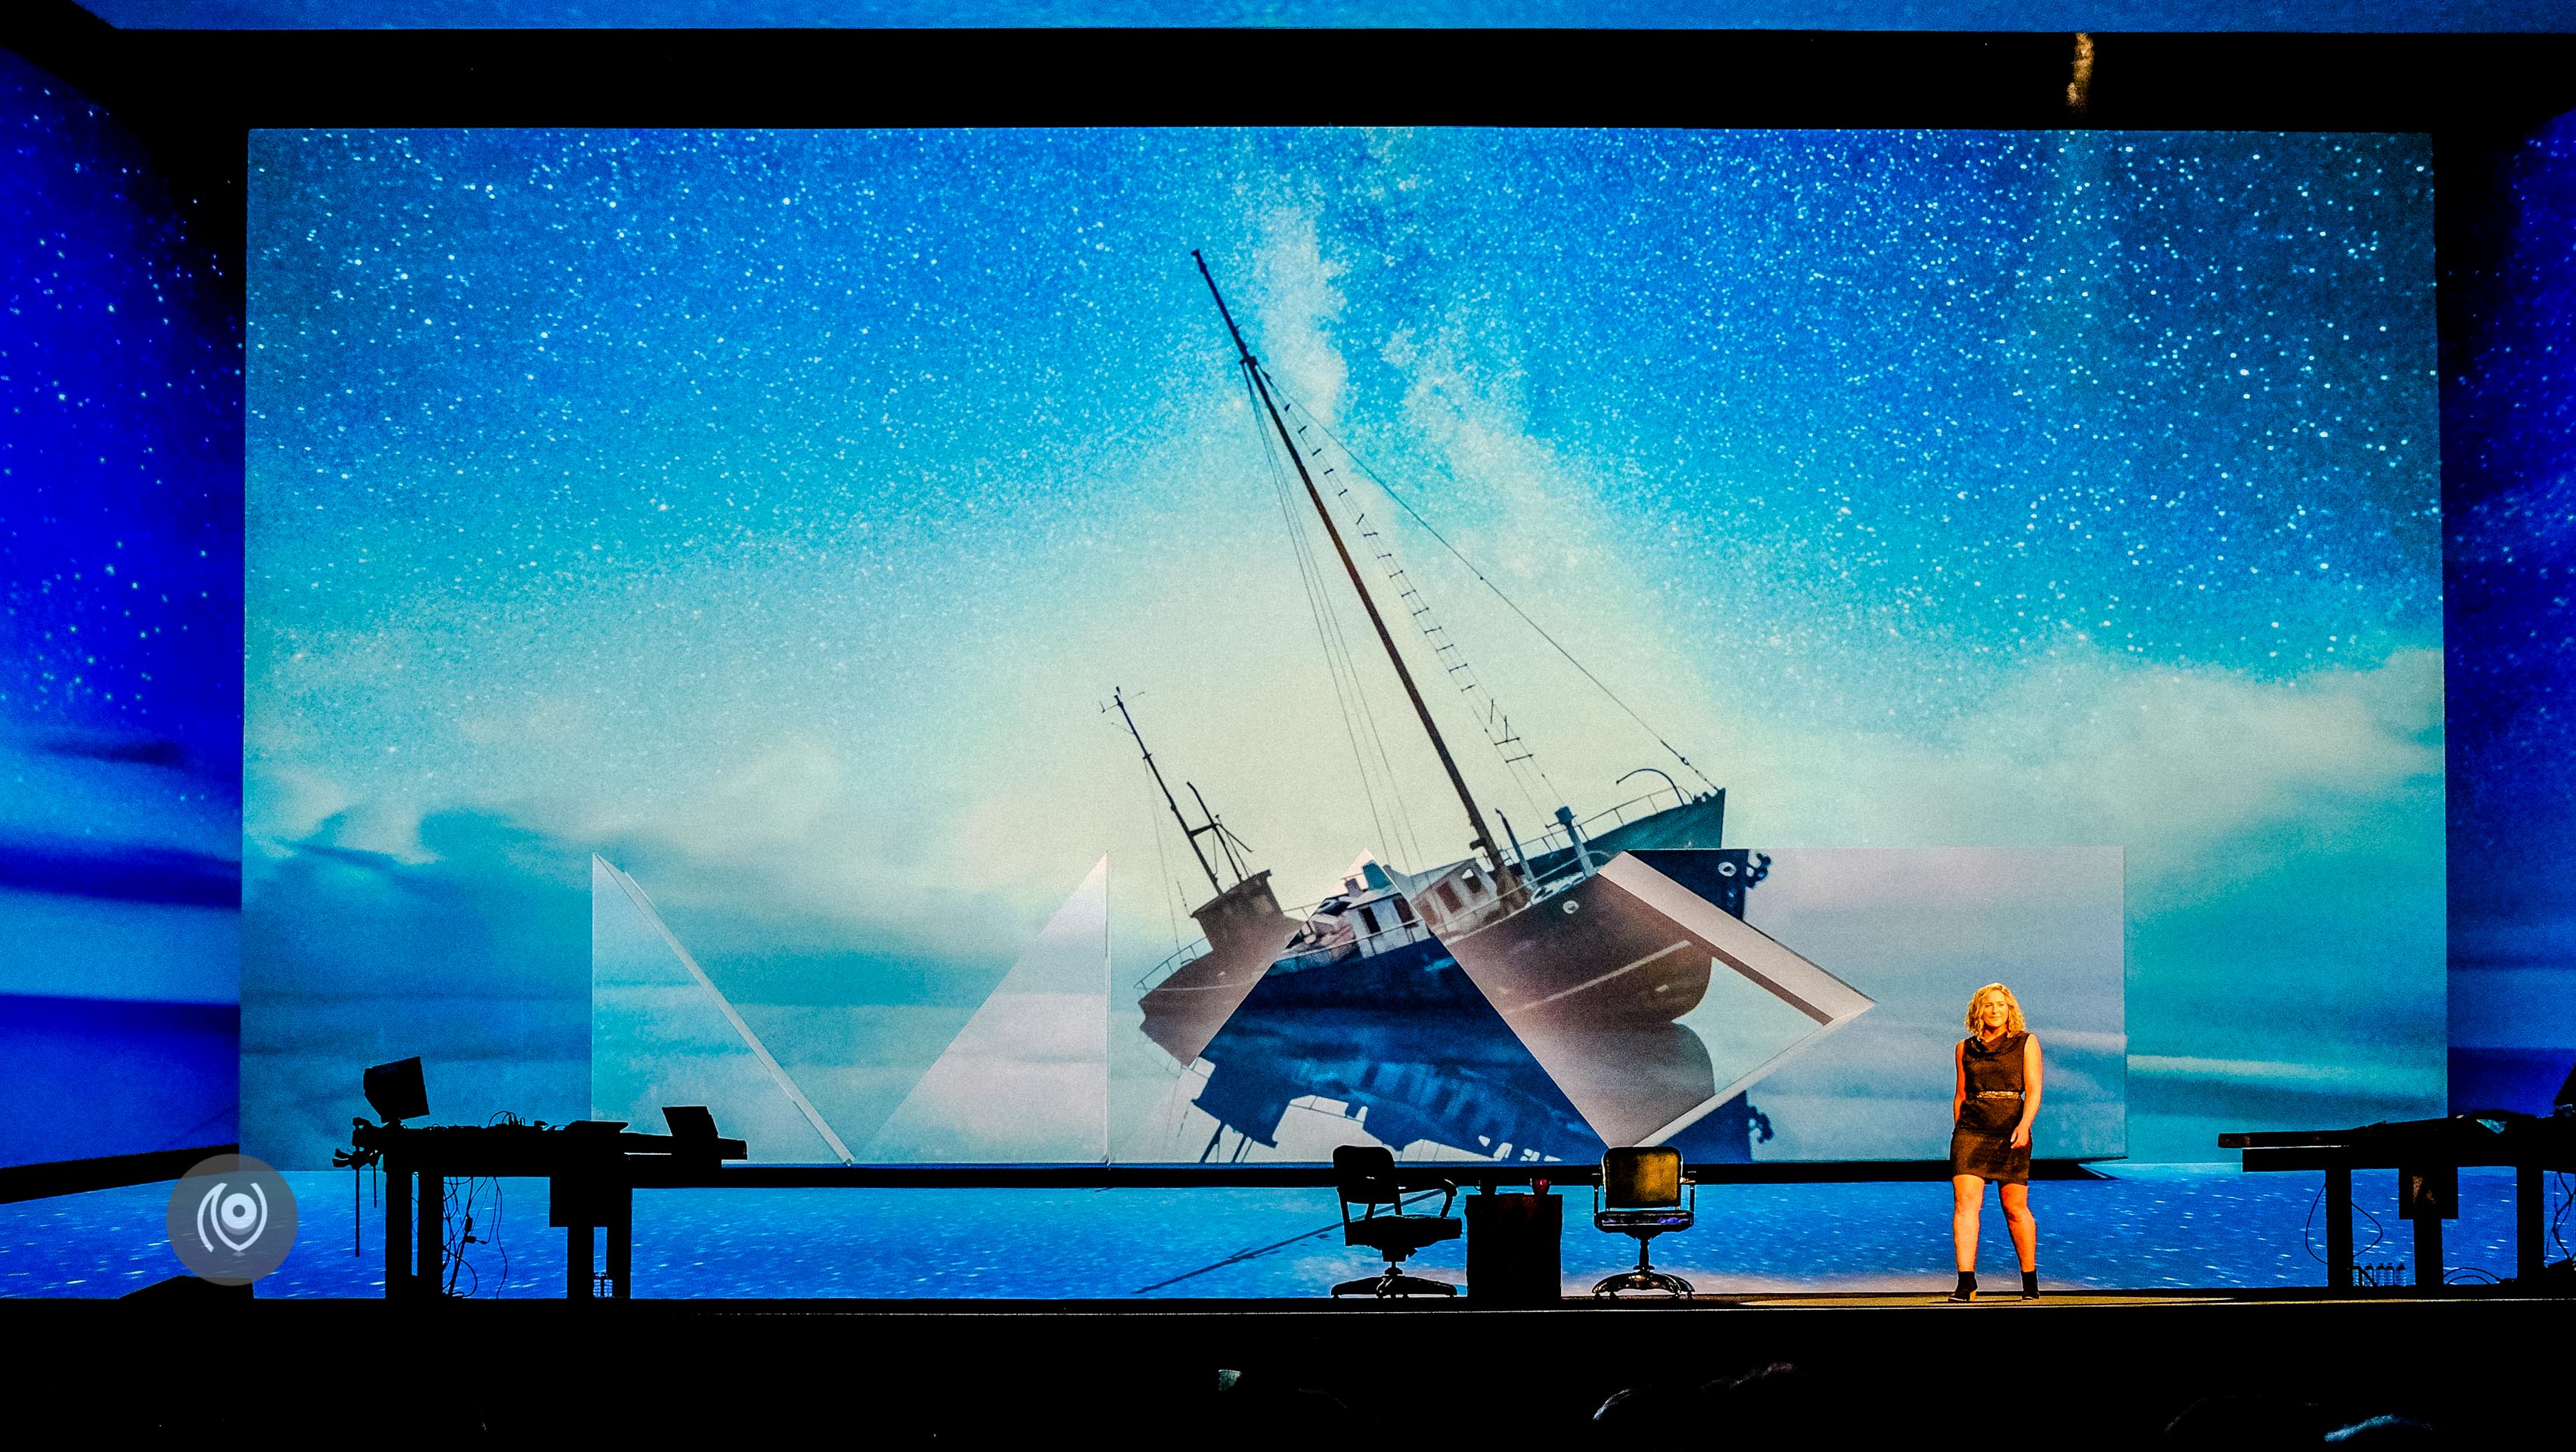
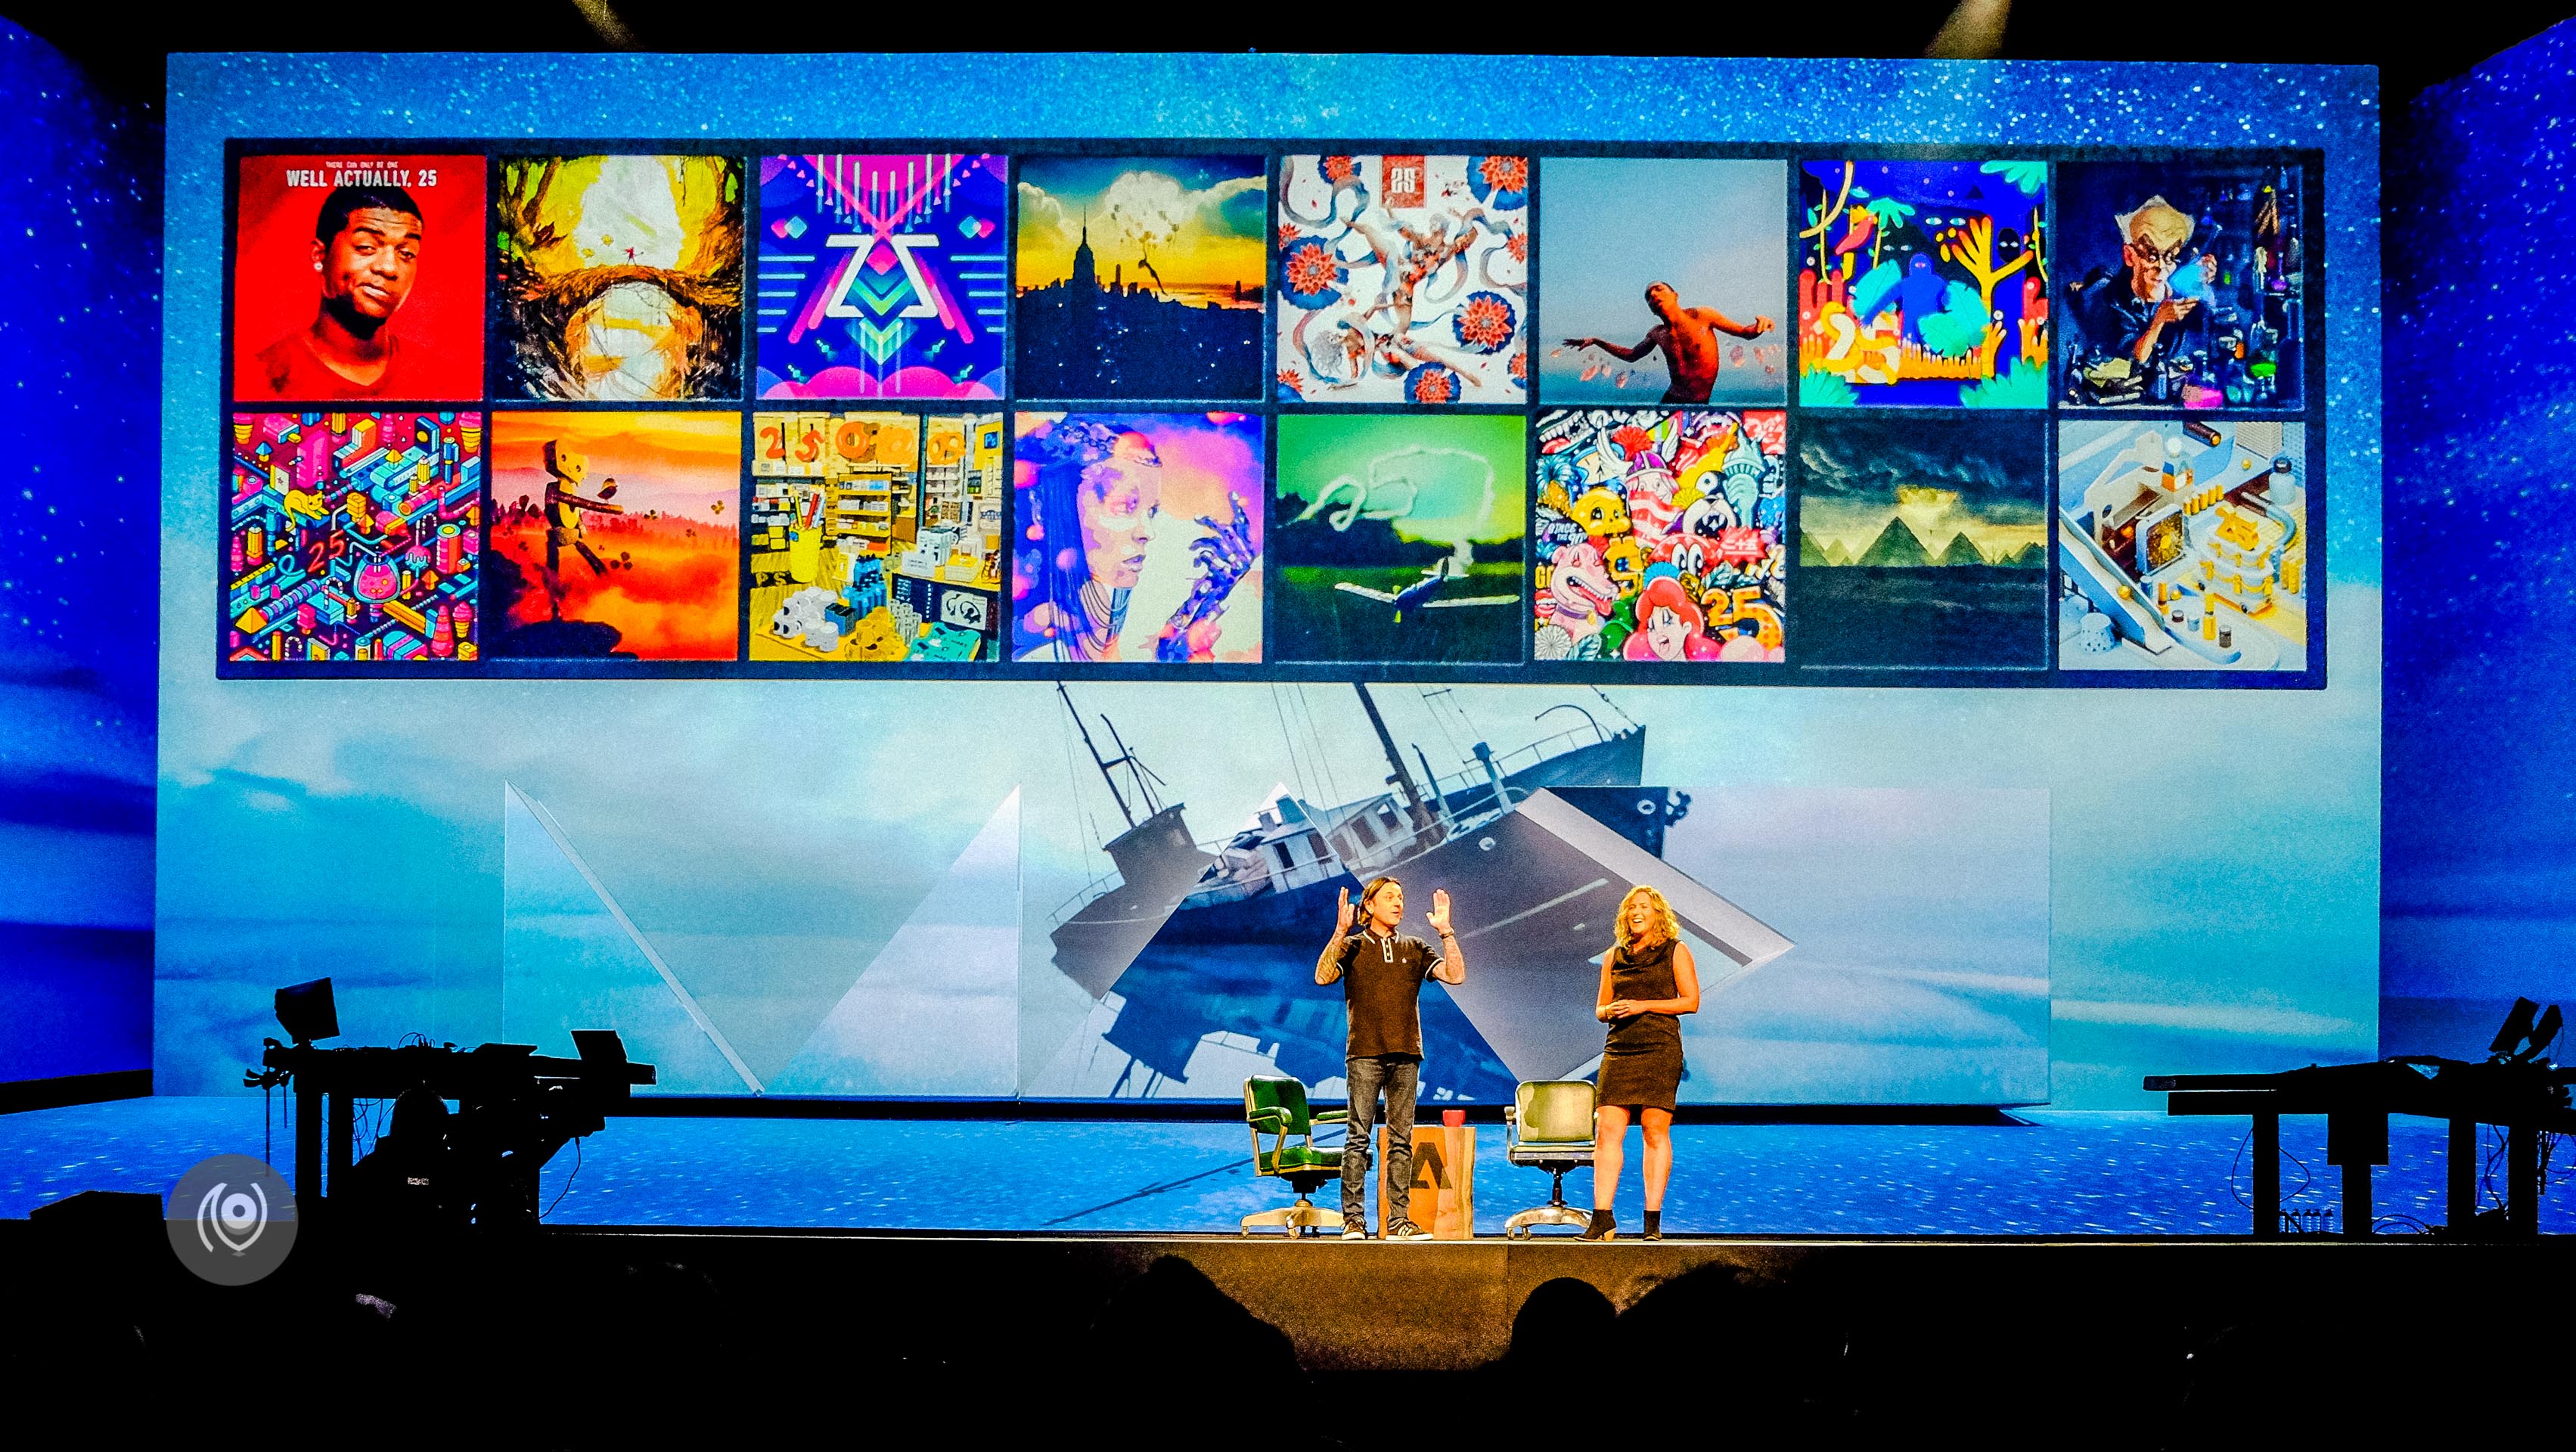
This was my first time at Adobe MAX and I was blown away by the stage – I remember walking into the Microsoft Theatre and resisting the urge to rub my eyes – it was HUGE! And done so well – almost 3D if you sat in the rows at the back. I was sitting in row four because I was one of the Adobe MAX Insiders! Yay! It was a fabulous event to be at – to see first hand what Adobe’s been cooking up and so many amazingly creative people on stage and in the multitudes of sessions that followed.
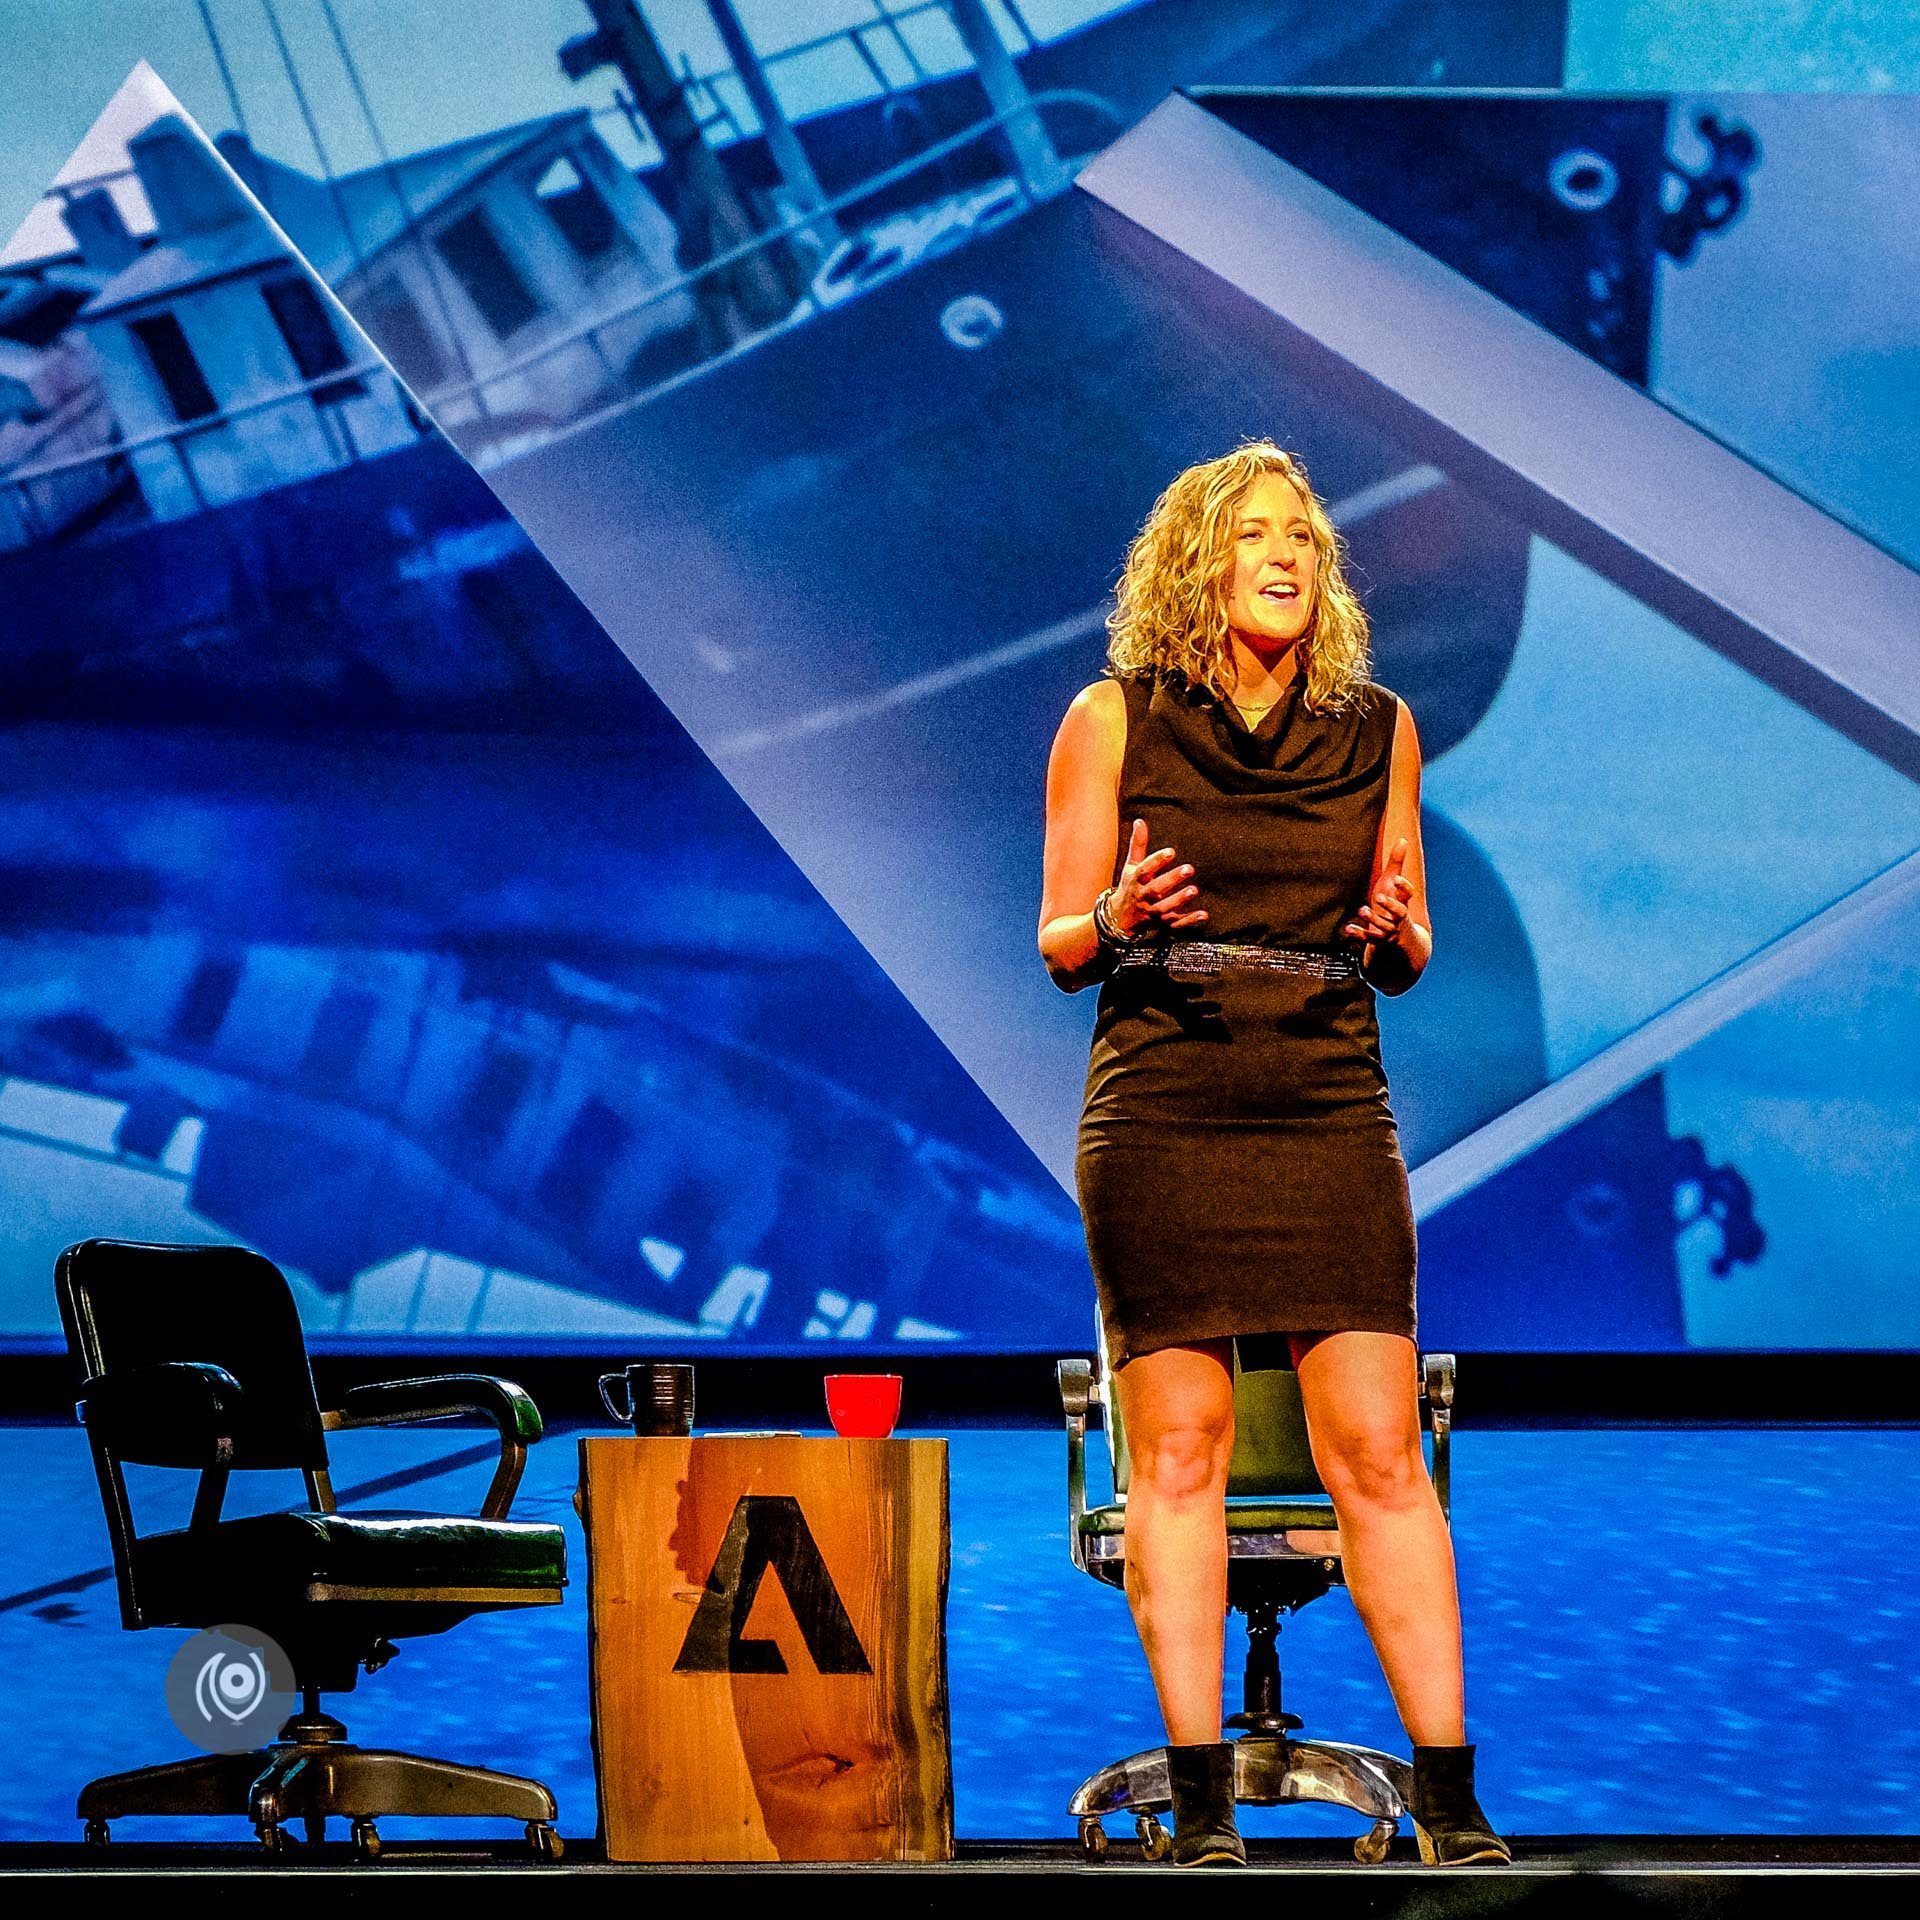
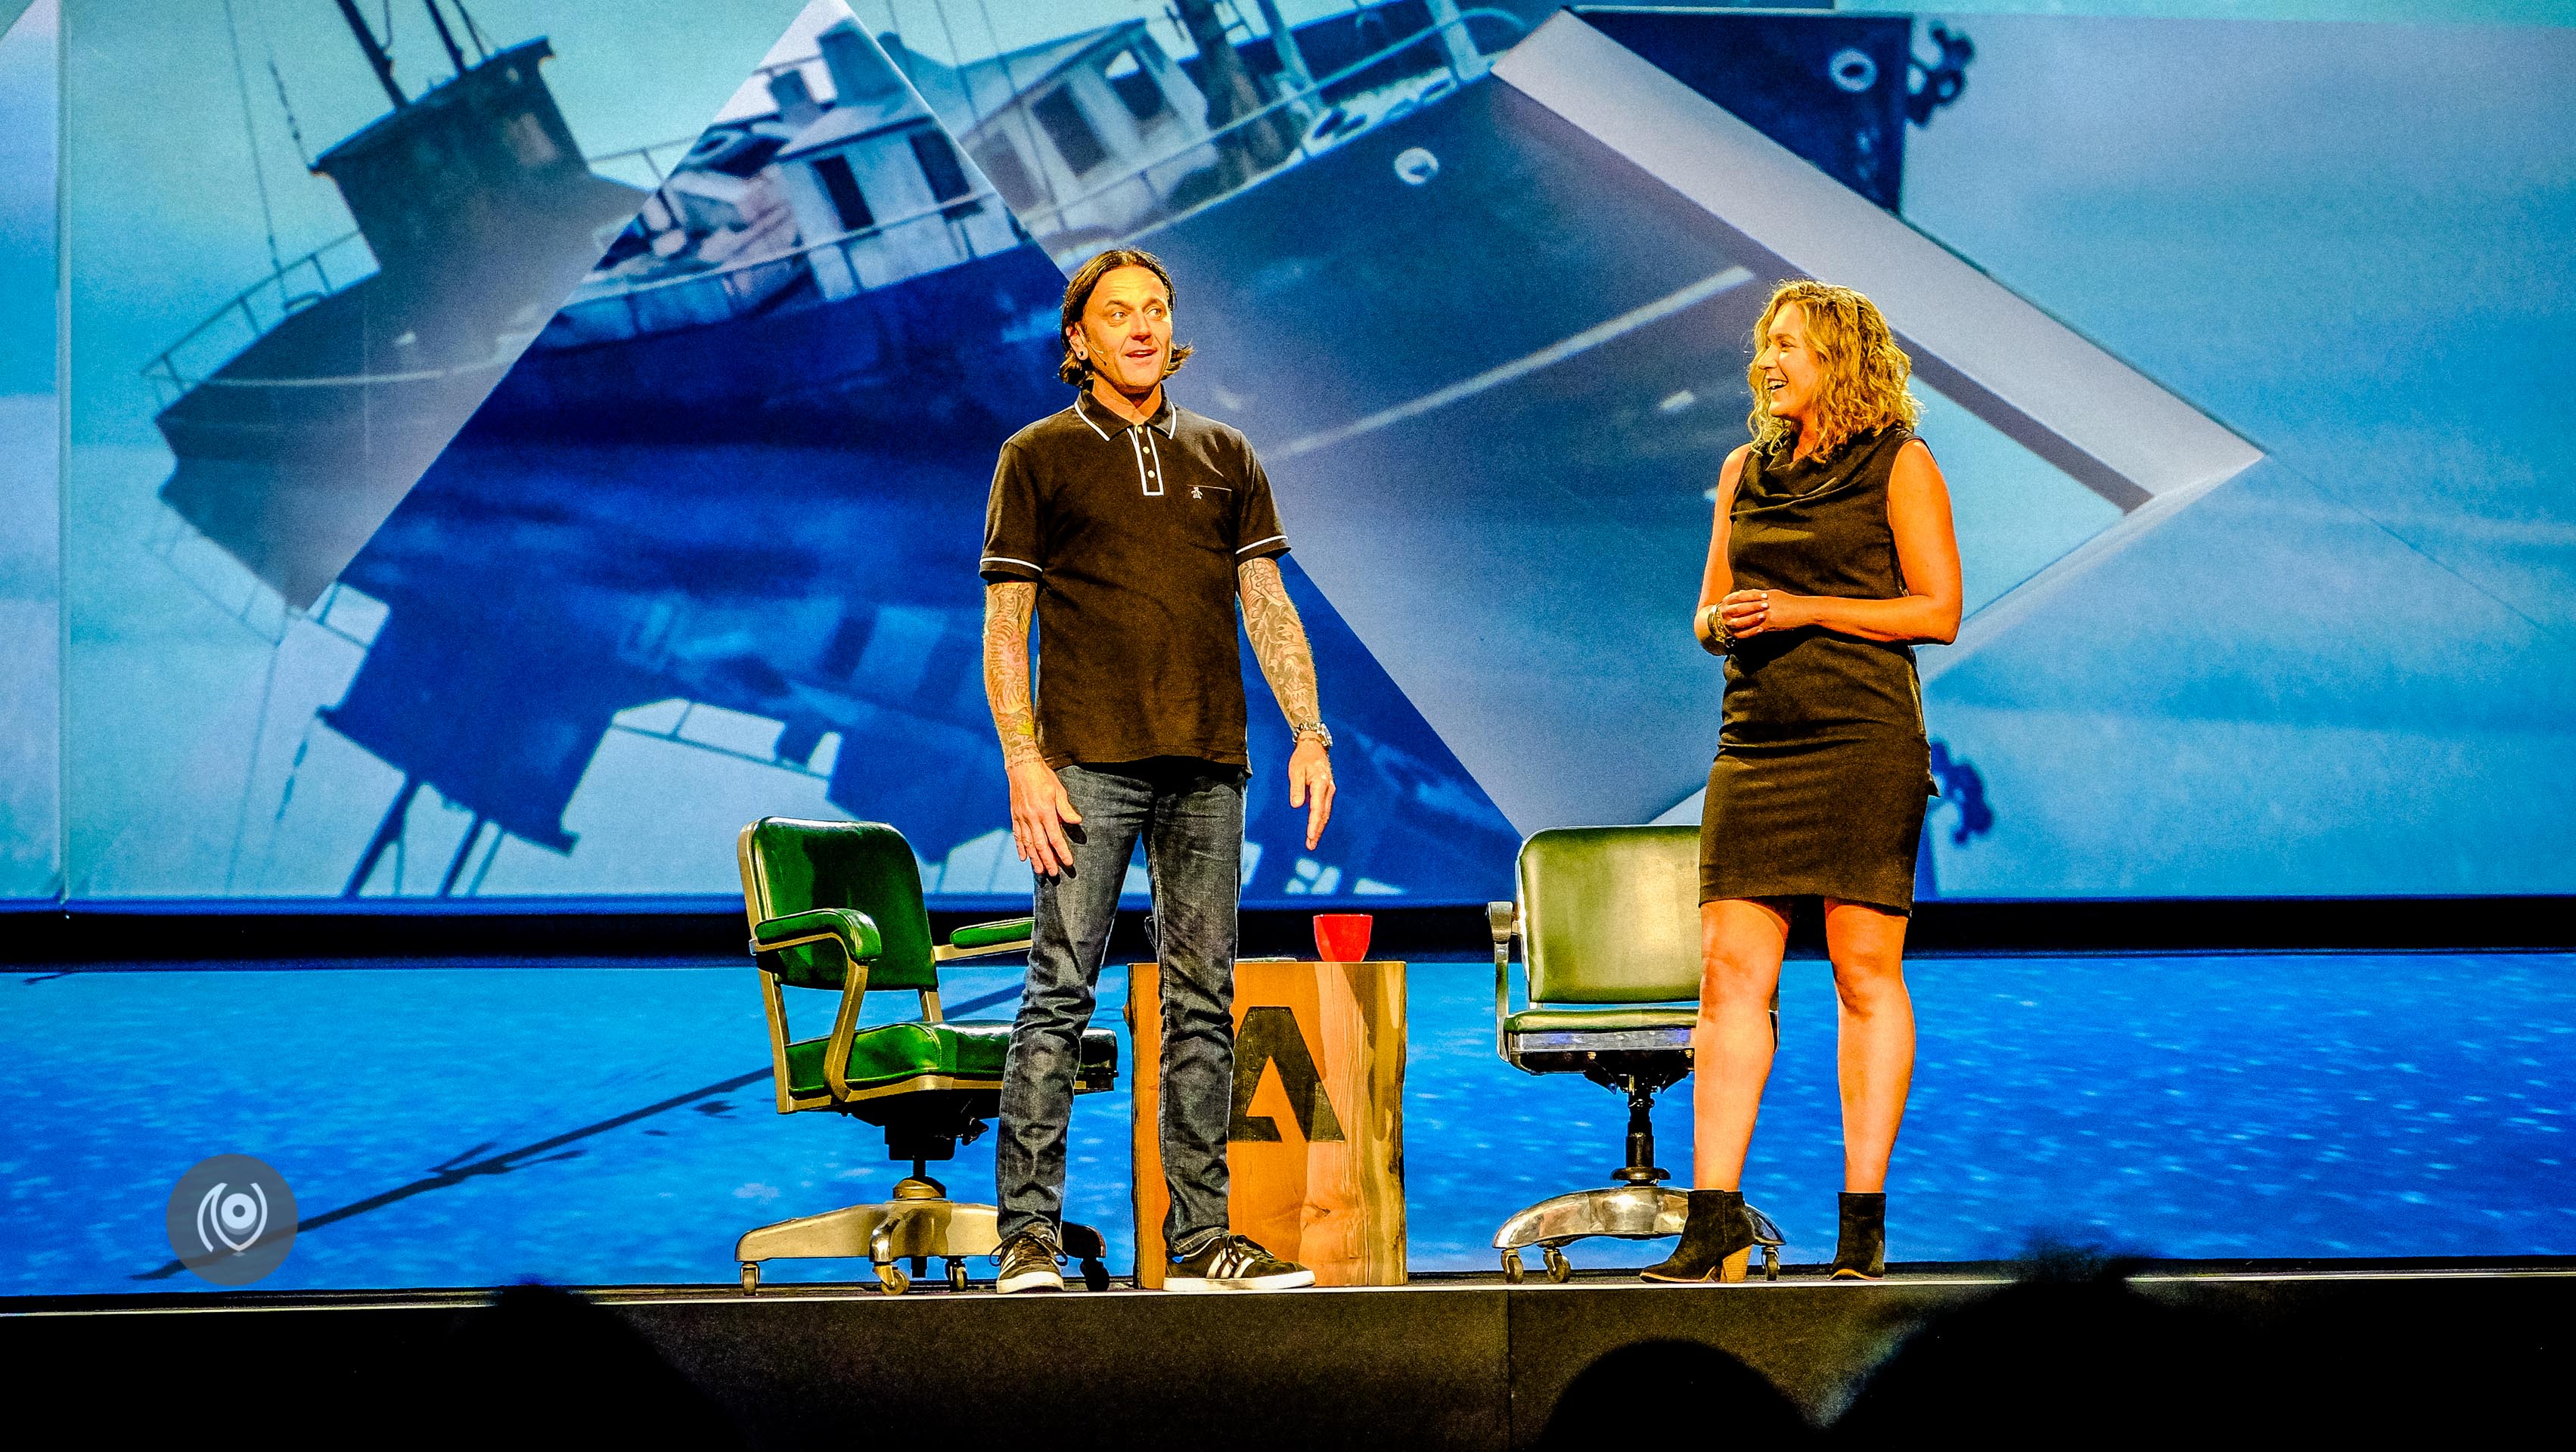
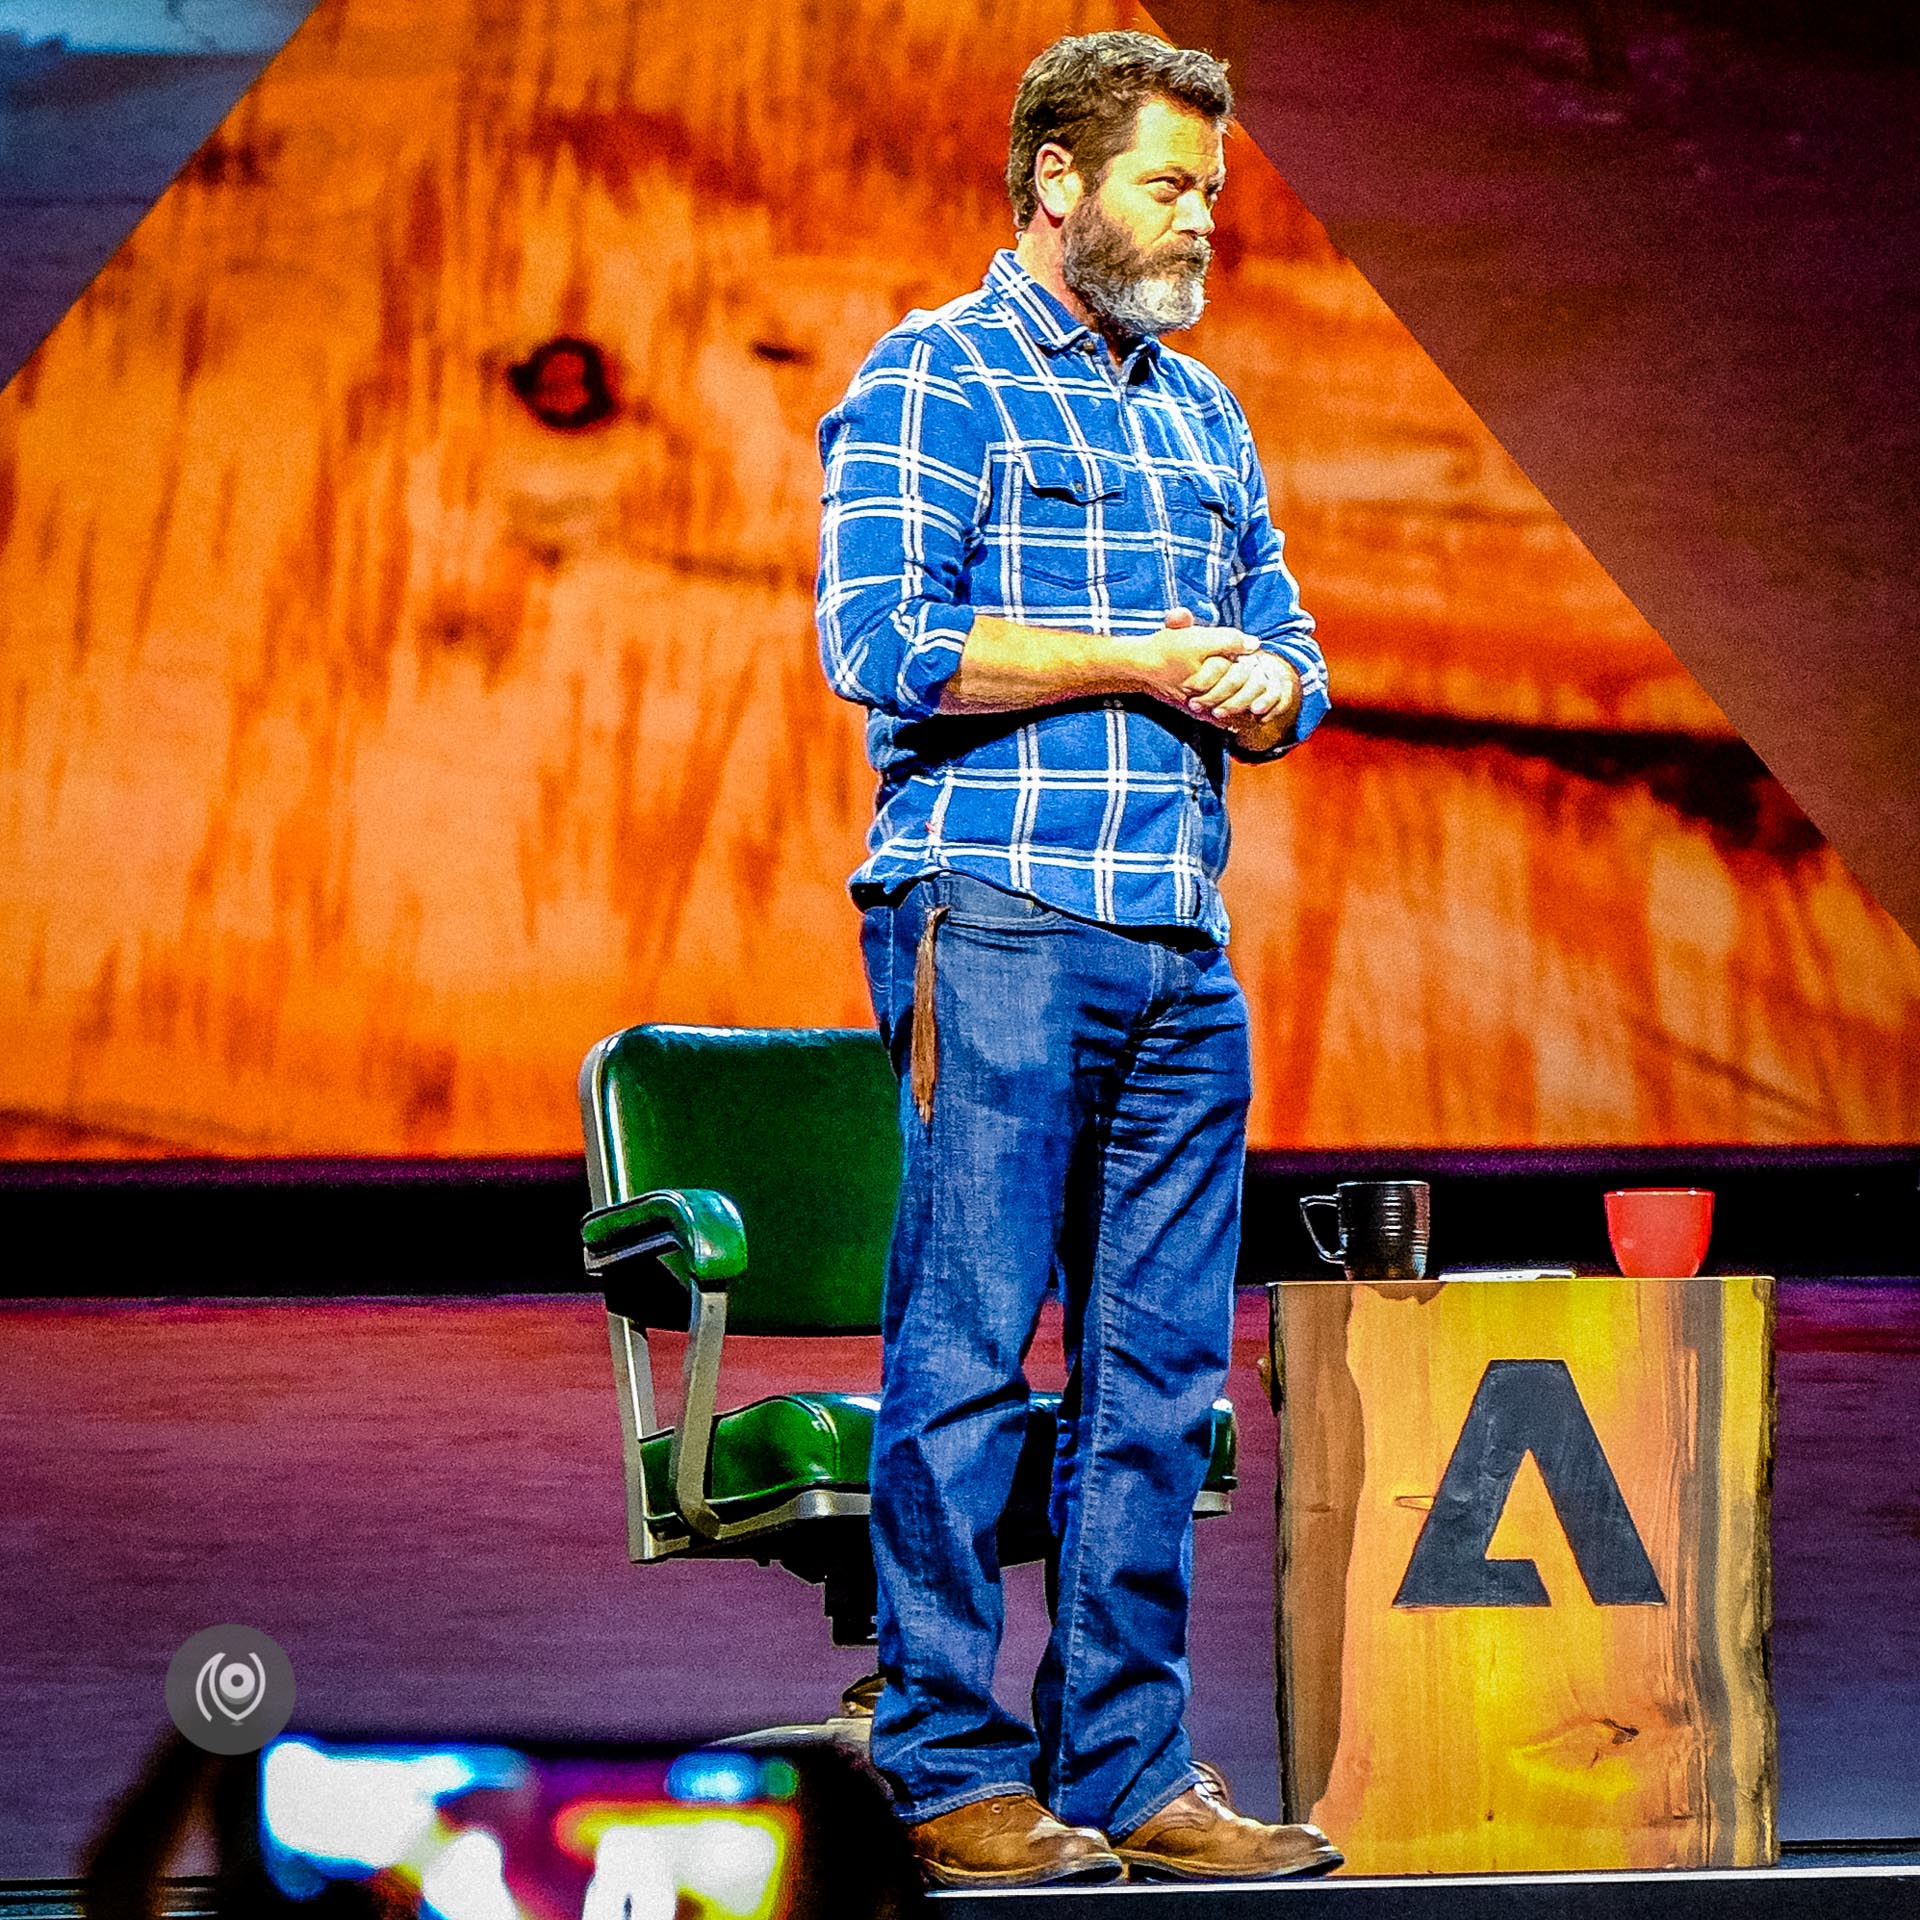
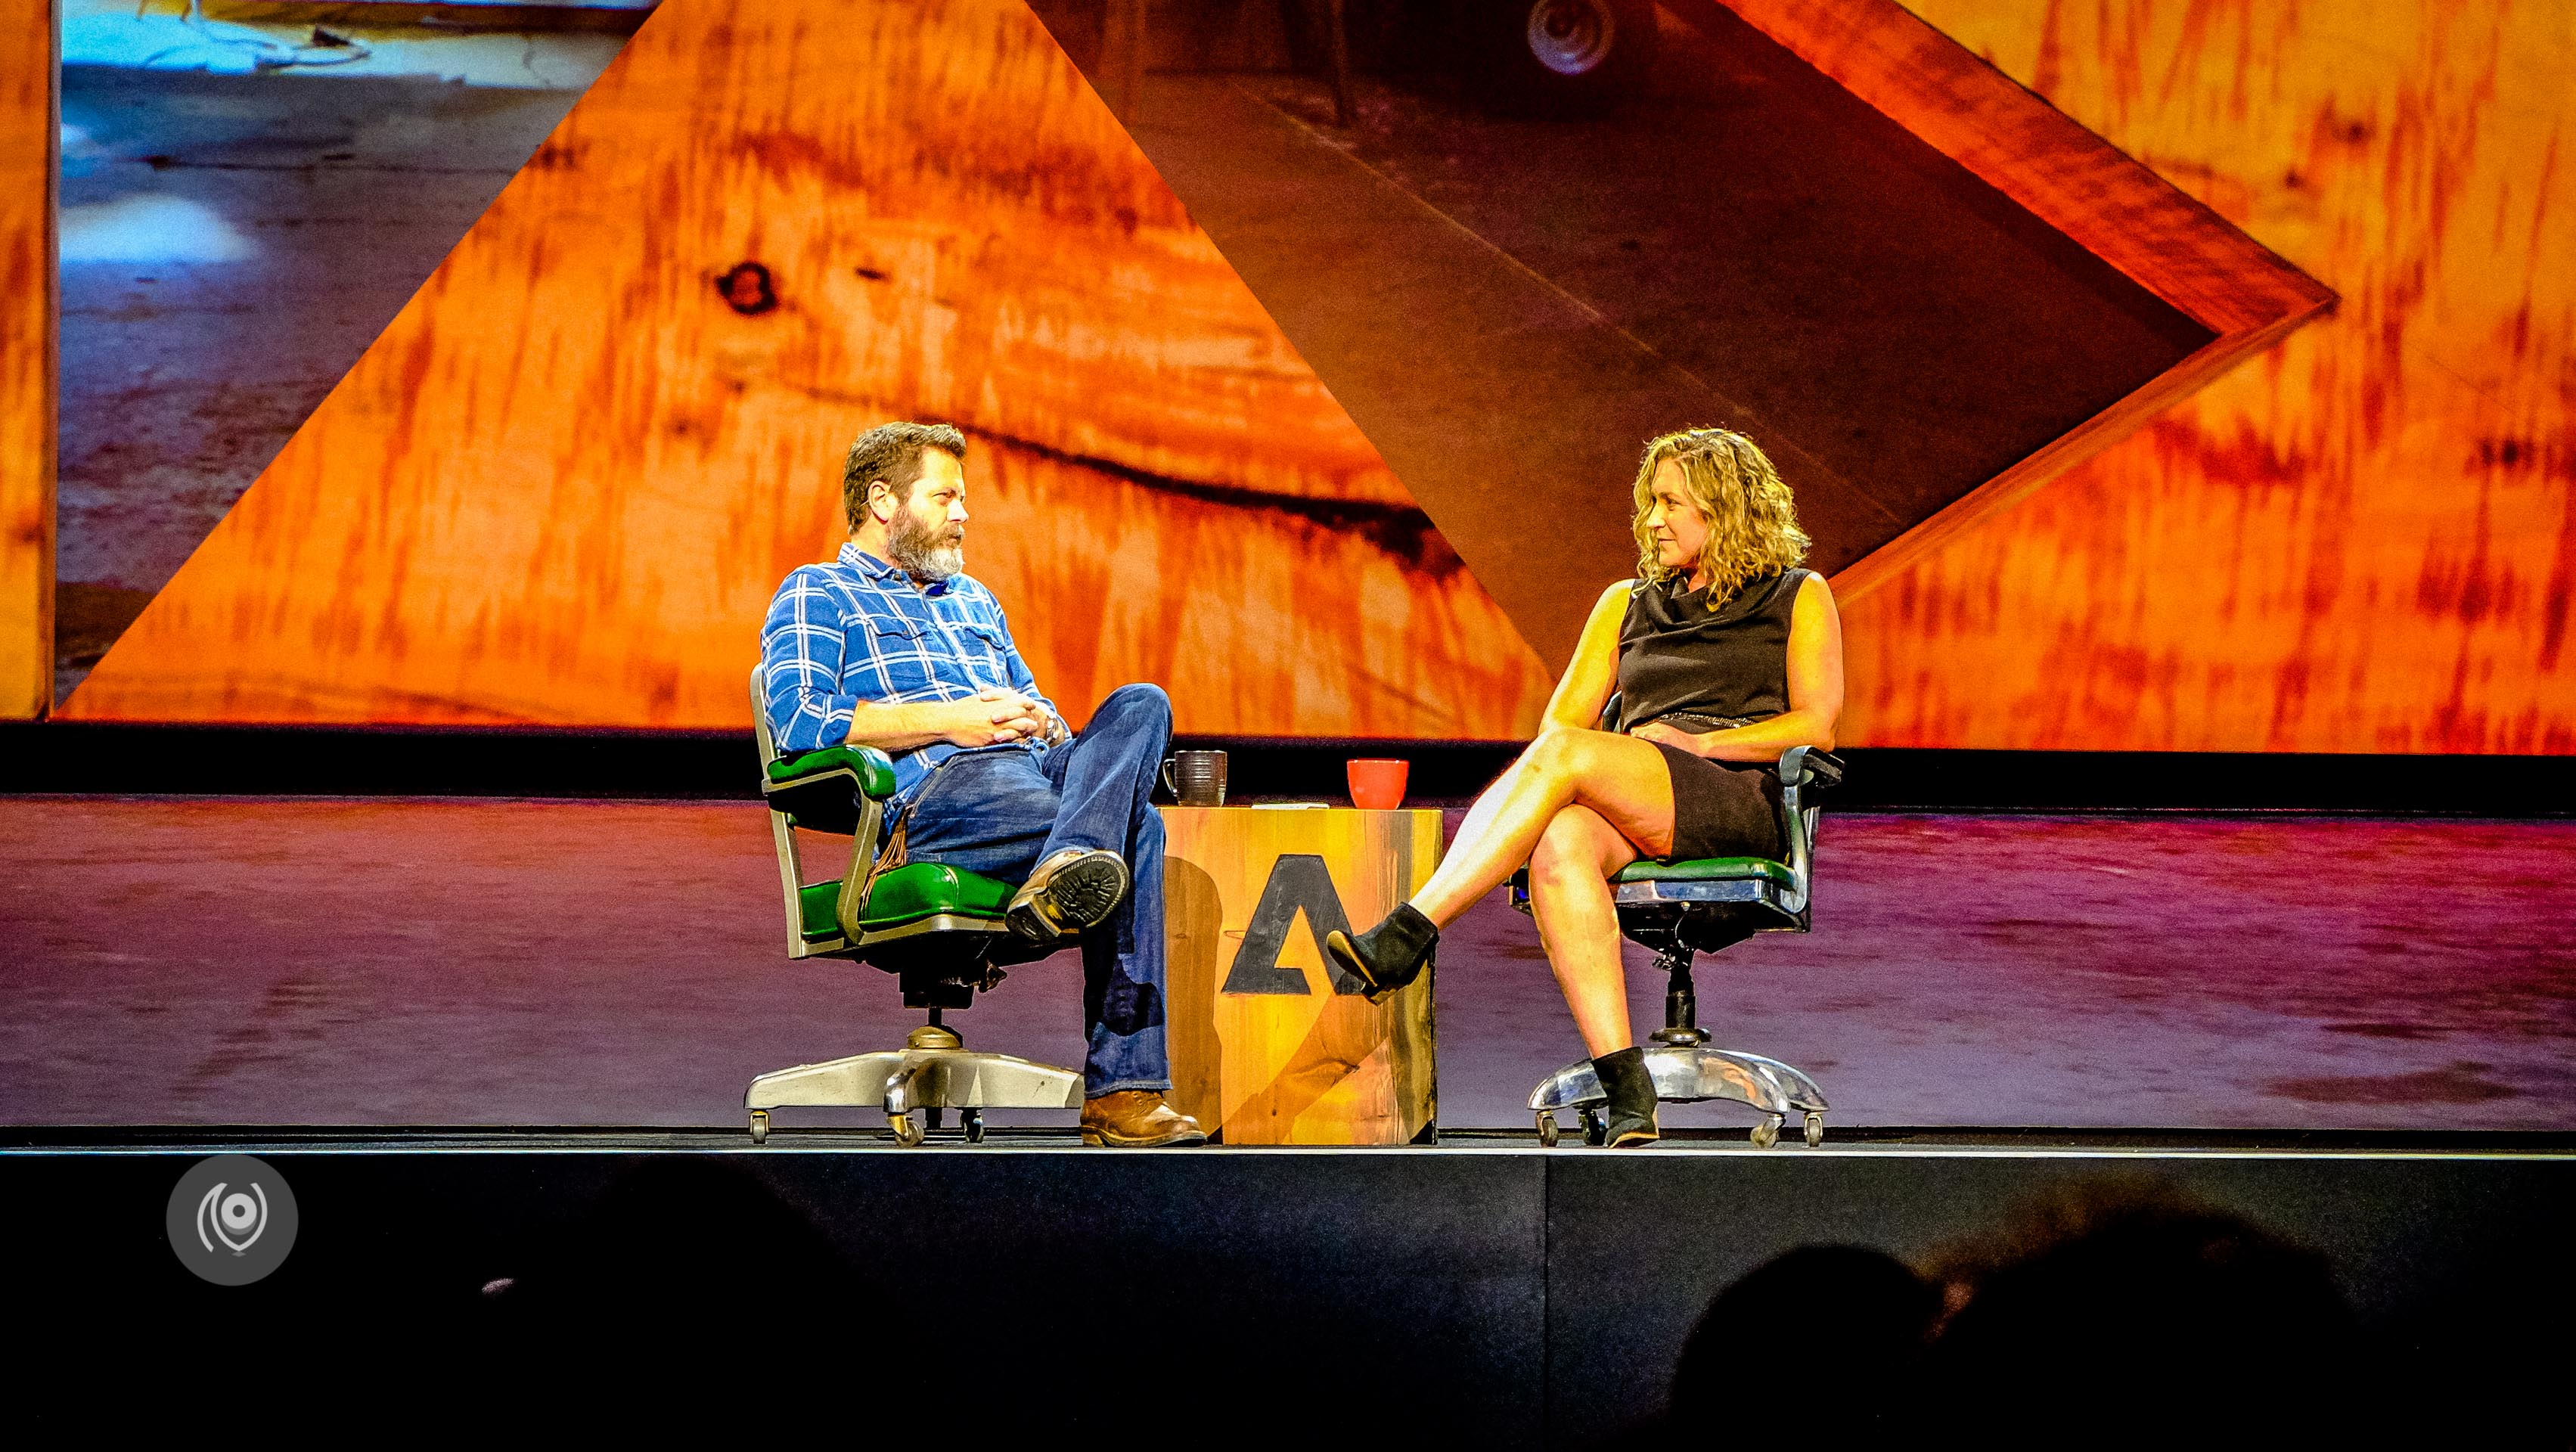
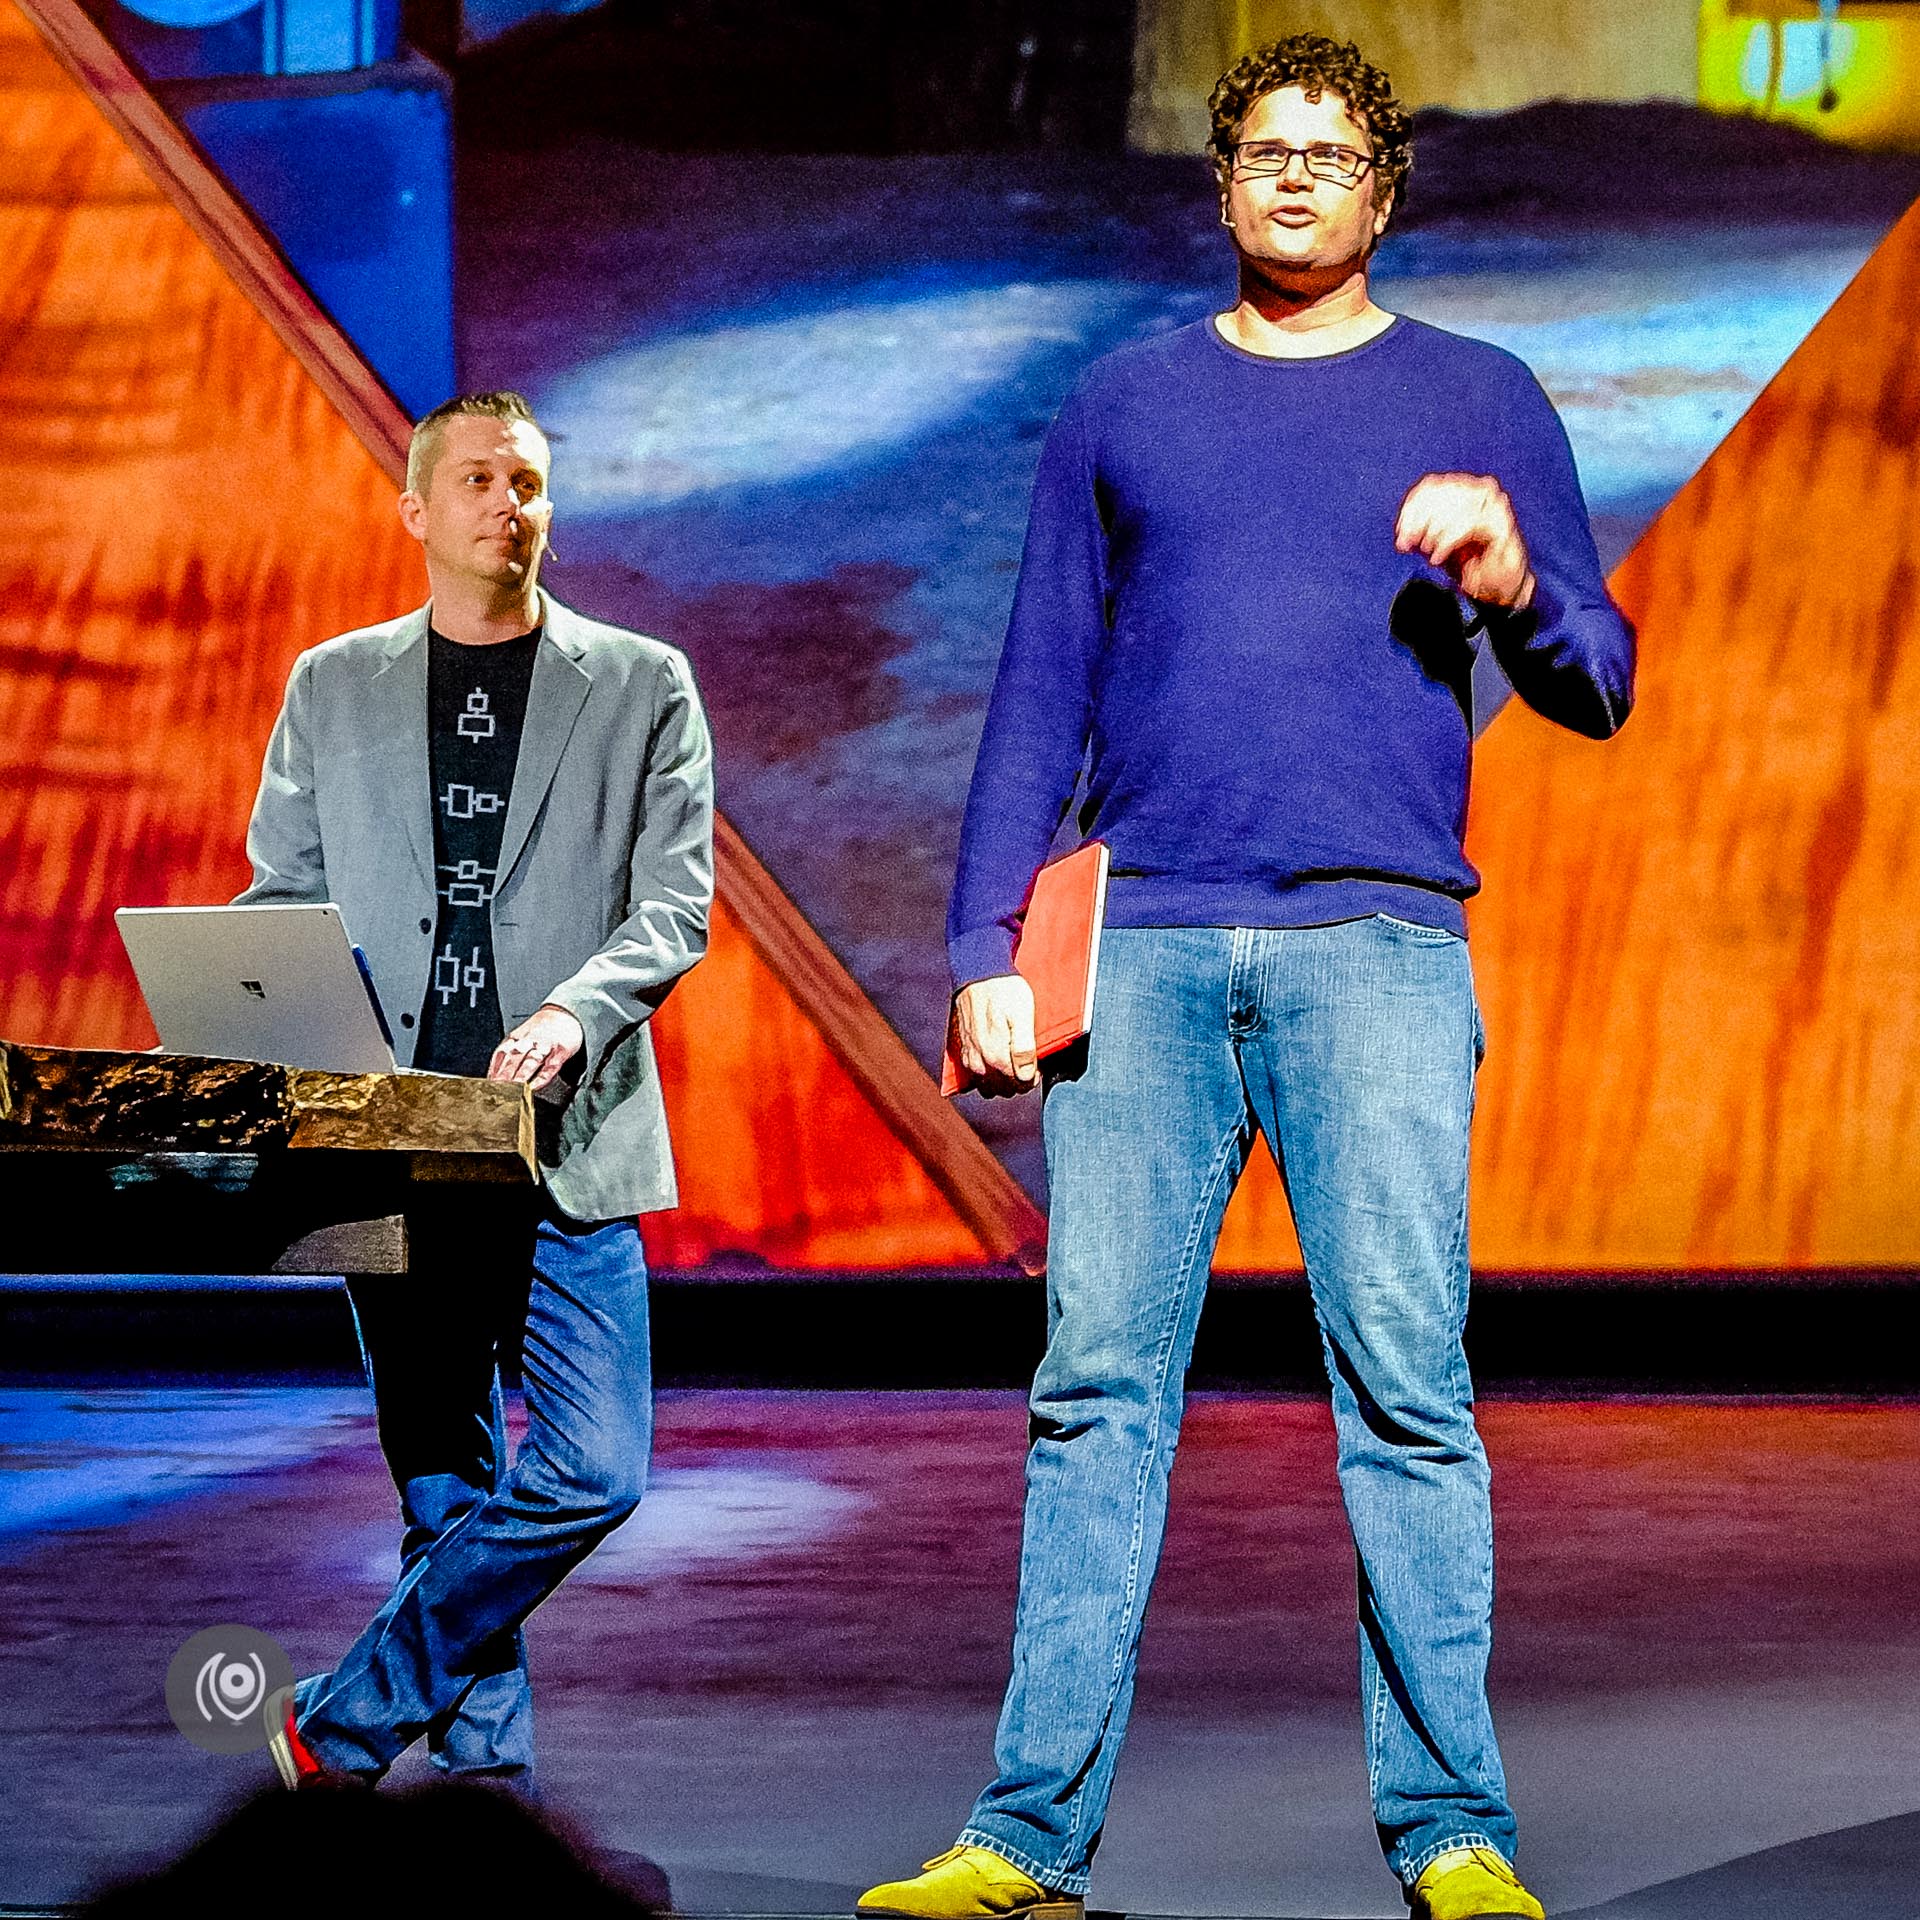
This is a set of photos from what’s called “SNEAKS”. Sneak peeks of stuff Adobe’s working on for future releases, some might make ti to final release and some might not. With each of these, even if they pertained to a tool I wasn’t working with regularly – like typefaces – my mind was blown with what each Adobe genius revealed on stage. Kim Chambers of Adobe led the event and Nick Offerman was the guest invited. I’ll make an attempt to talk about each of the new tools I saw but I’m sure I will not be able to convey the sense of awe I felt to be there, in person, and see all this unfold in real time.
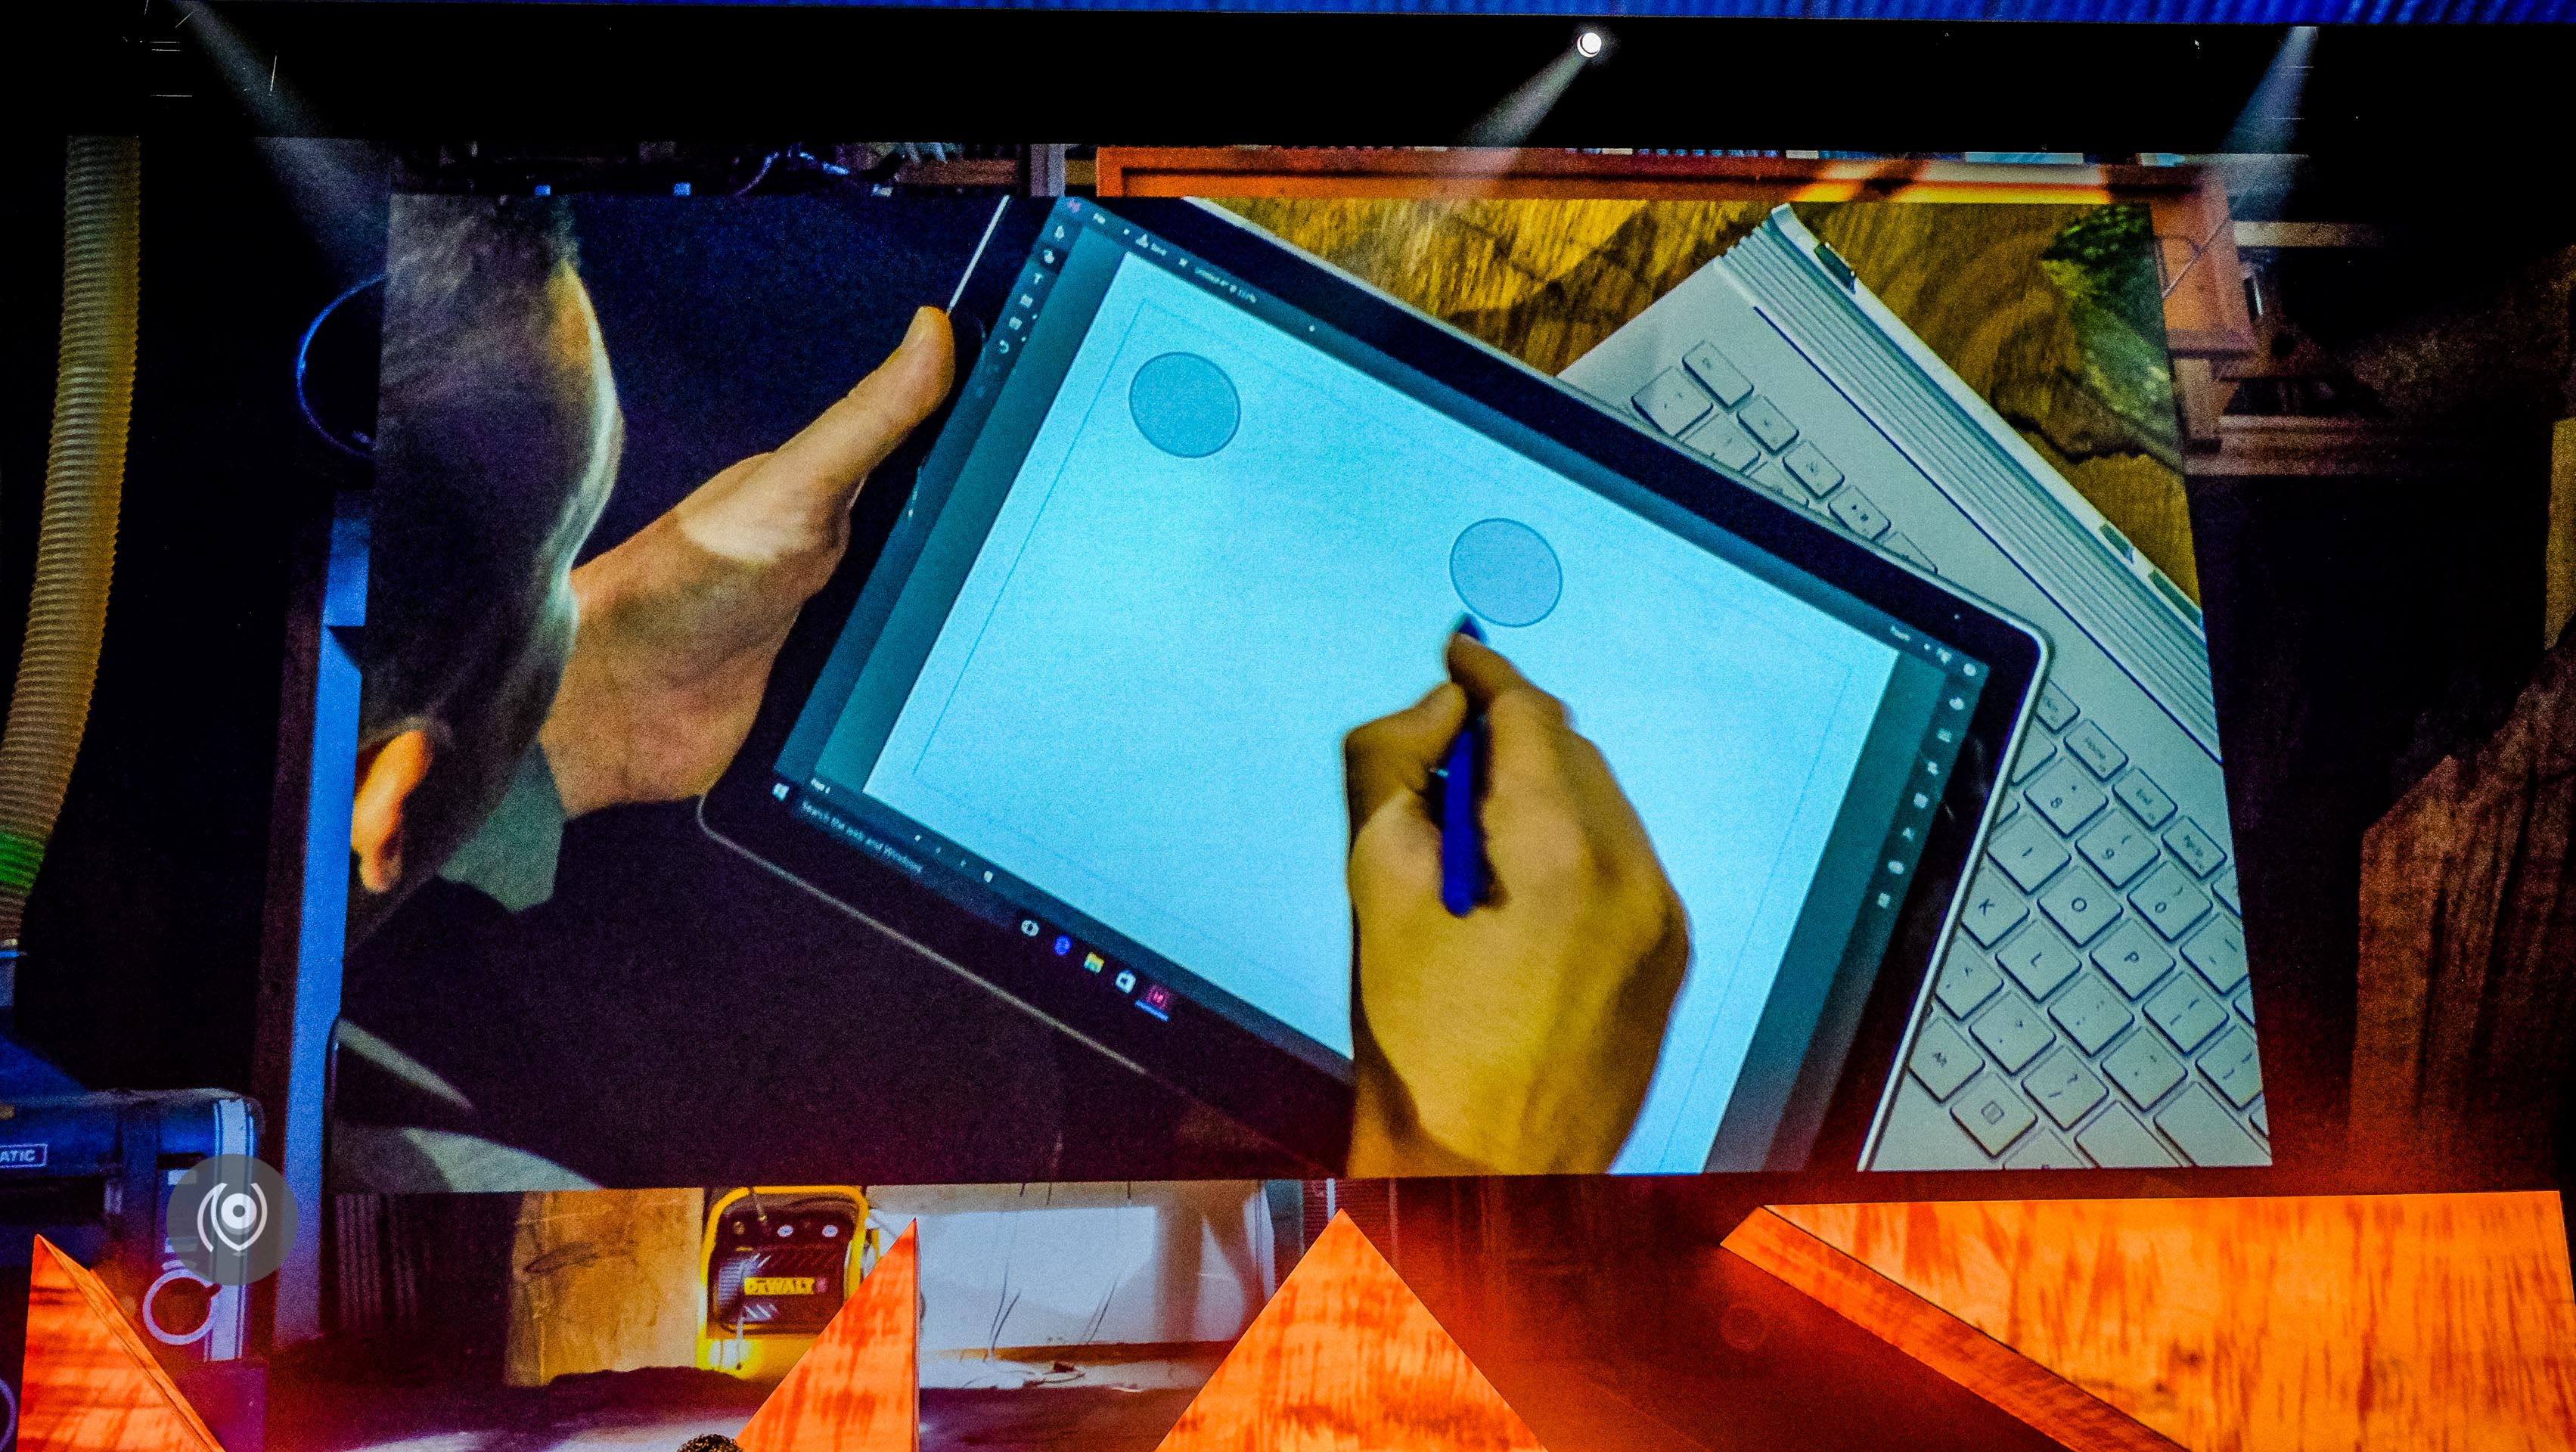
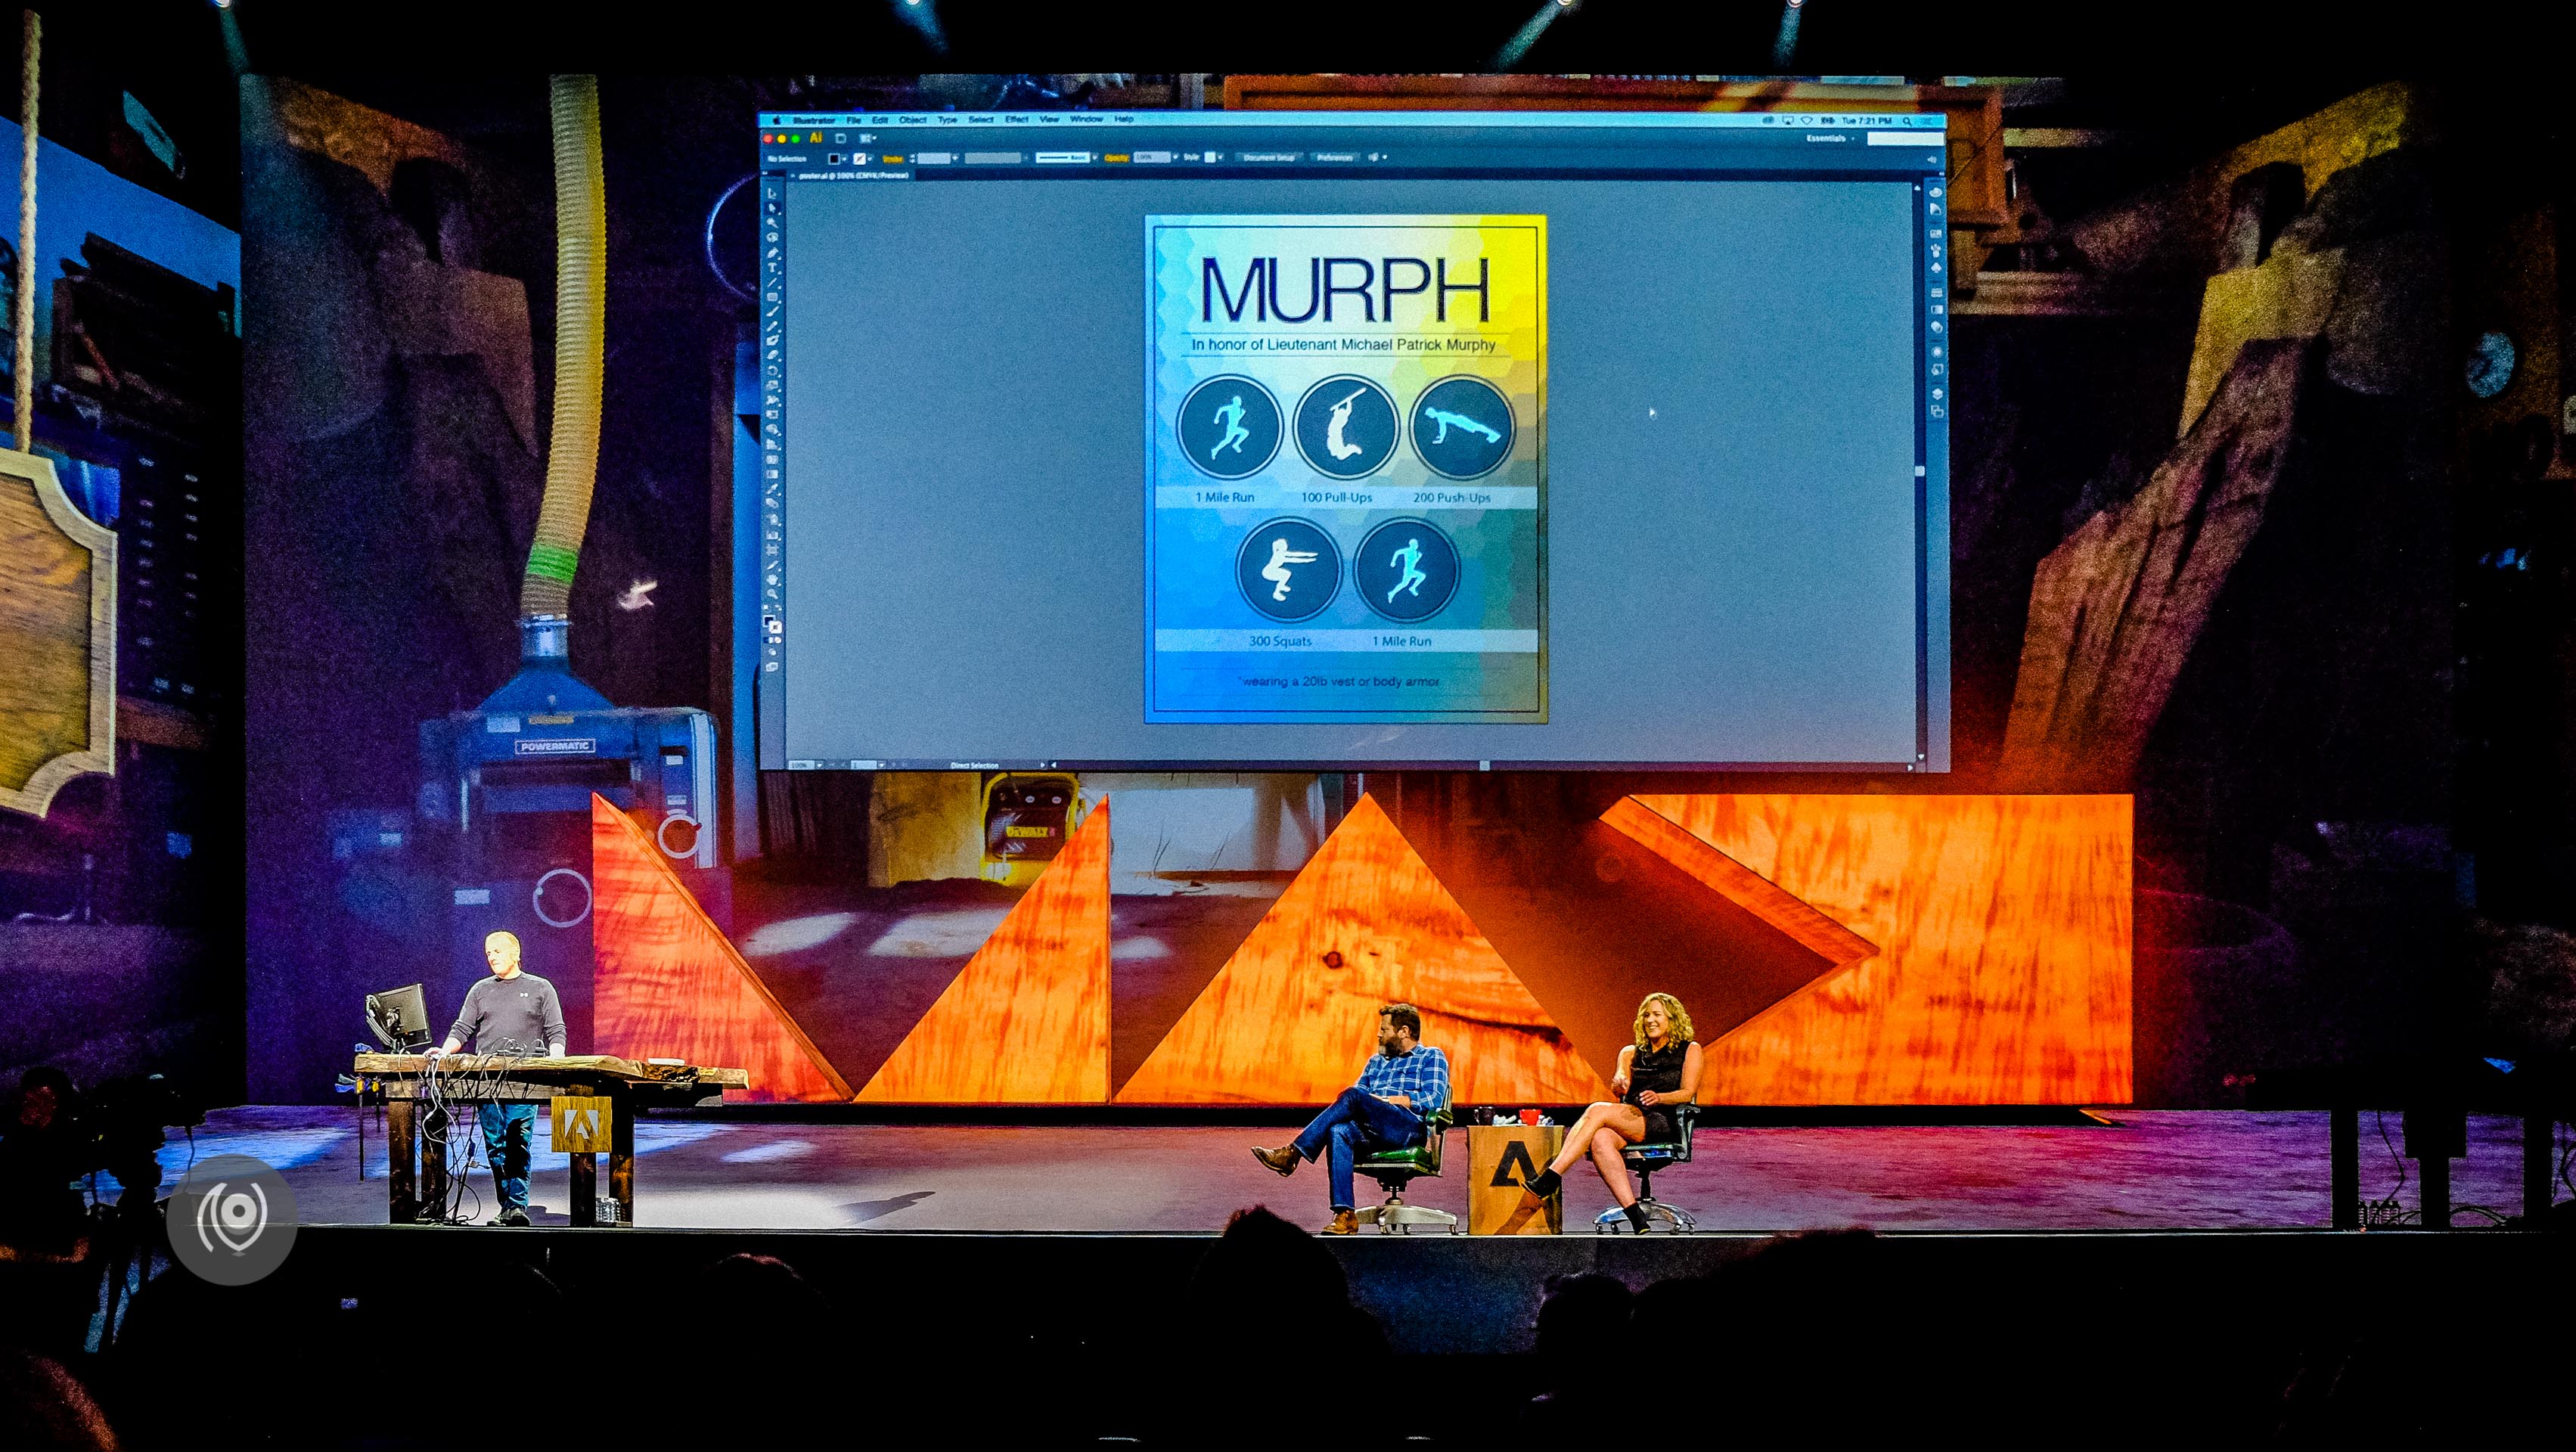
Making rough shapes in Adobe Illustrator on the Microsoft Surface Pro and having the software convert them into perfect circles, squares and other geometric shapes.
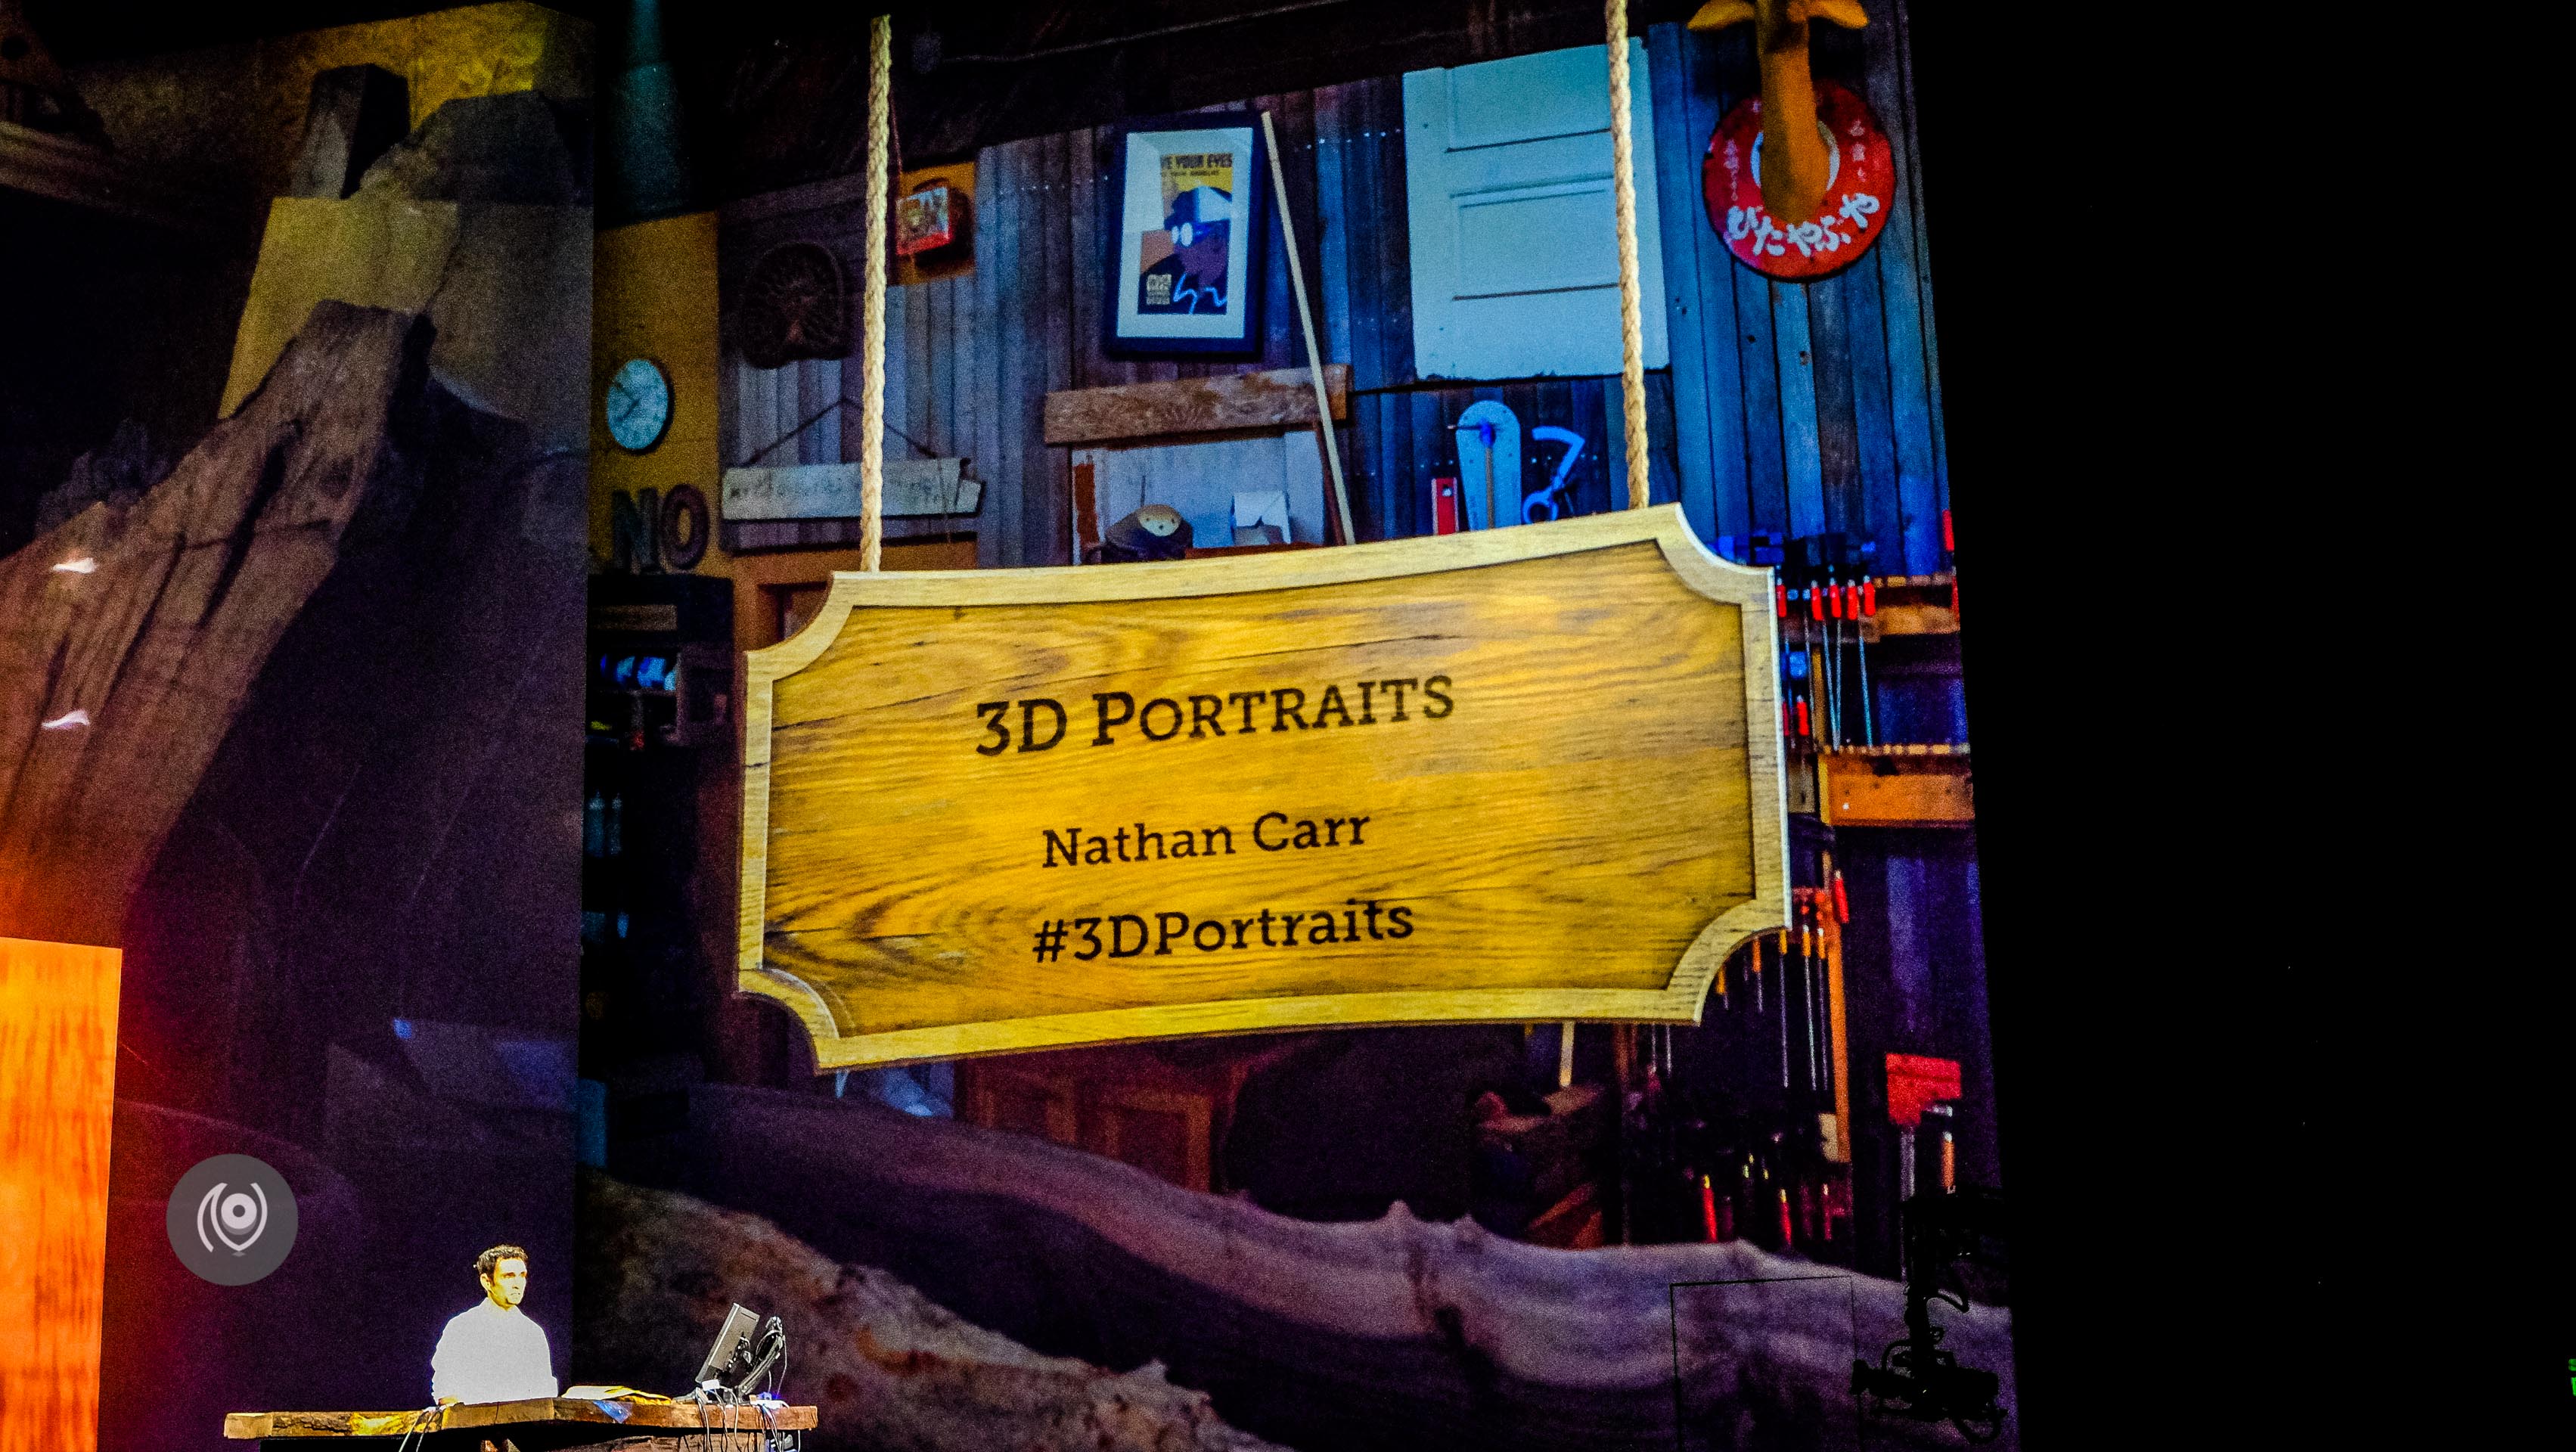
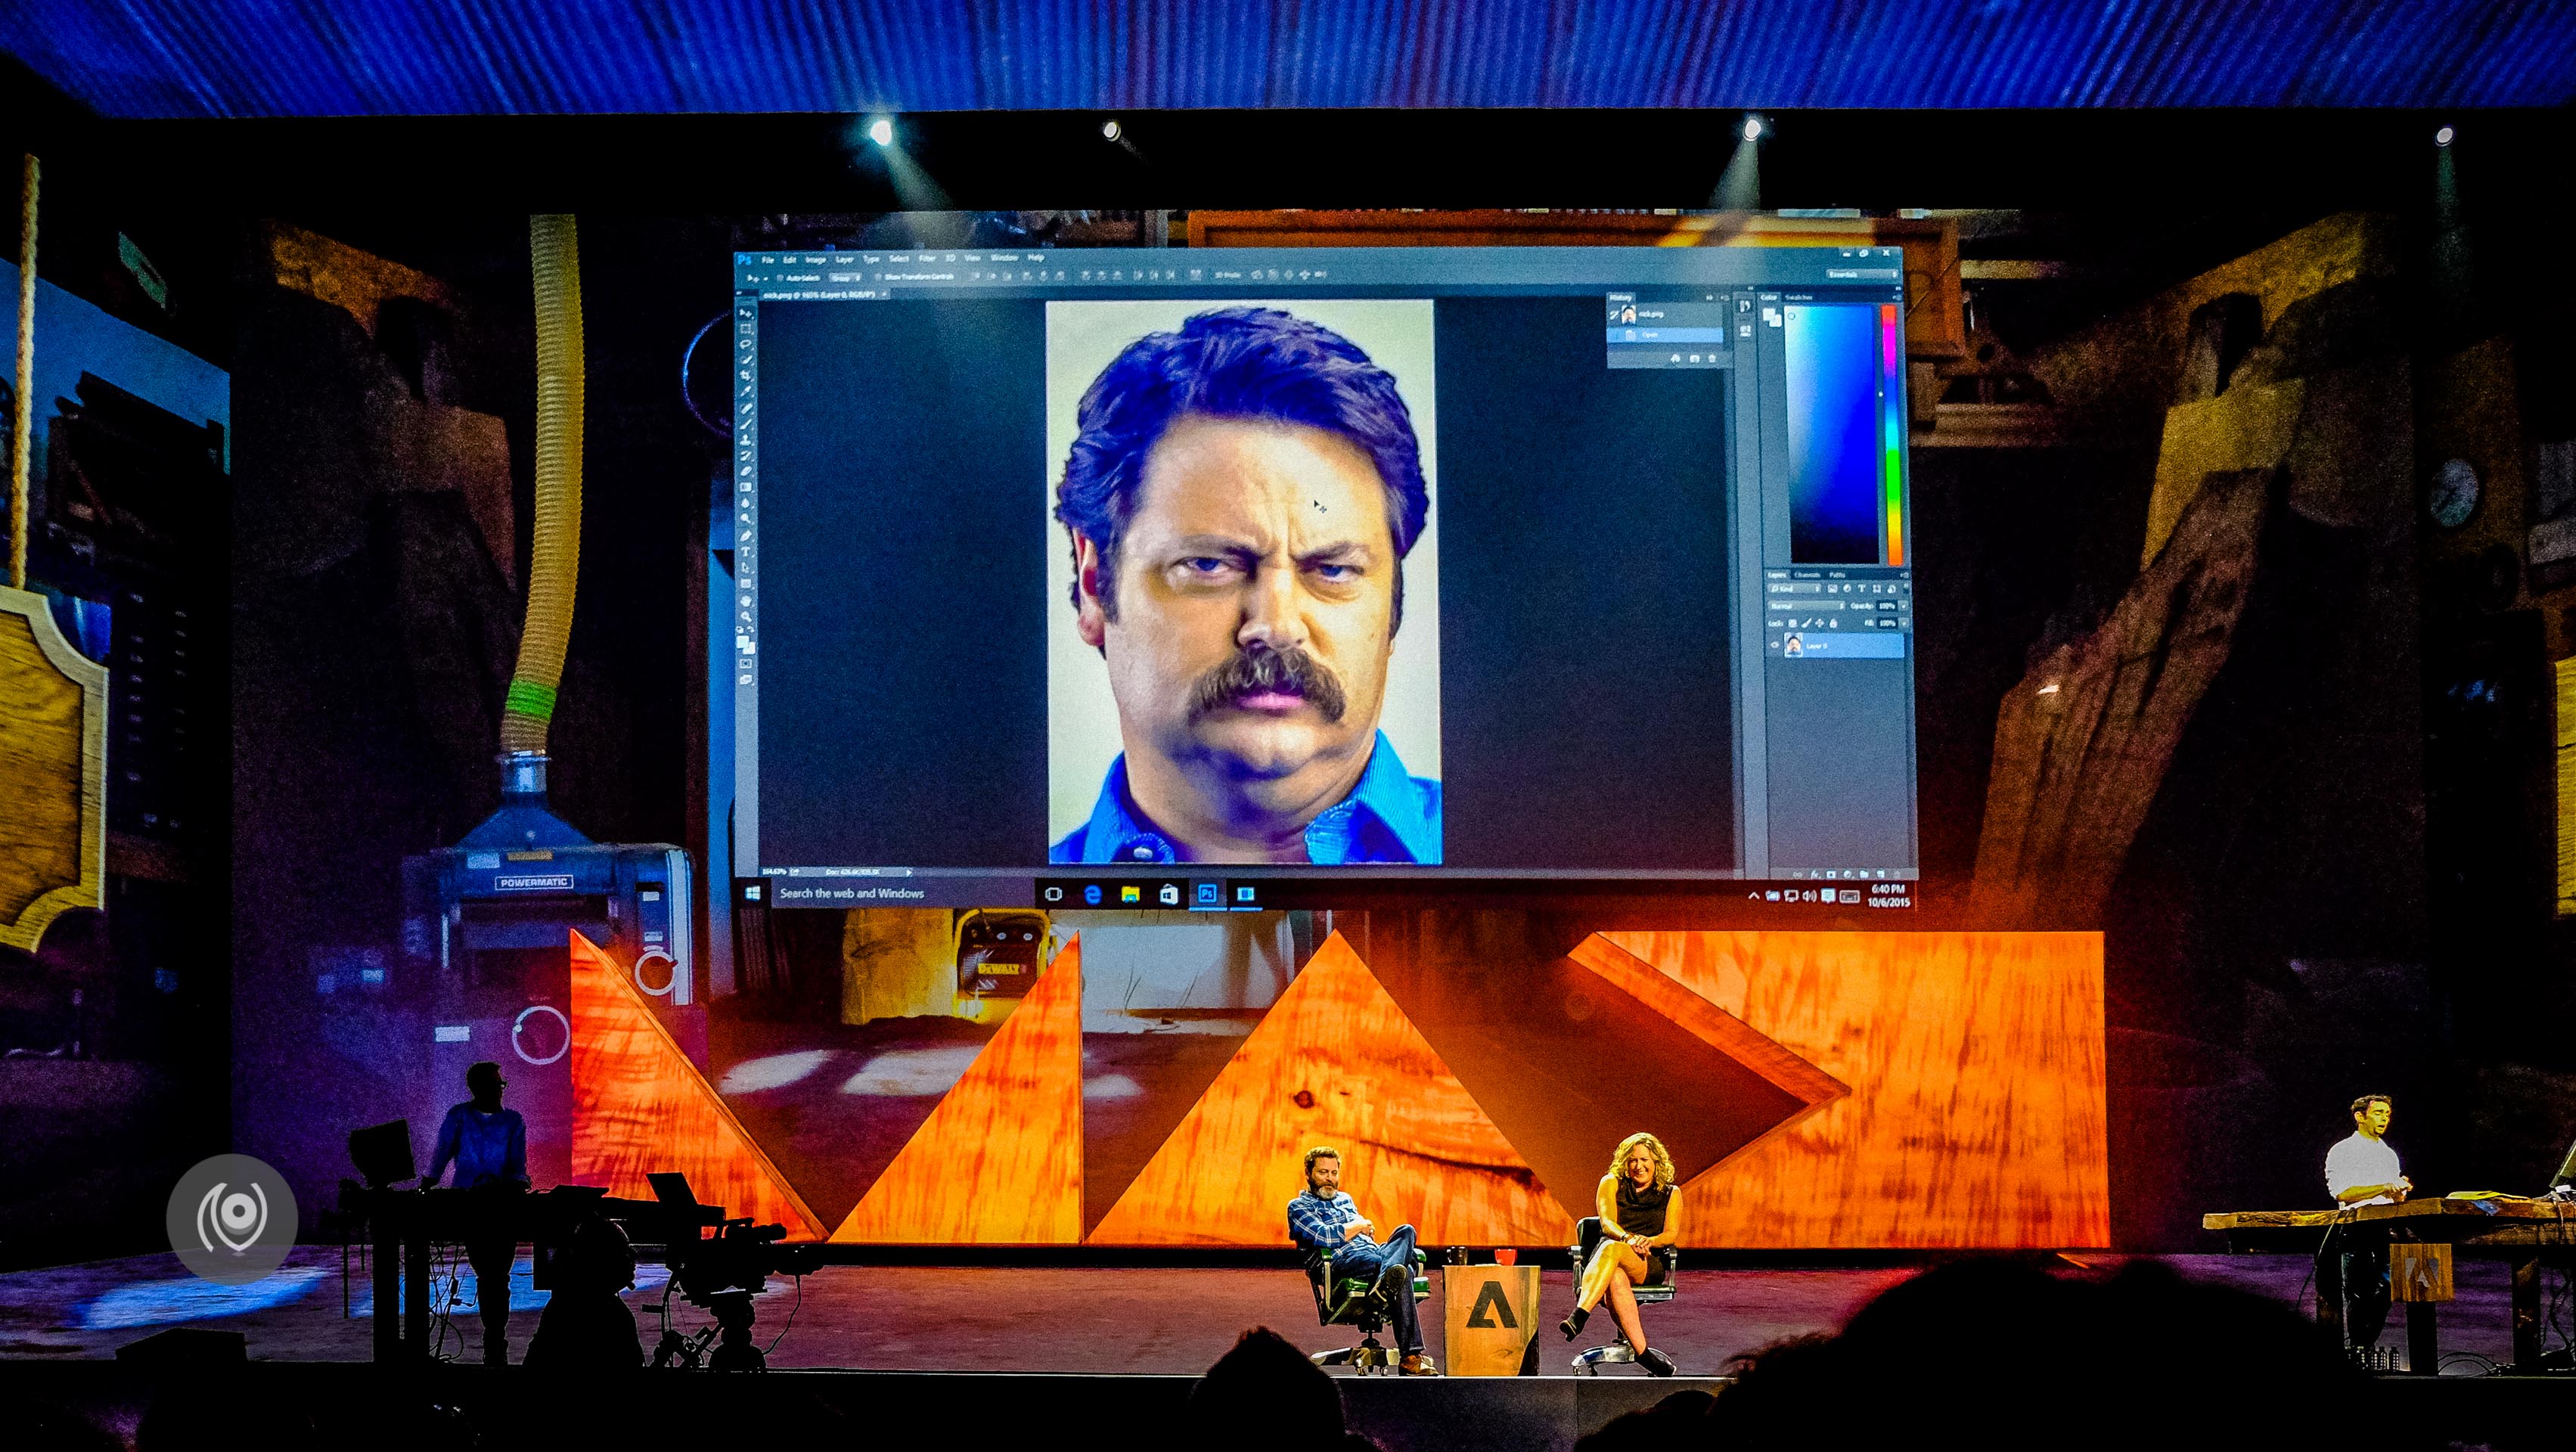
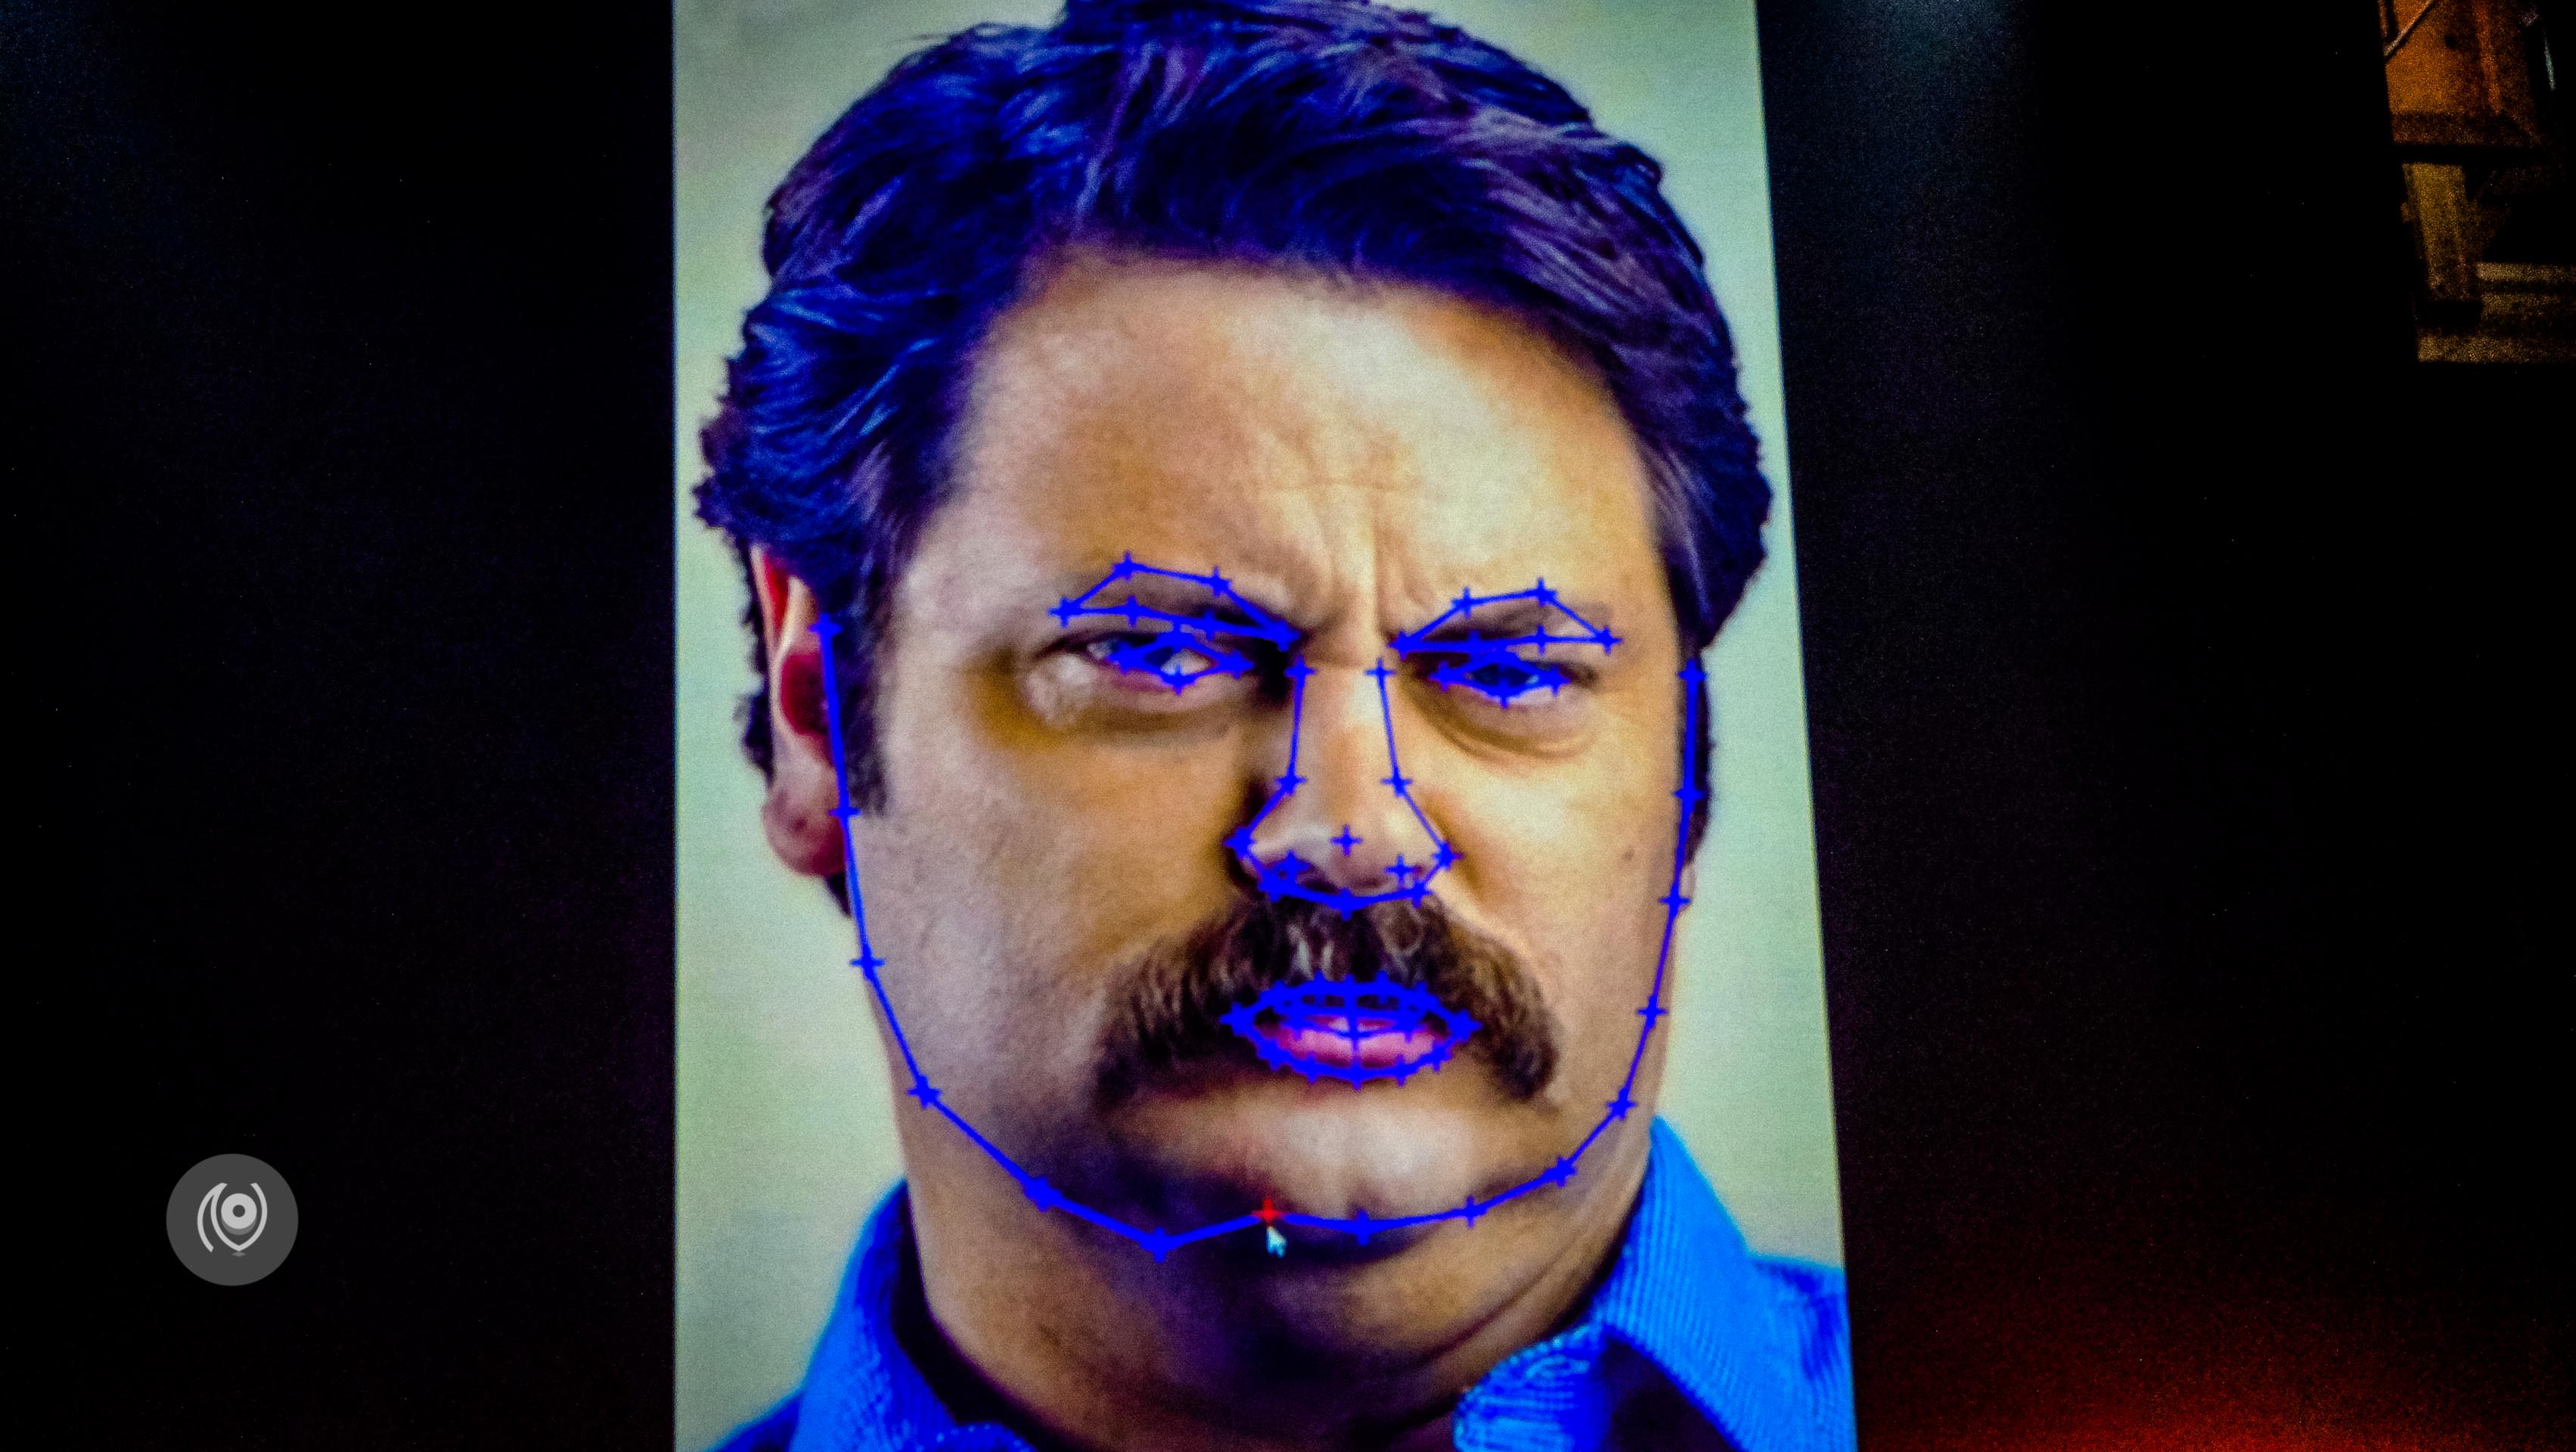
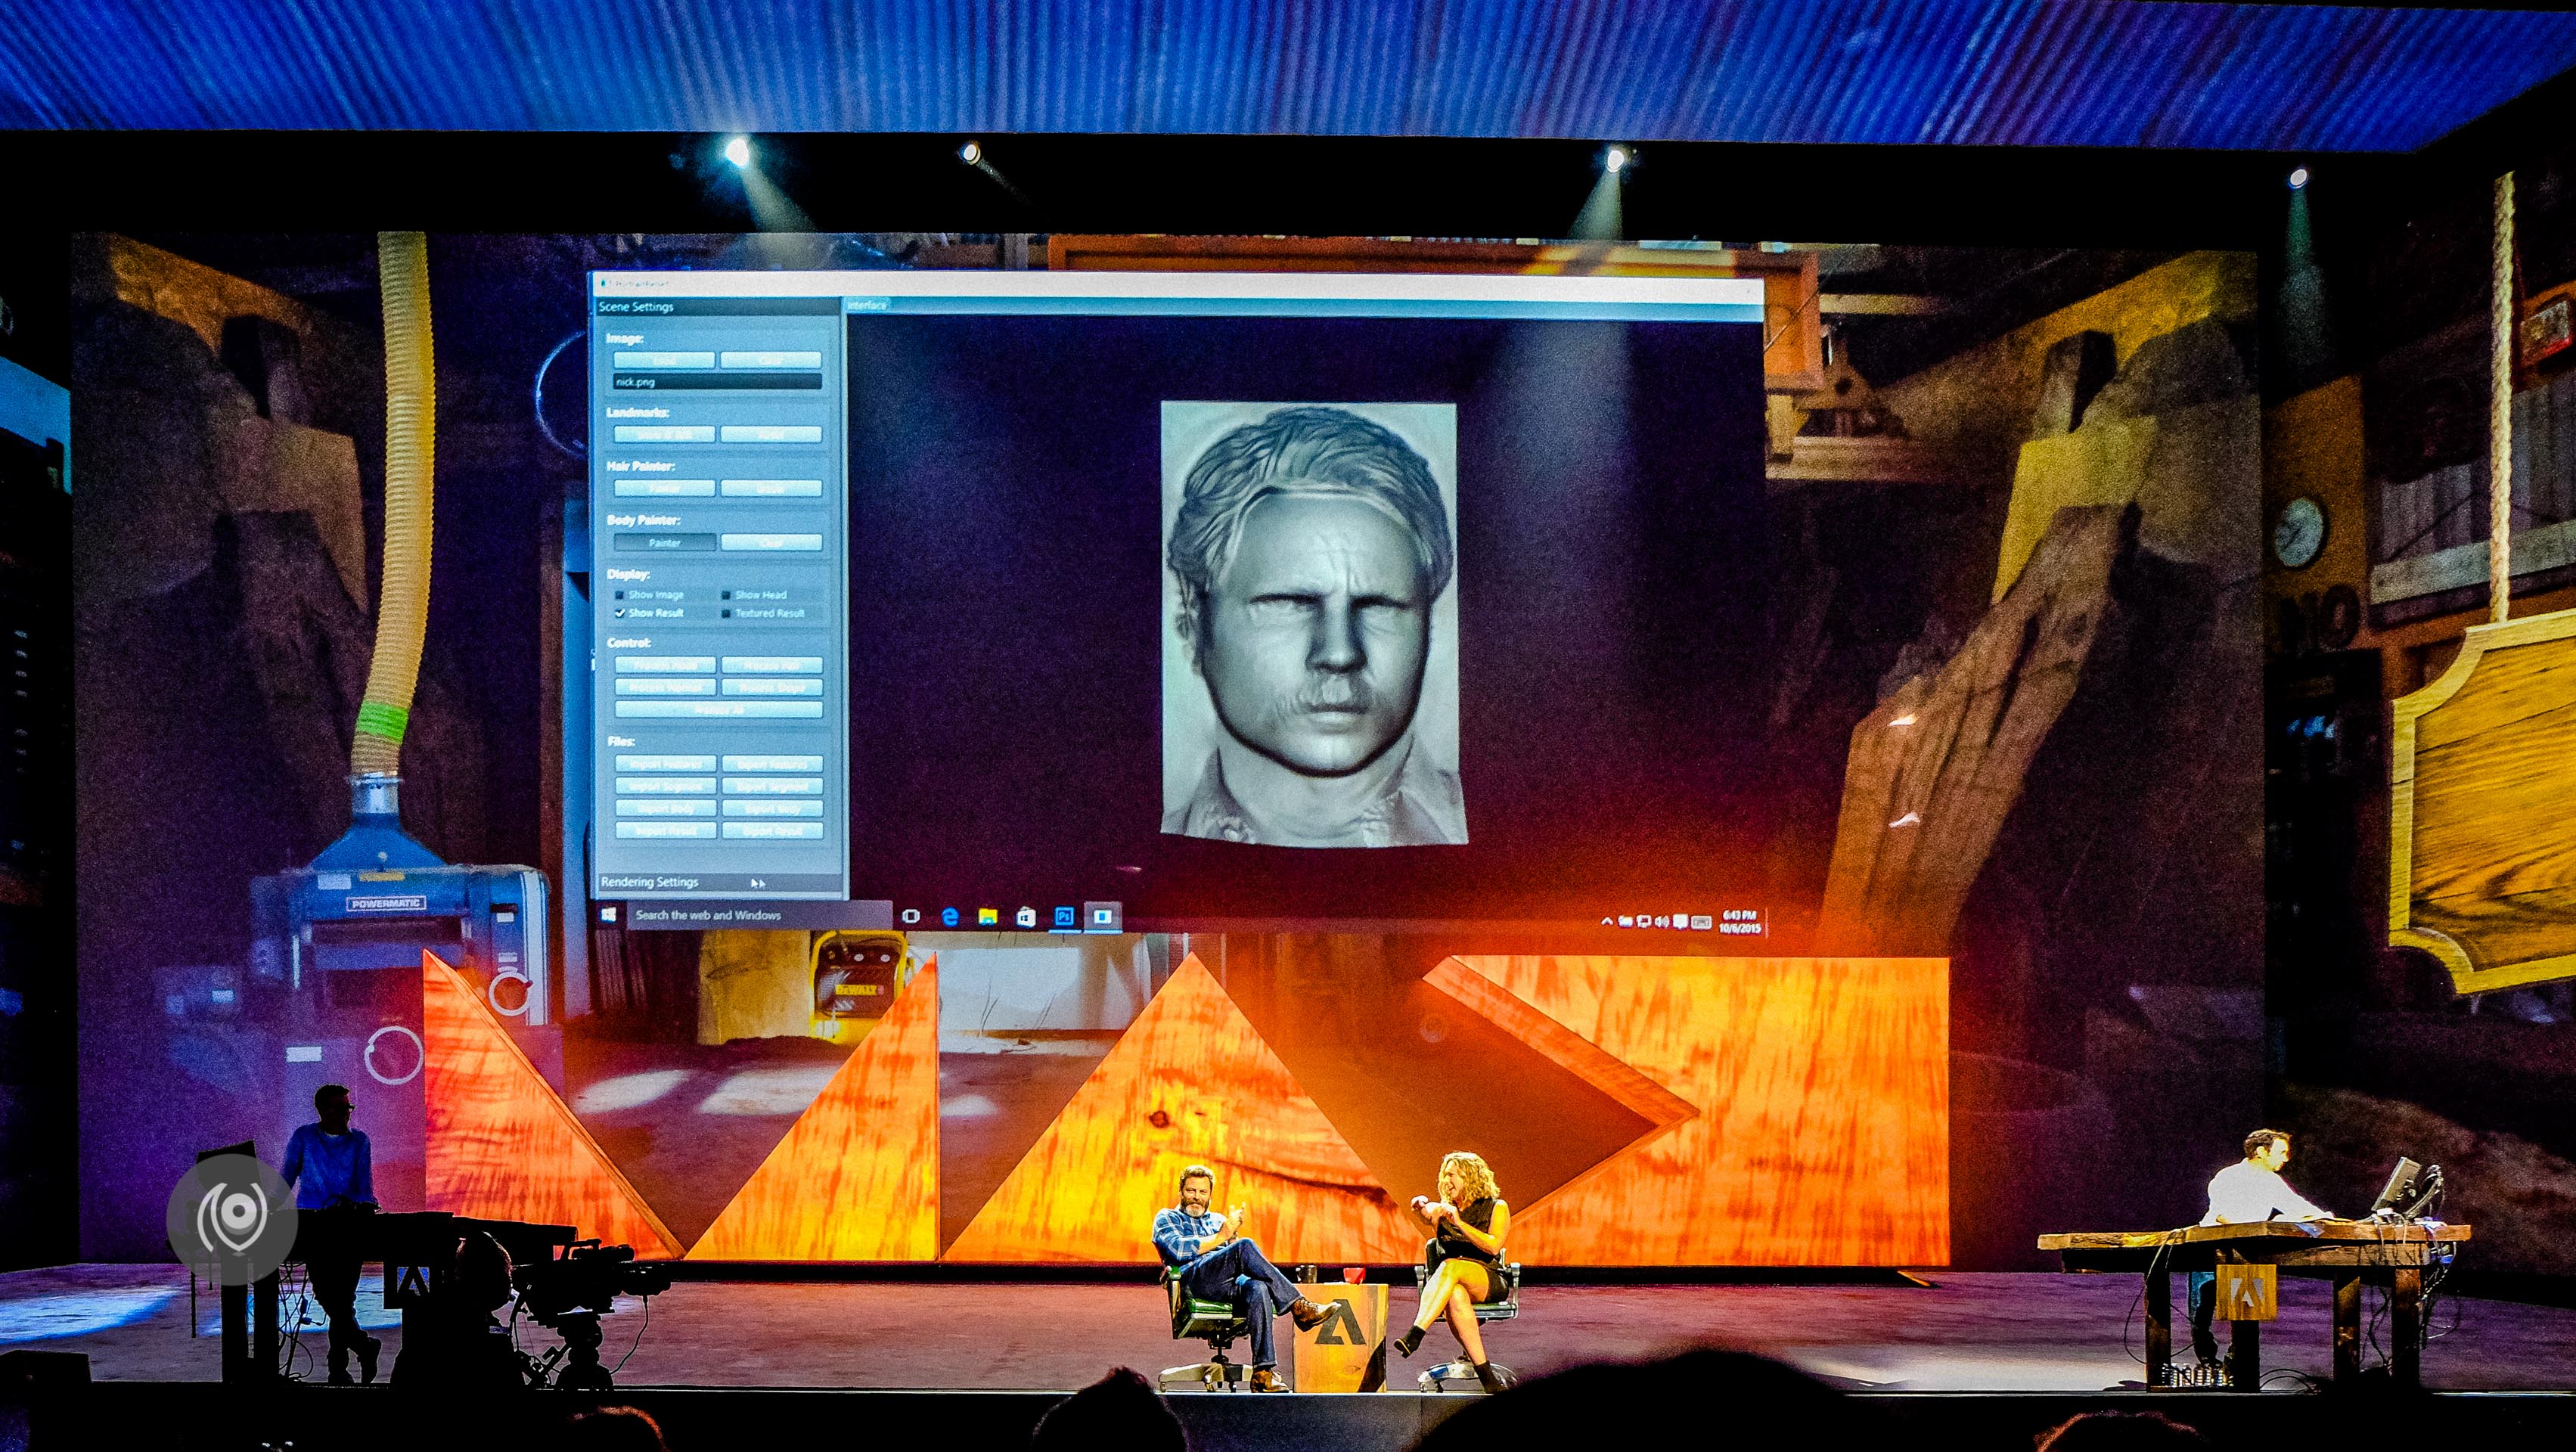
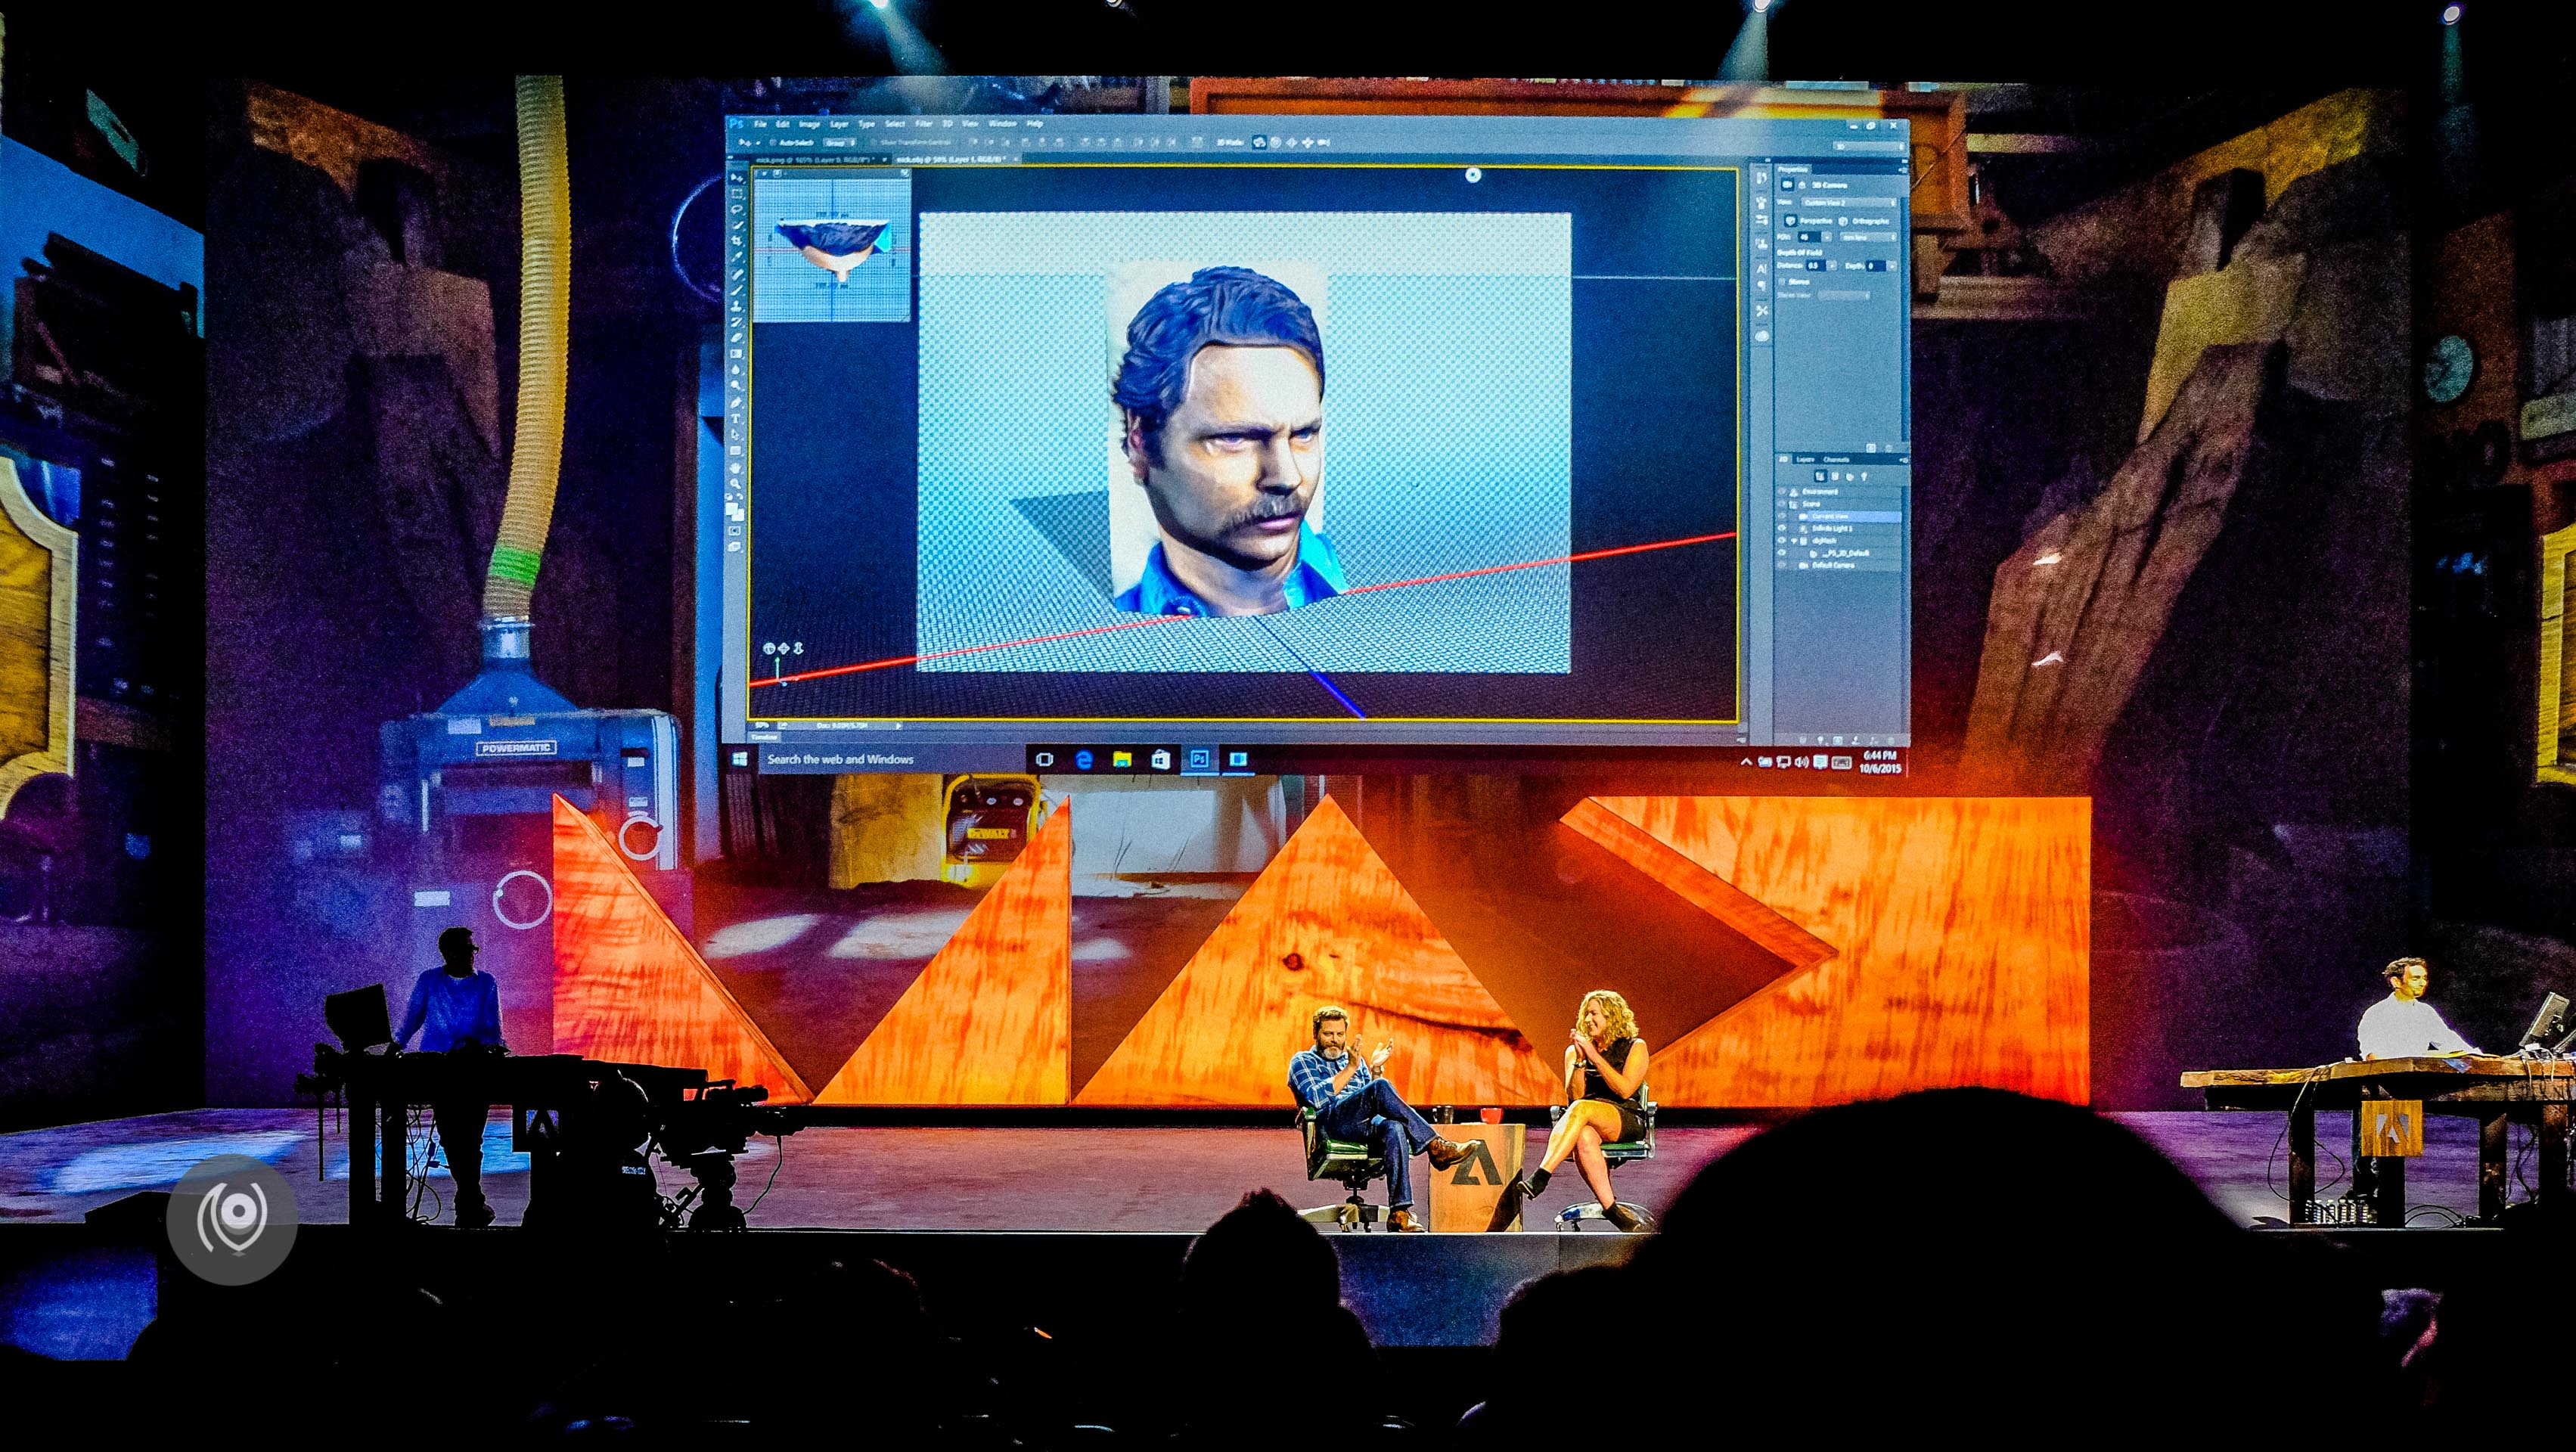
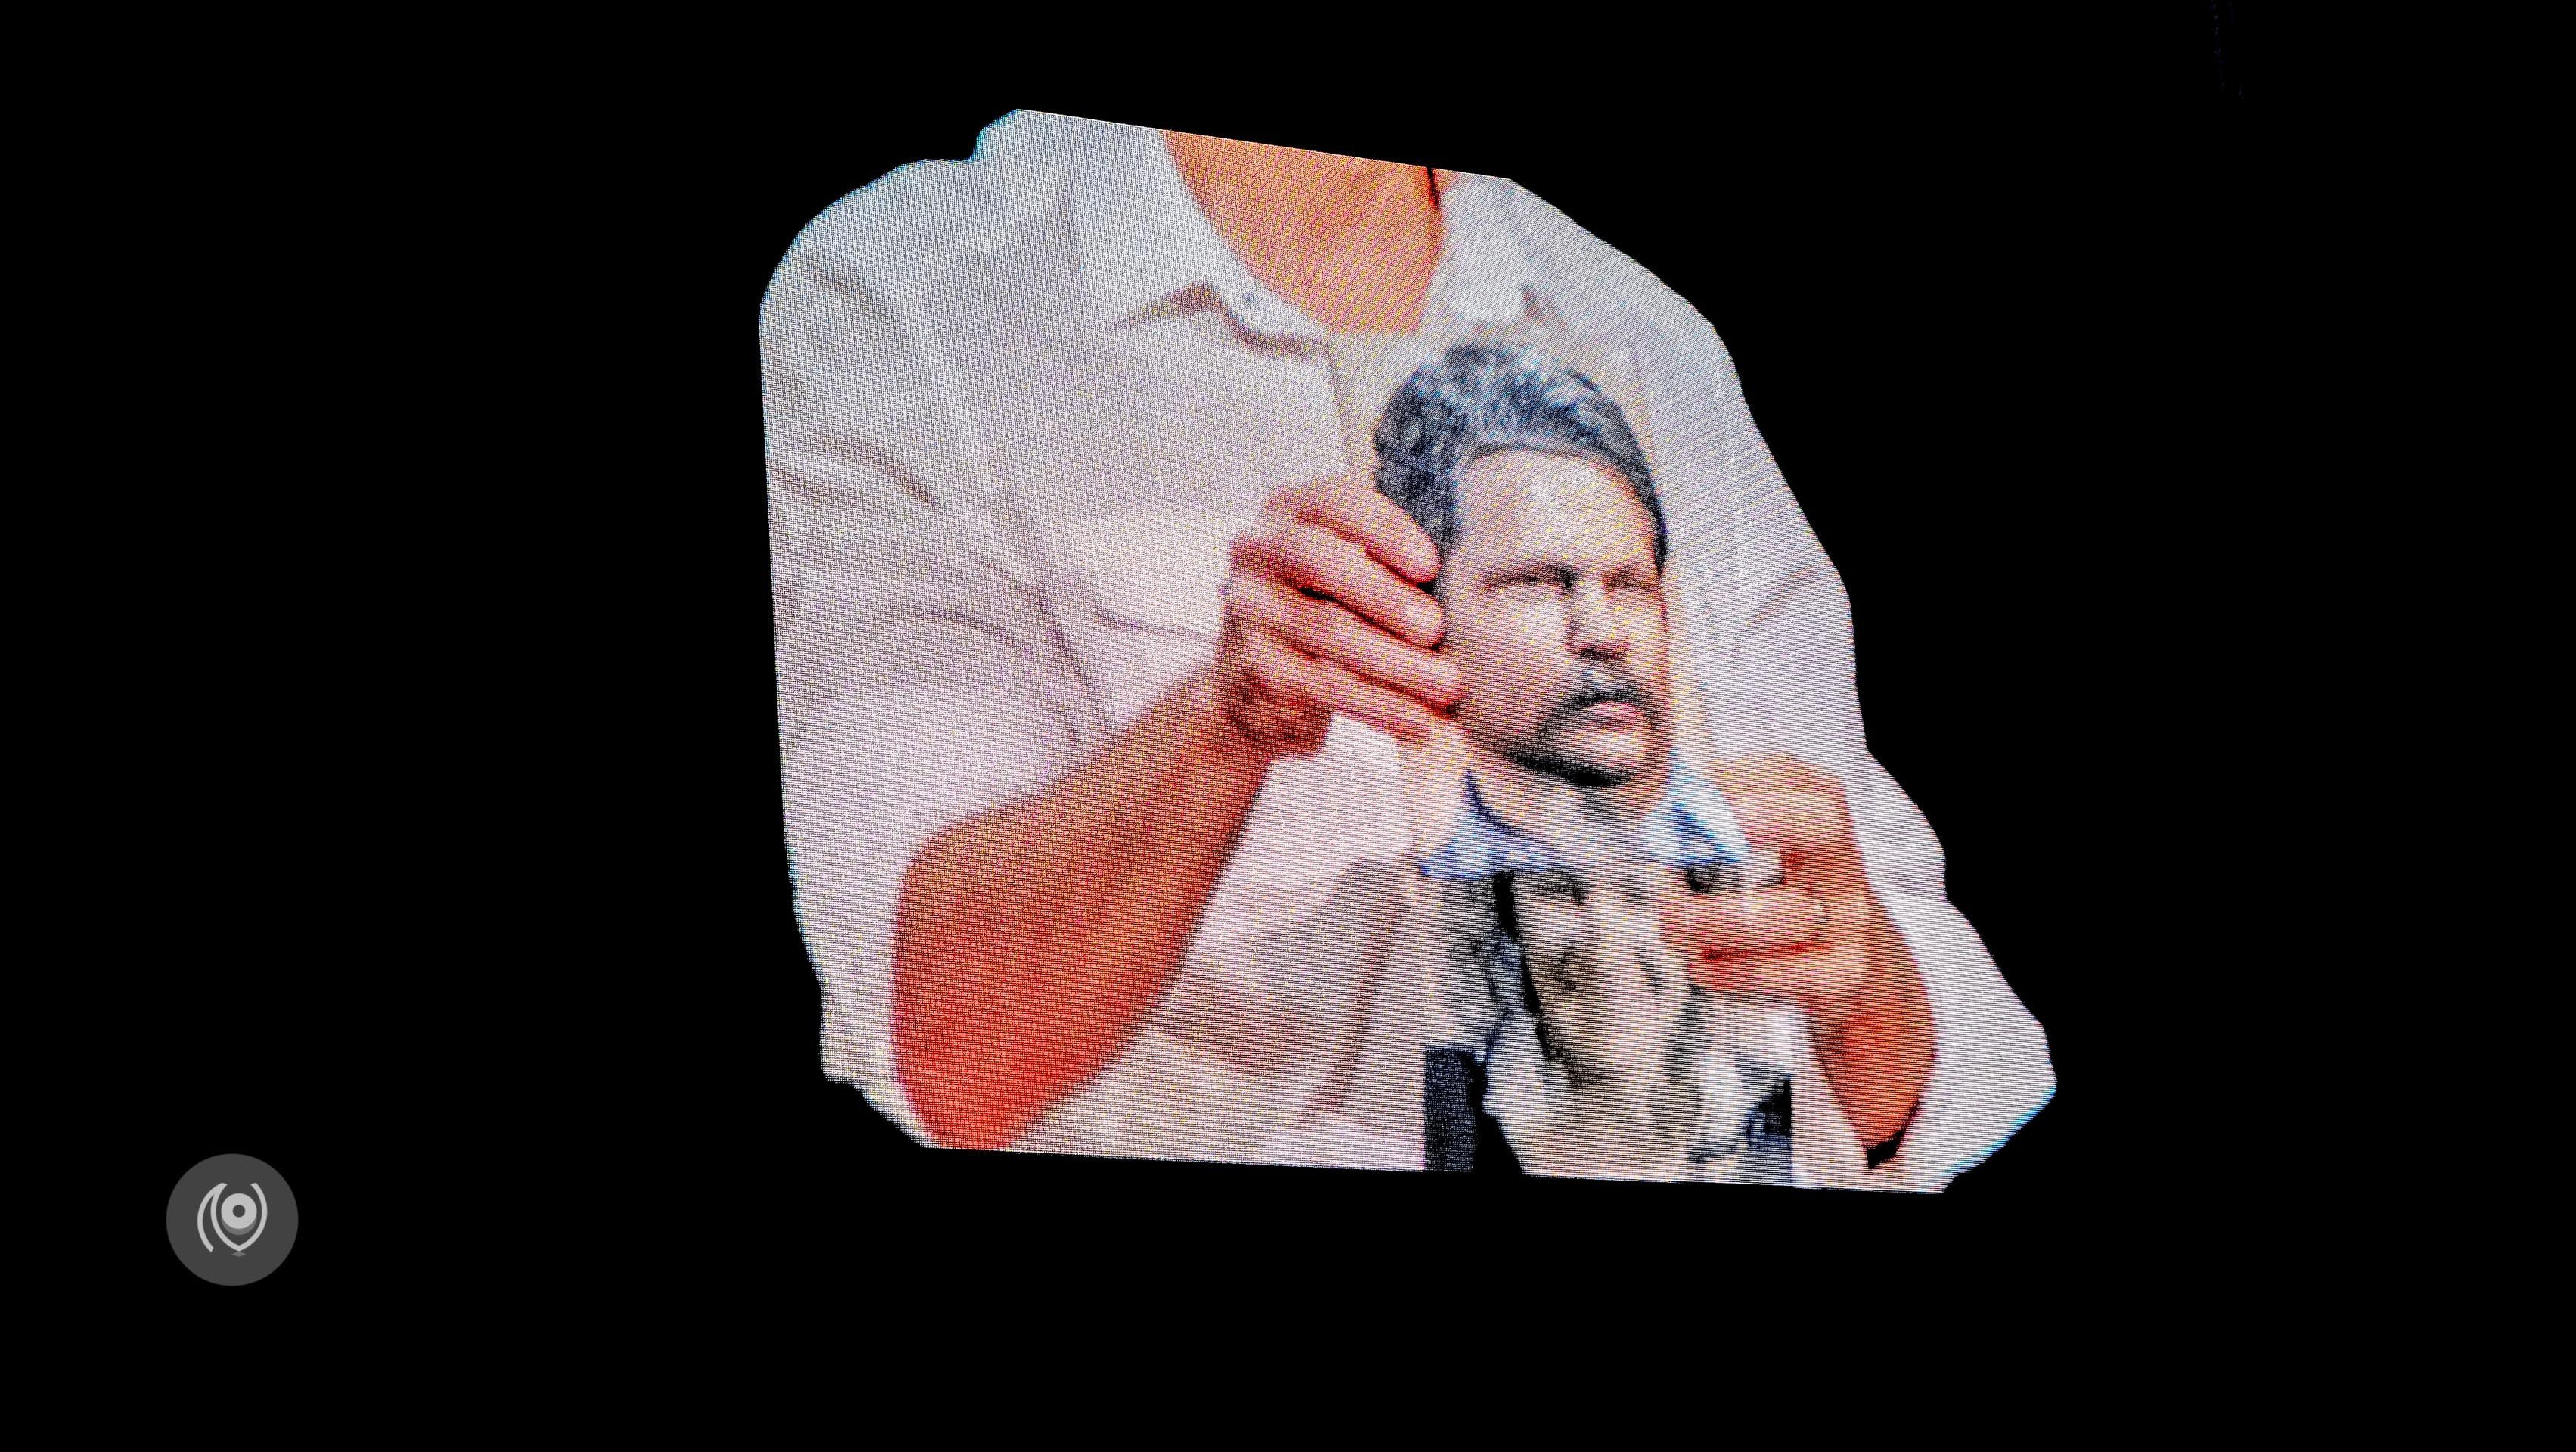
3D printing for n00bs! #3DPortraits where Nathan took a photo of Nick, mapped it within Photoshop, and printed out a 3D version and handed it to Nick on stage! ( The actual printing had been done beforehand so the 3D portrait was ready made but the process of mapping and rendering a flat photo into a 3D structure within the software was WOW. )
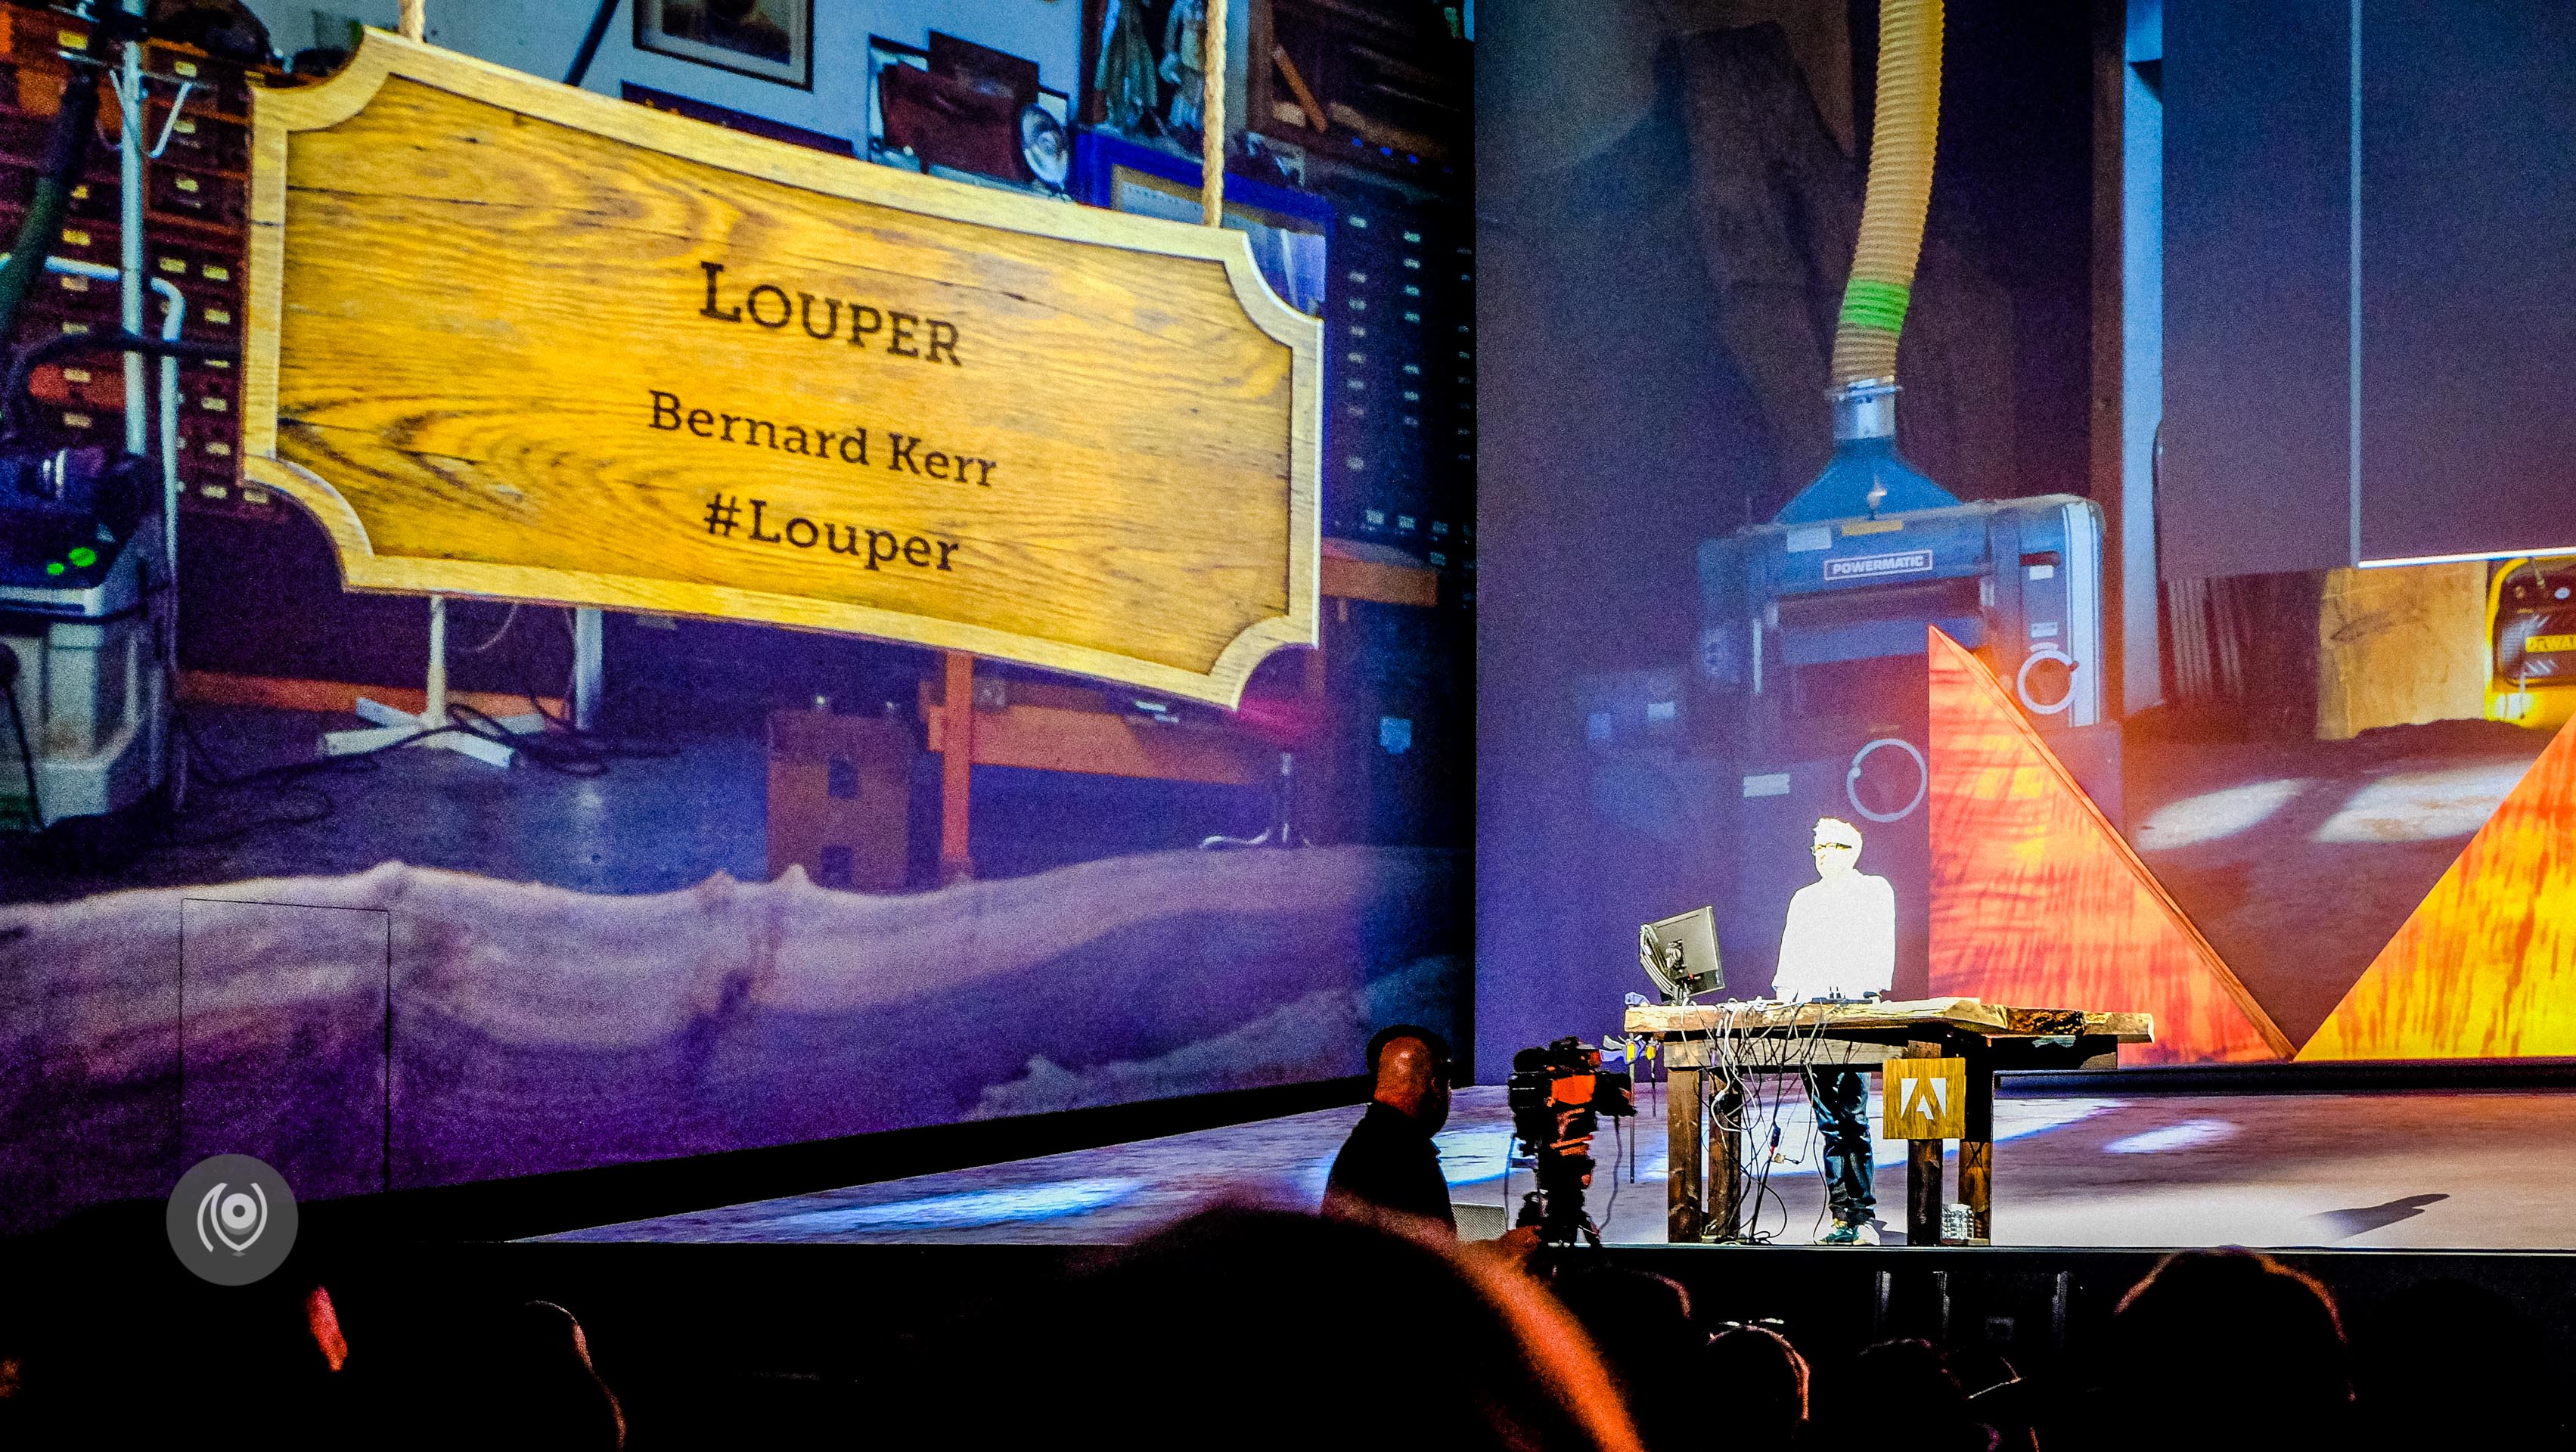
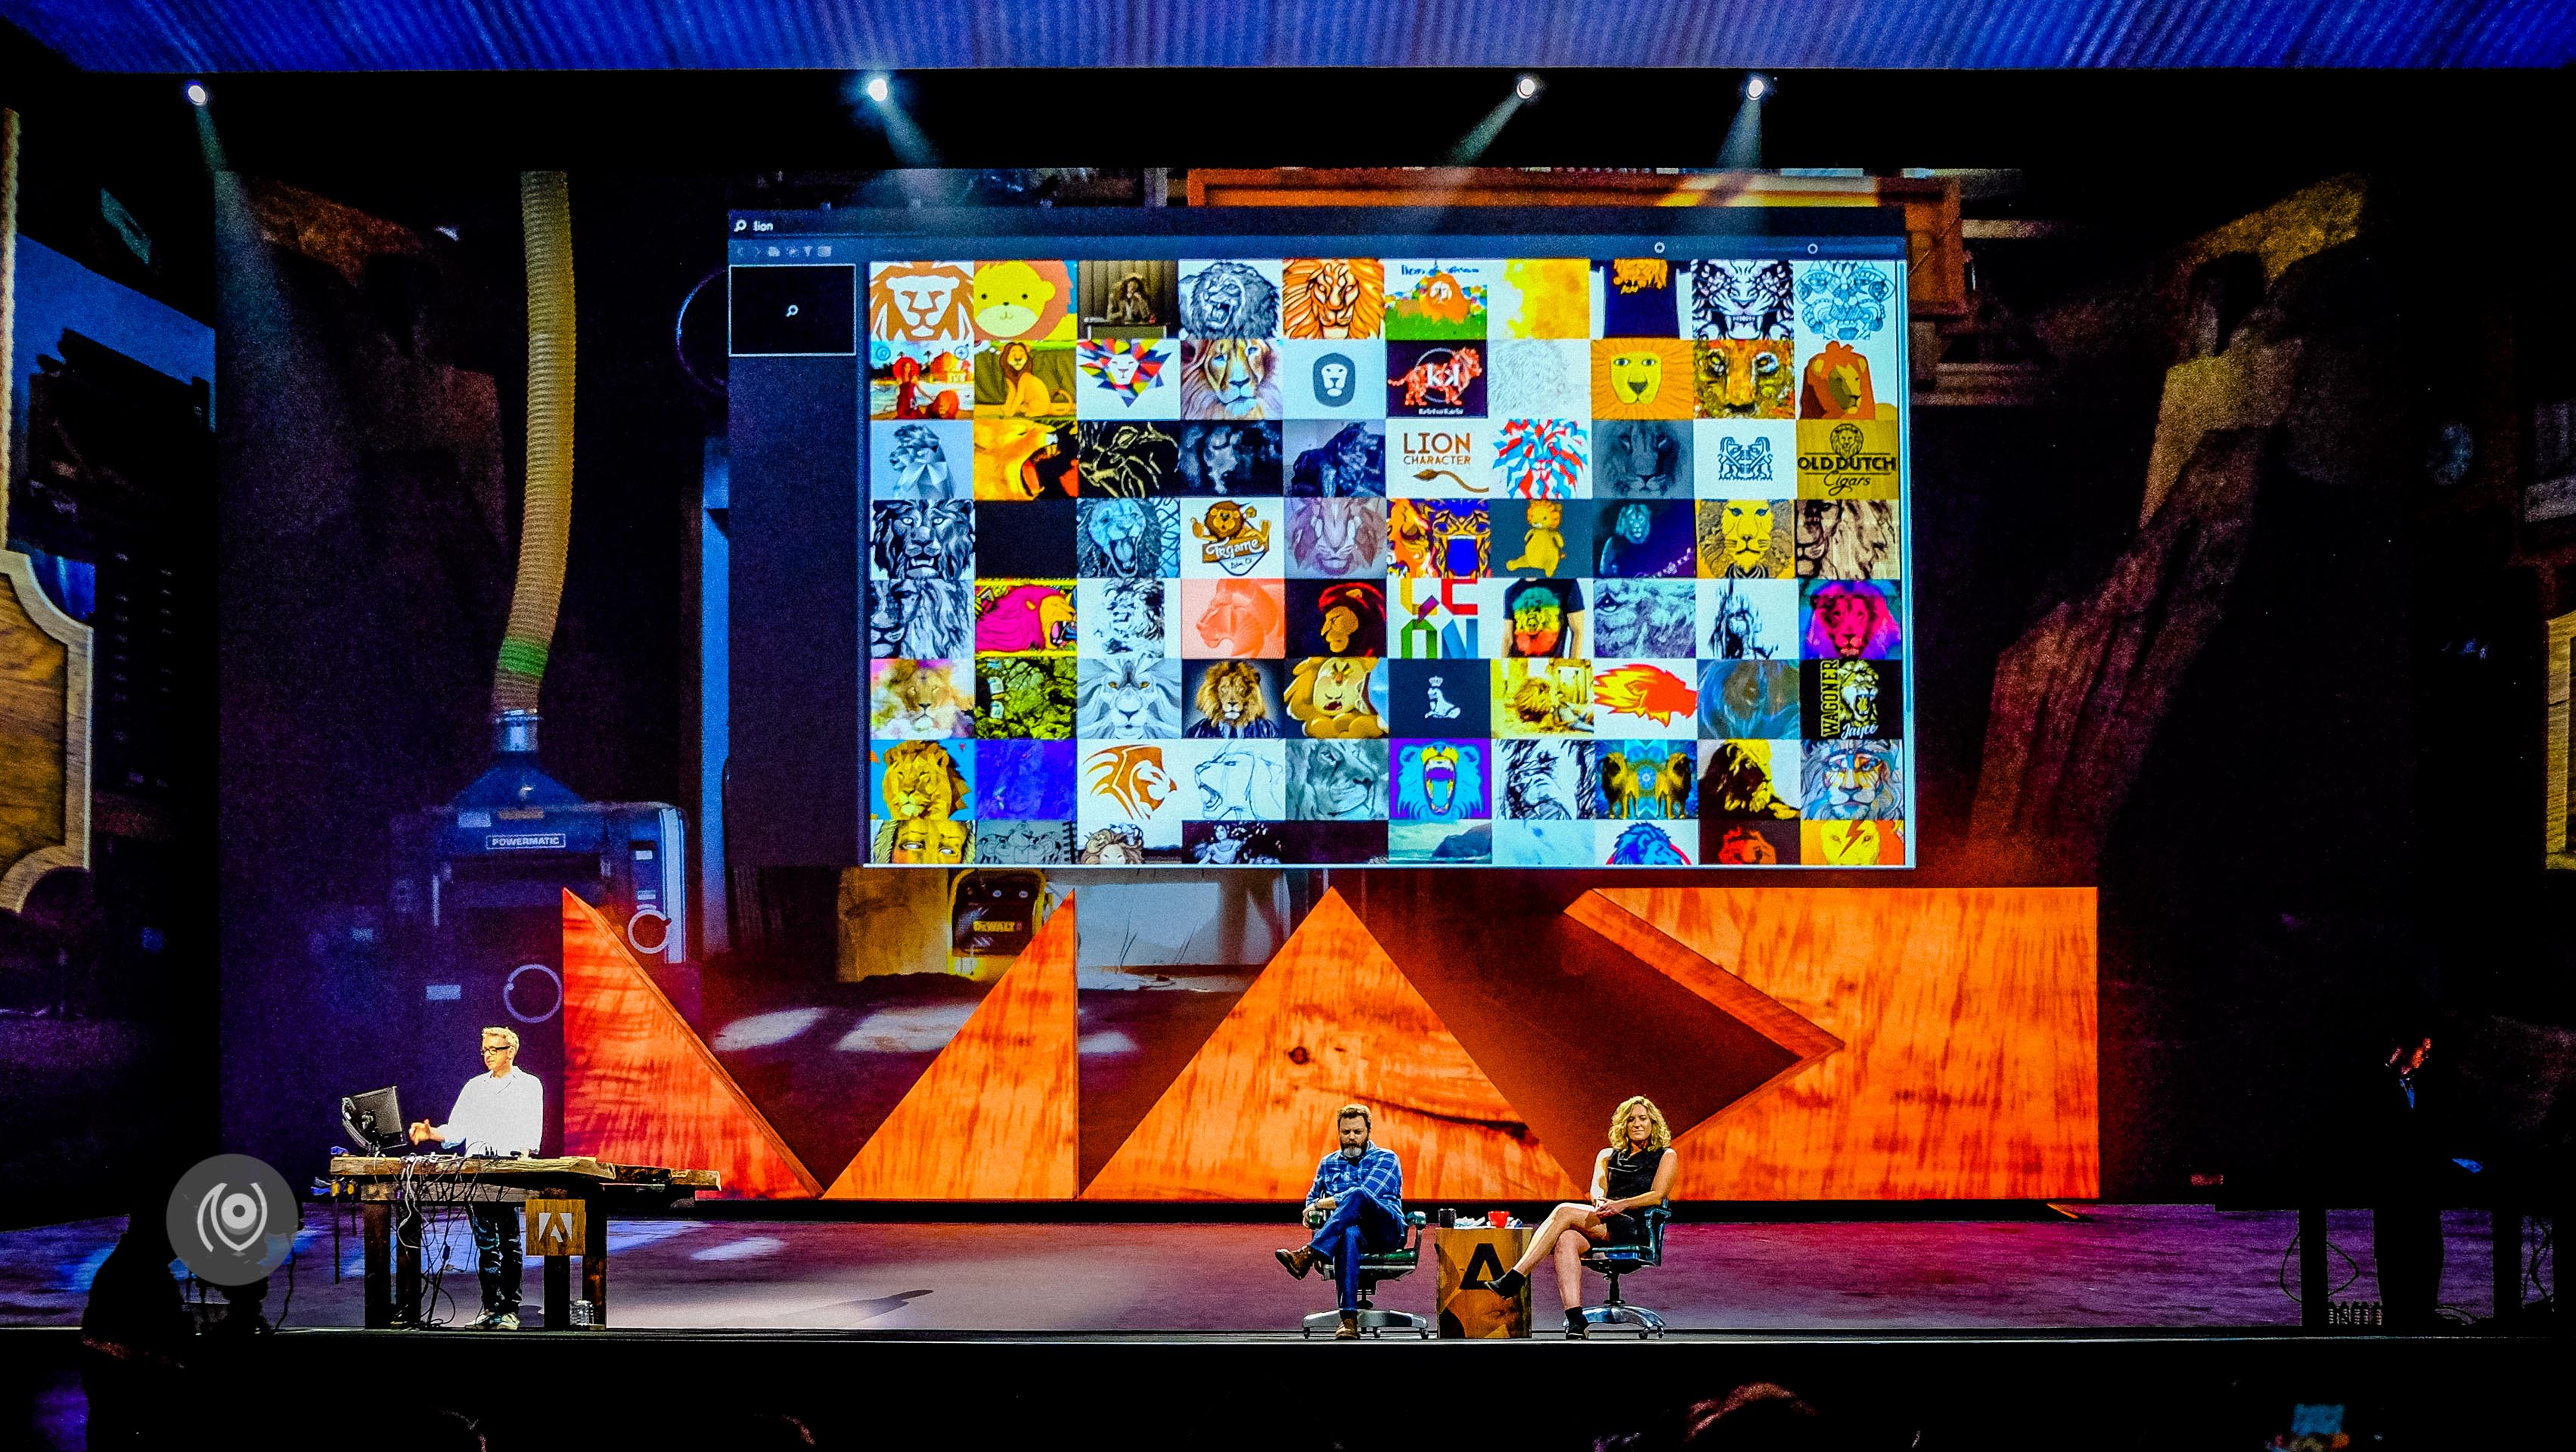
#Louper is intelligent image and illustration search. You can feed an image into the software and ask it to fetch similar images from within Adobe Stock Photos. If it is an illustration you’re looking for, you can additionally feed in the colours and the software will present results in the same colour range! It’s such a pain looking for images for reference when you have something specific in mind and Louper sounds like something I would use when I start using third-party photographs in my blog stories 😉
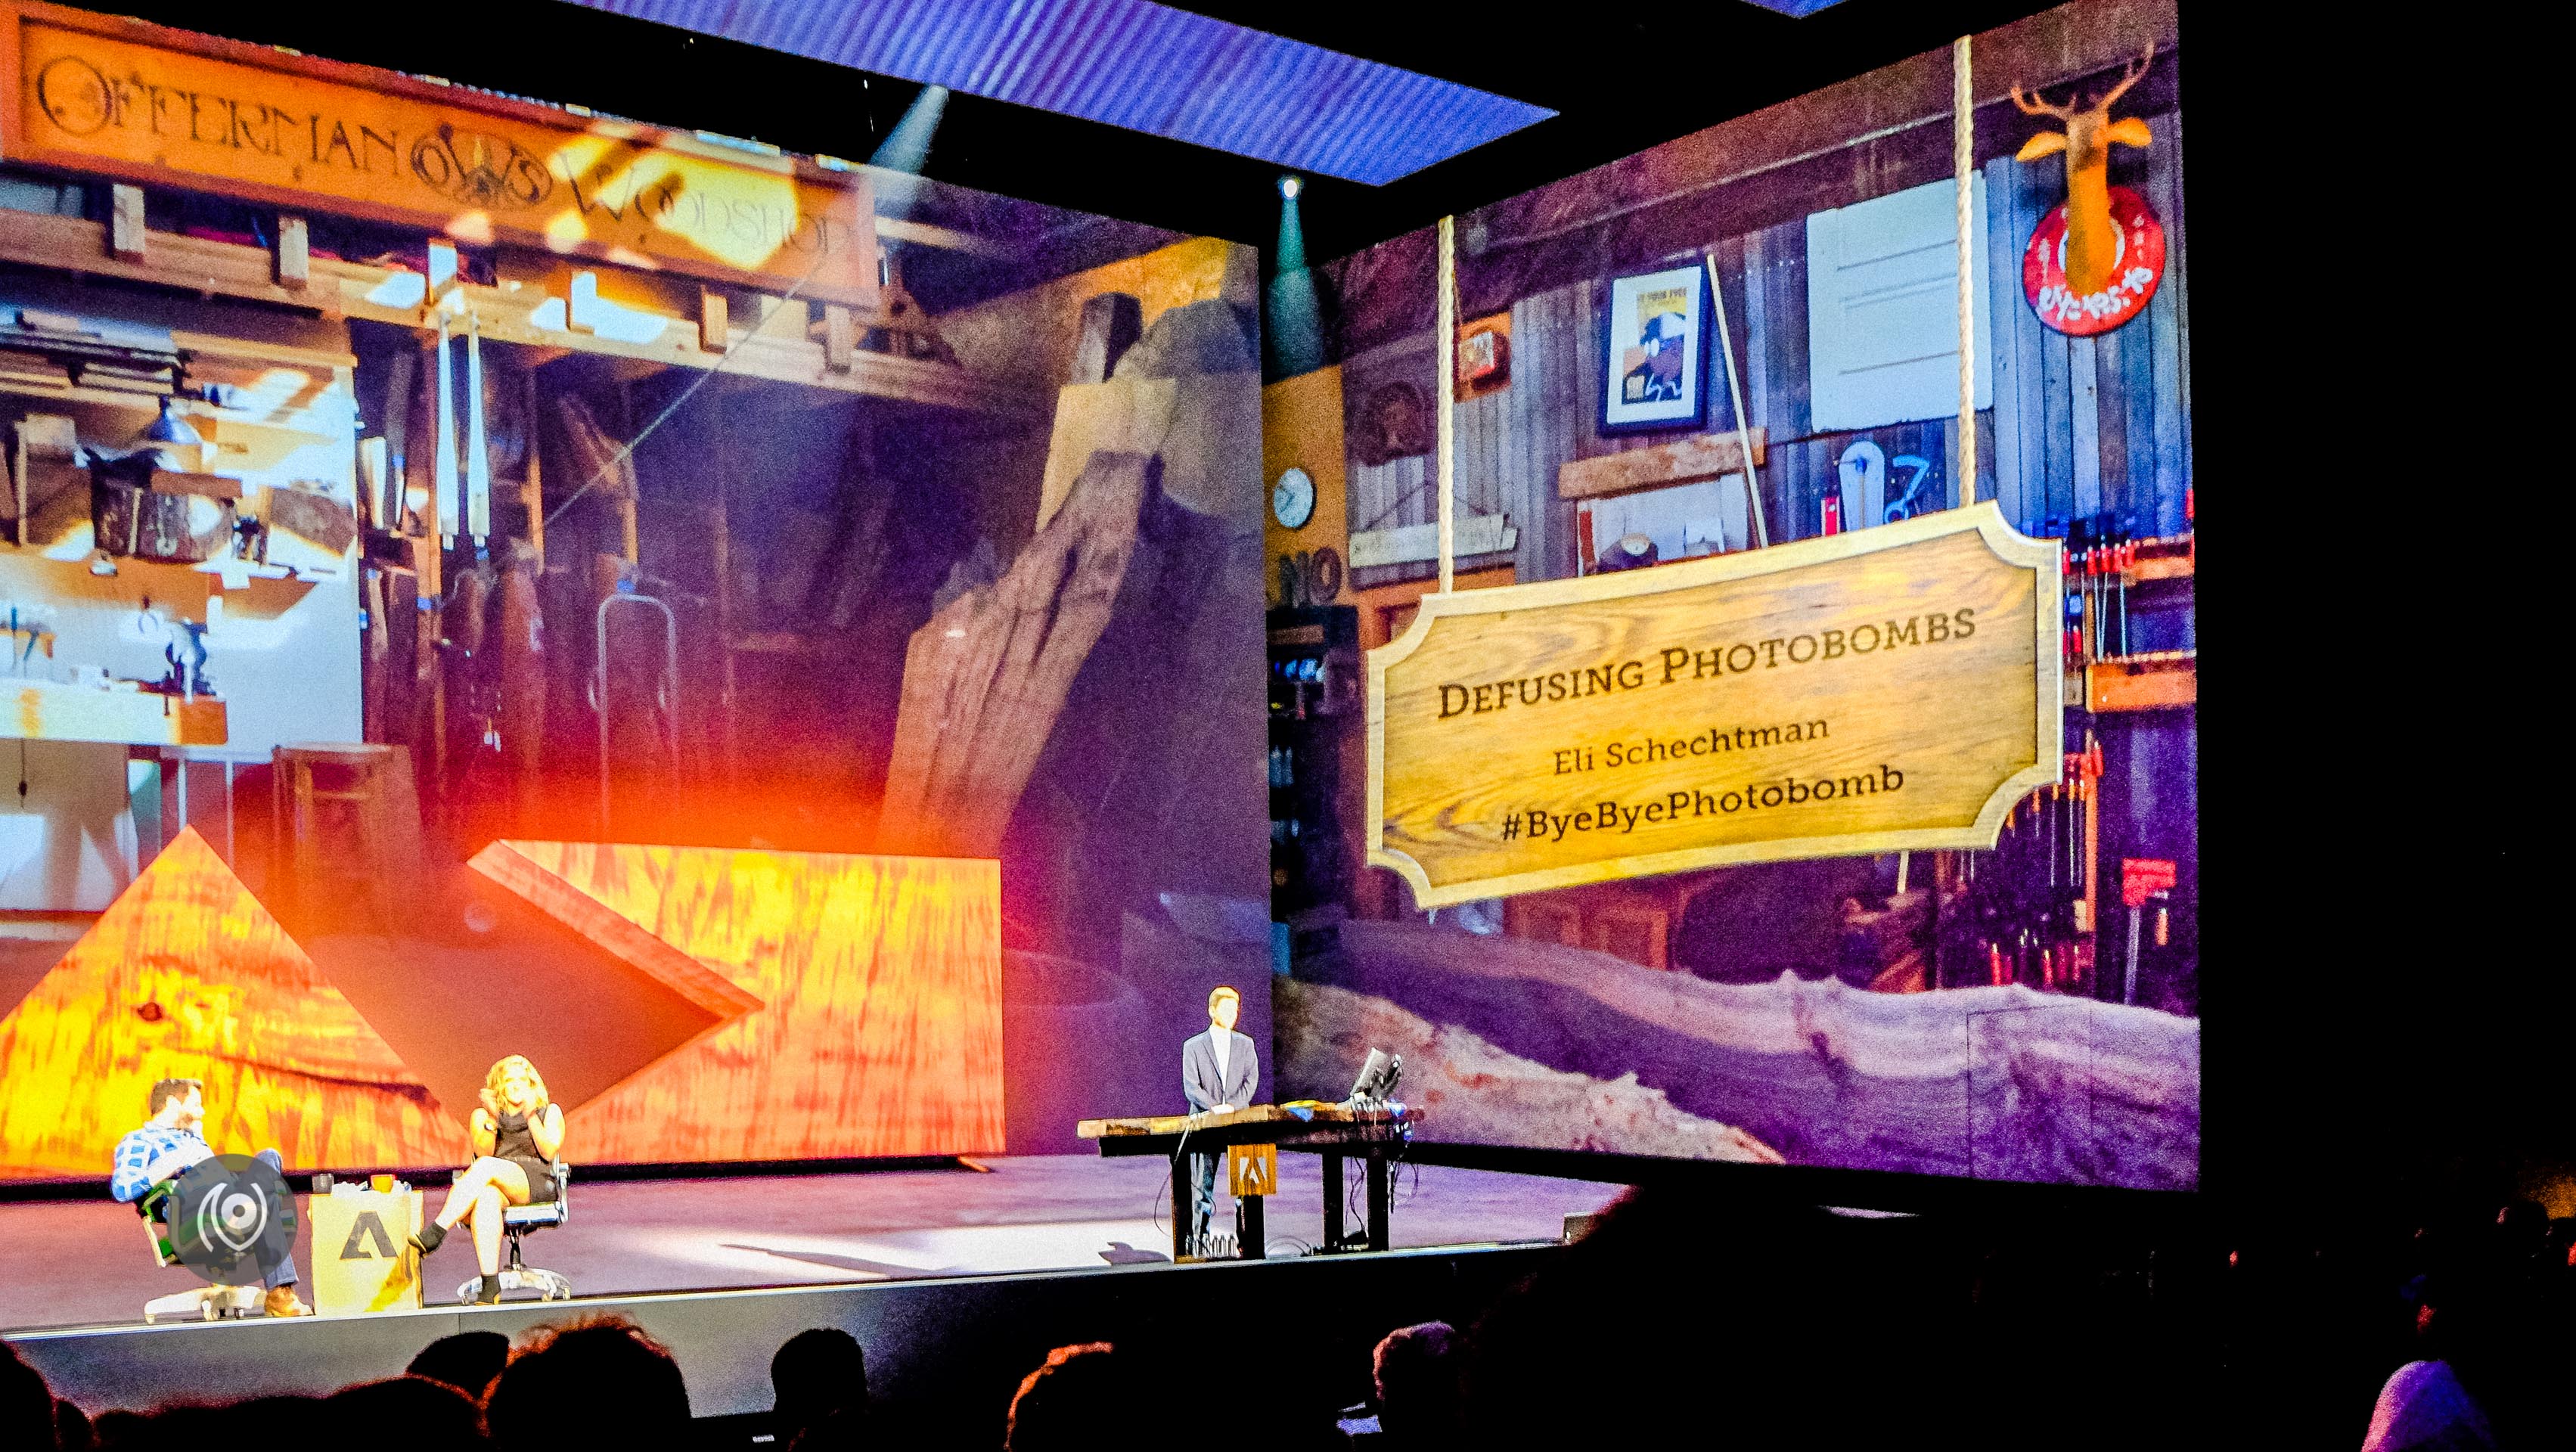
#ByeByePhotobomb was quite a neat little way to get rid of unwanted objects in a picture. 90% of it got done with a click or two and a non-destructive slider helps you tweak the result just as you want it.
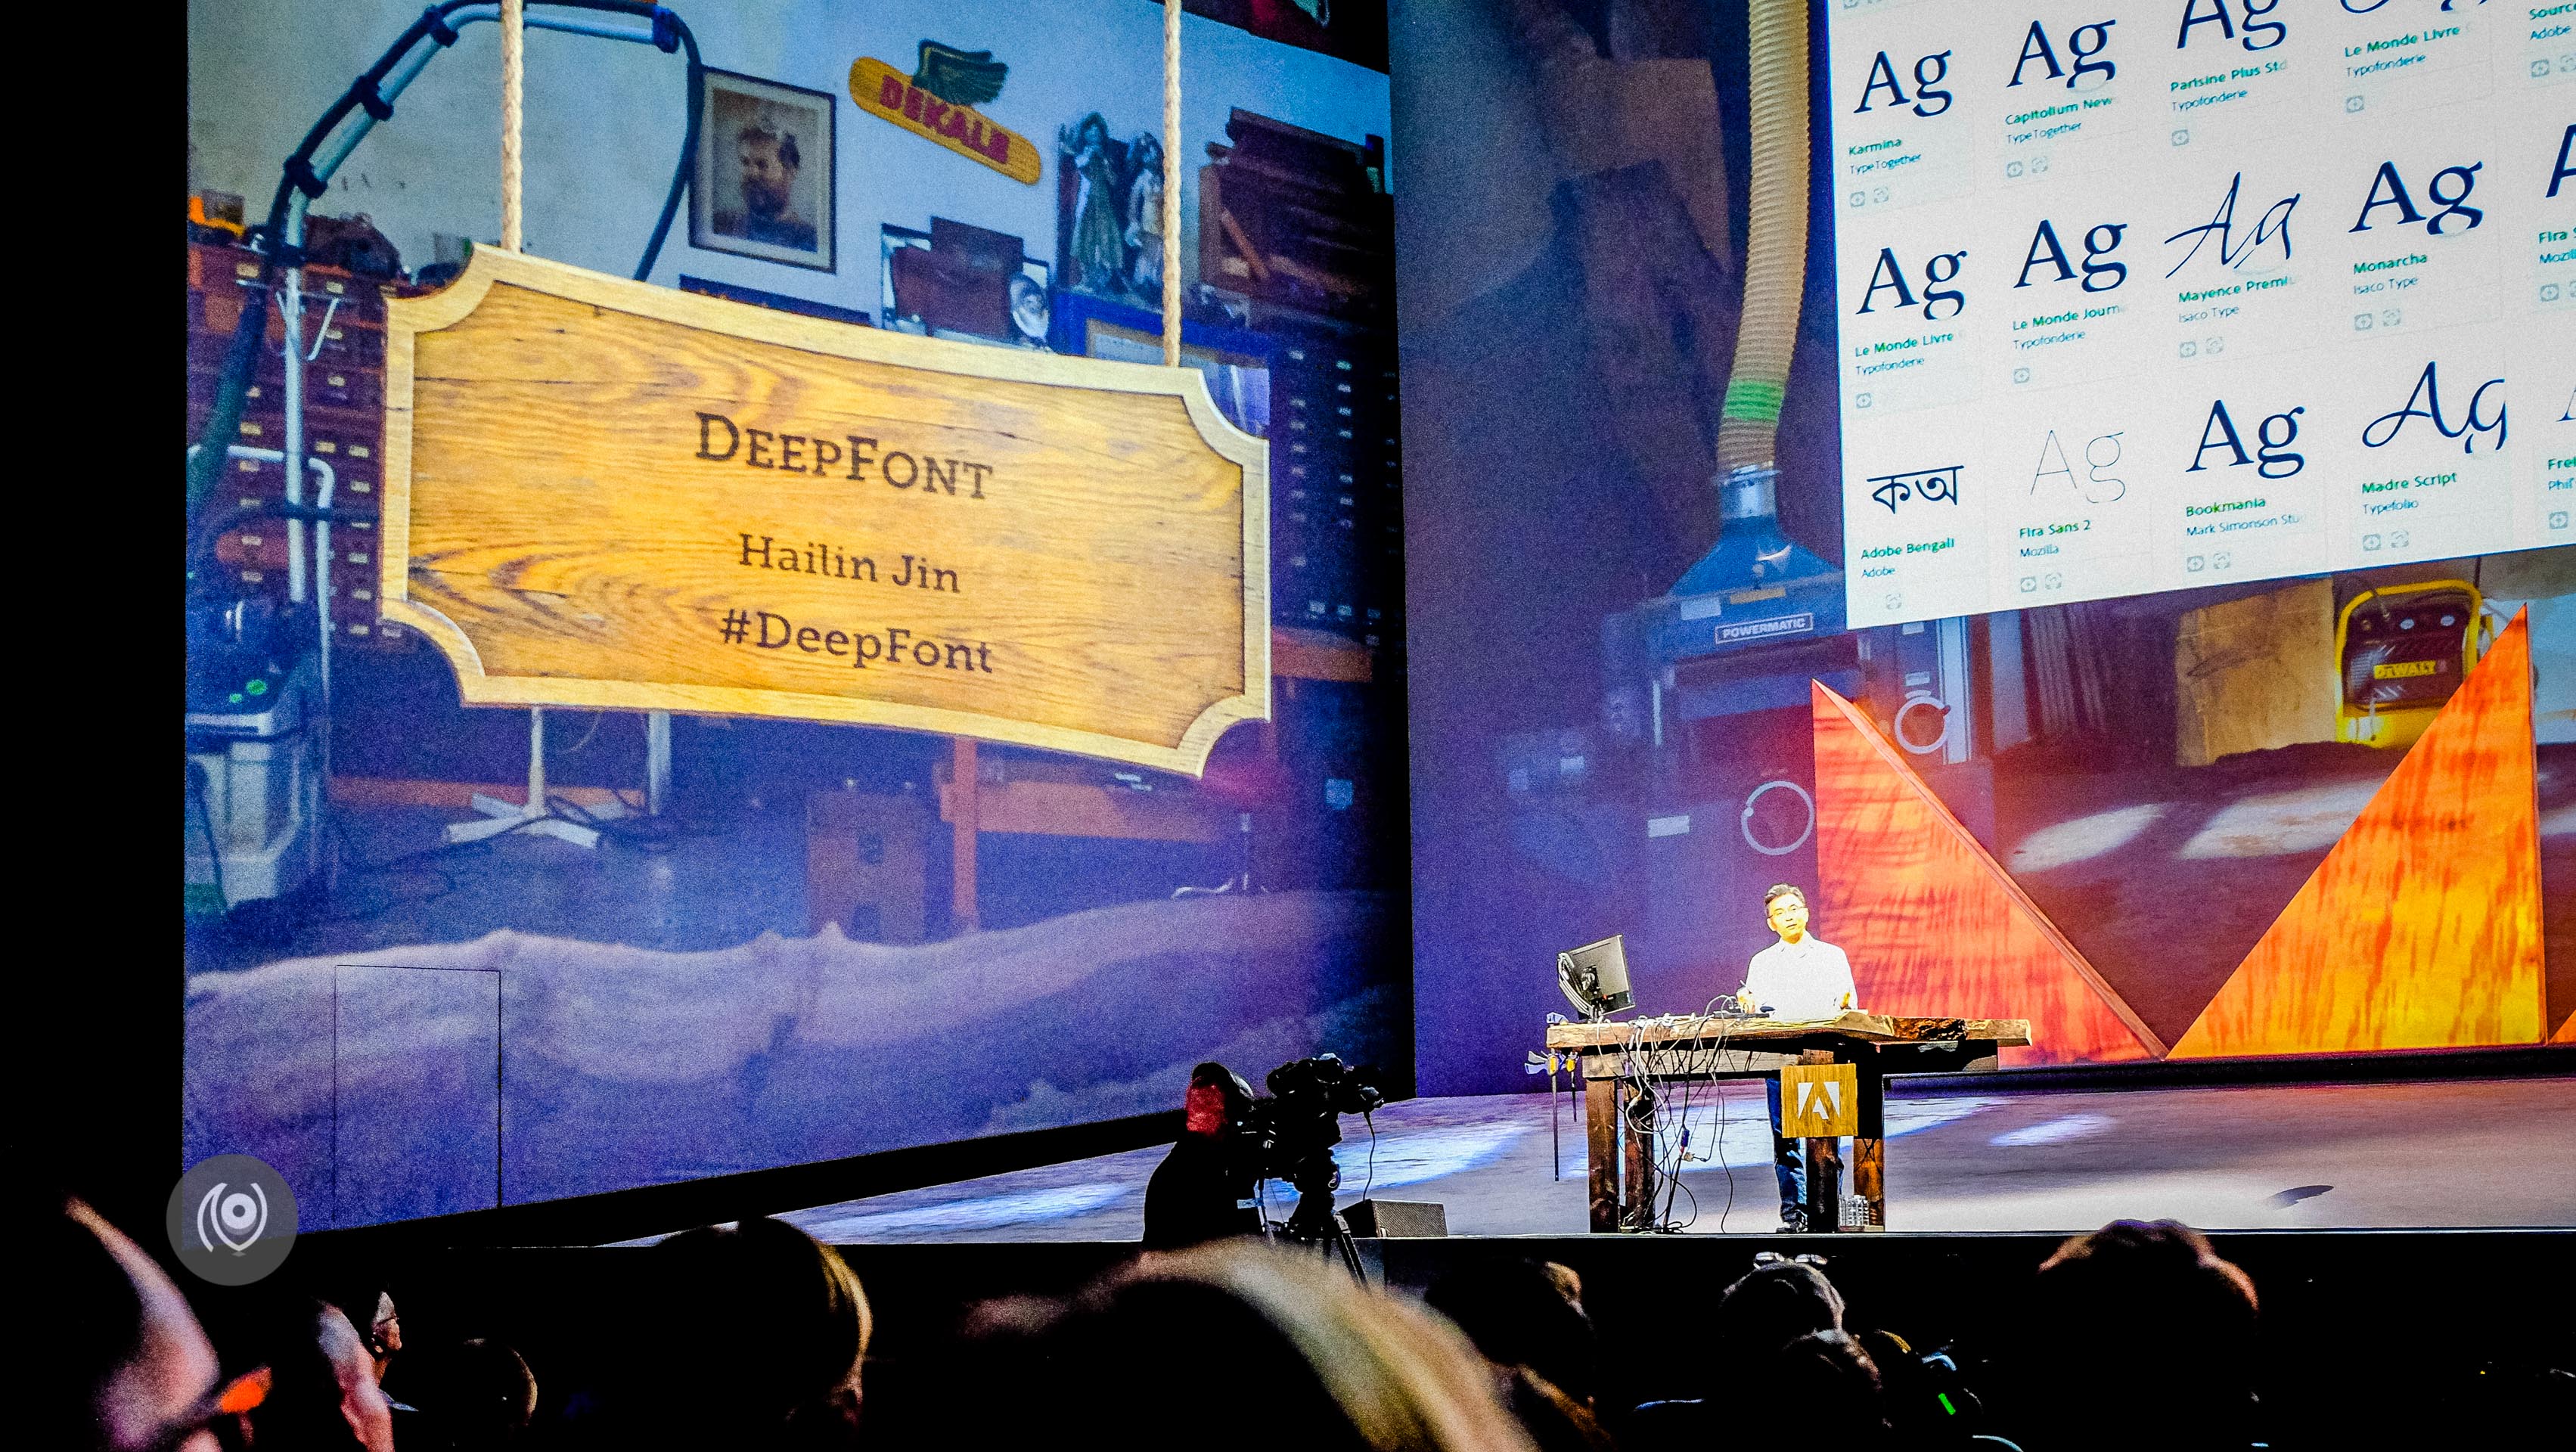
#DeepFont blew my mind with it’s simplicity and the problem it solves. Even when I’m not really using typefaces much anymore – I used to use them a lot more during the asidebrands.com days. Which is why I understand all too well how awesome this product is! With this product, you can select an image with a typeface in it – something written and you like the typeface and you want to know which one it is? Sound familiar? Yout ake a photo, upload it to this product and the product will tell you exactly what font it is!
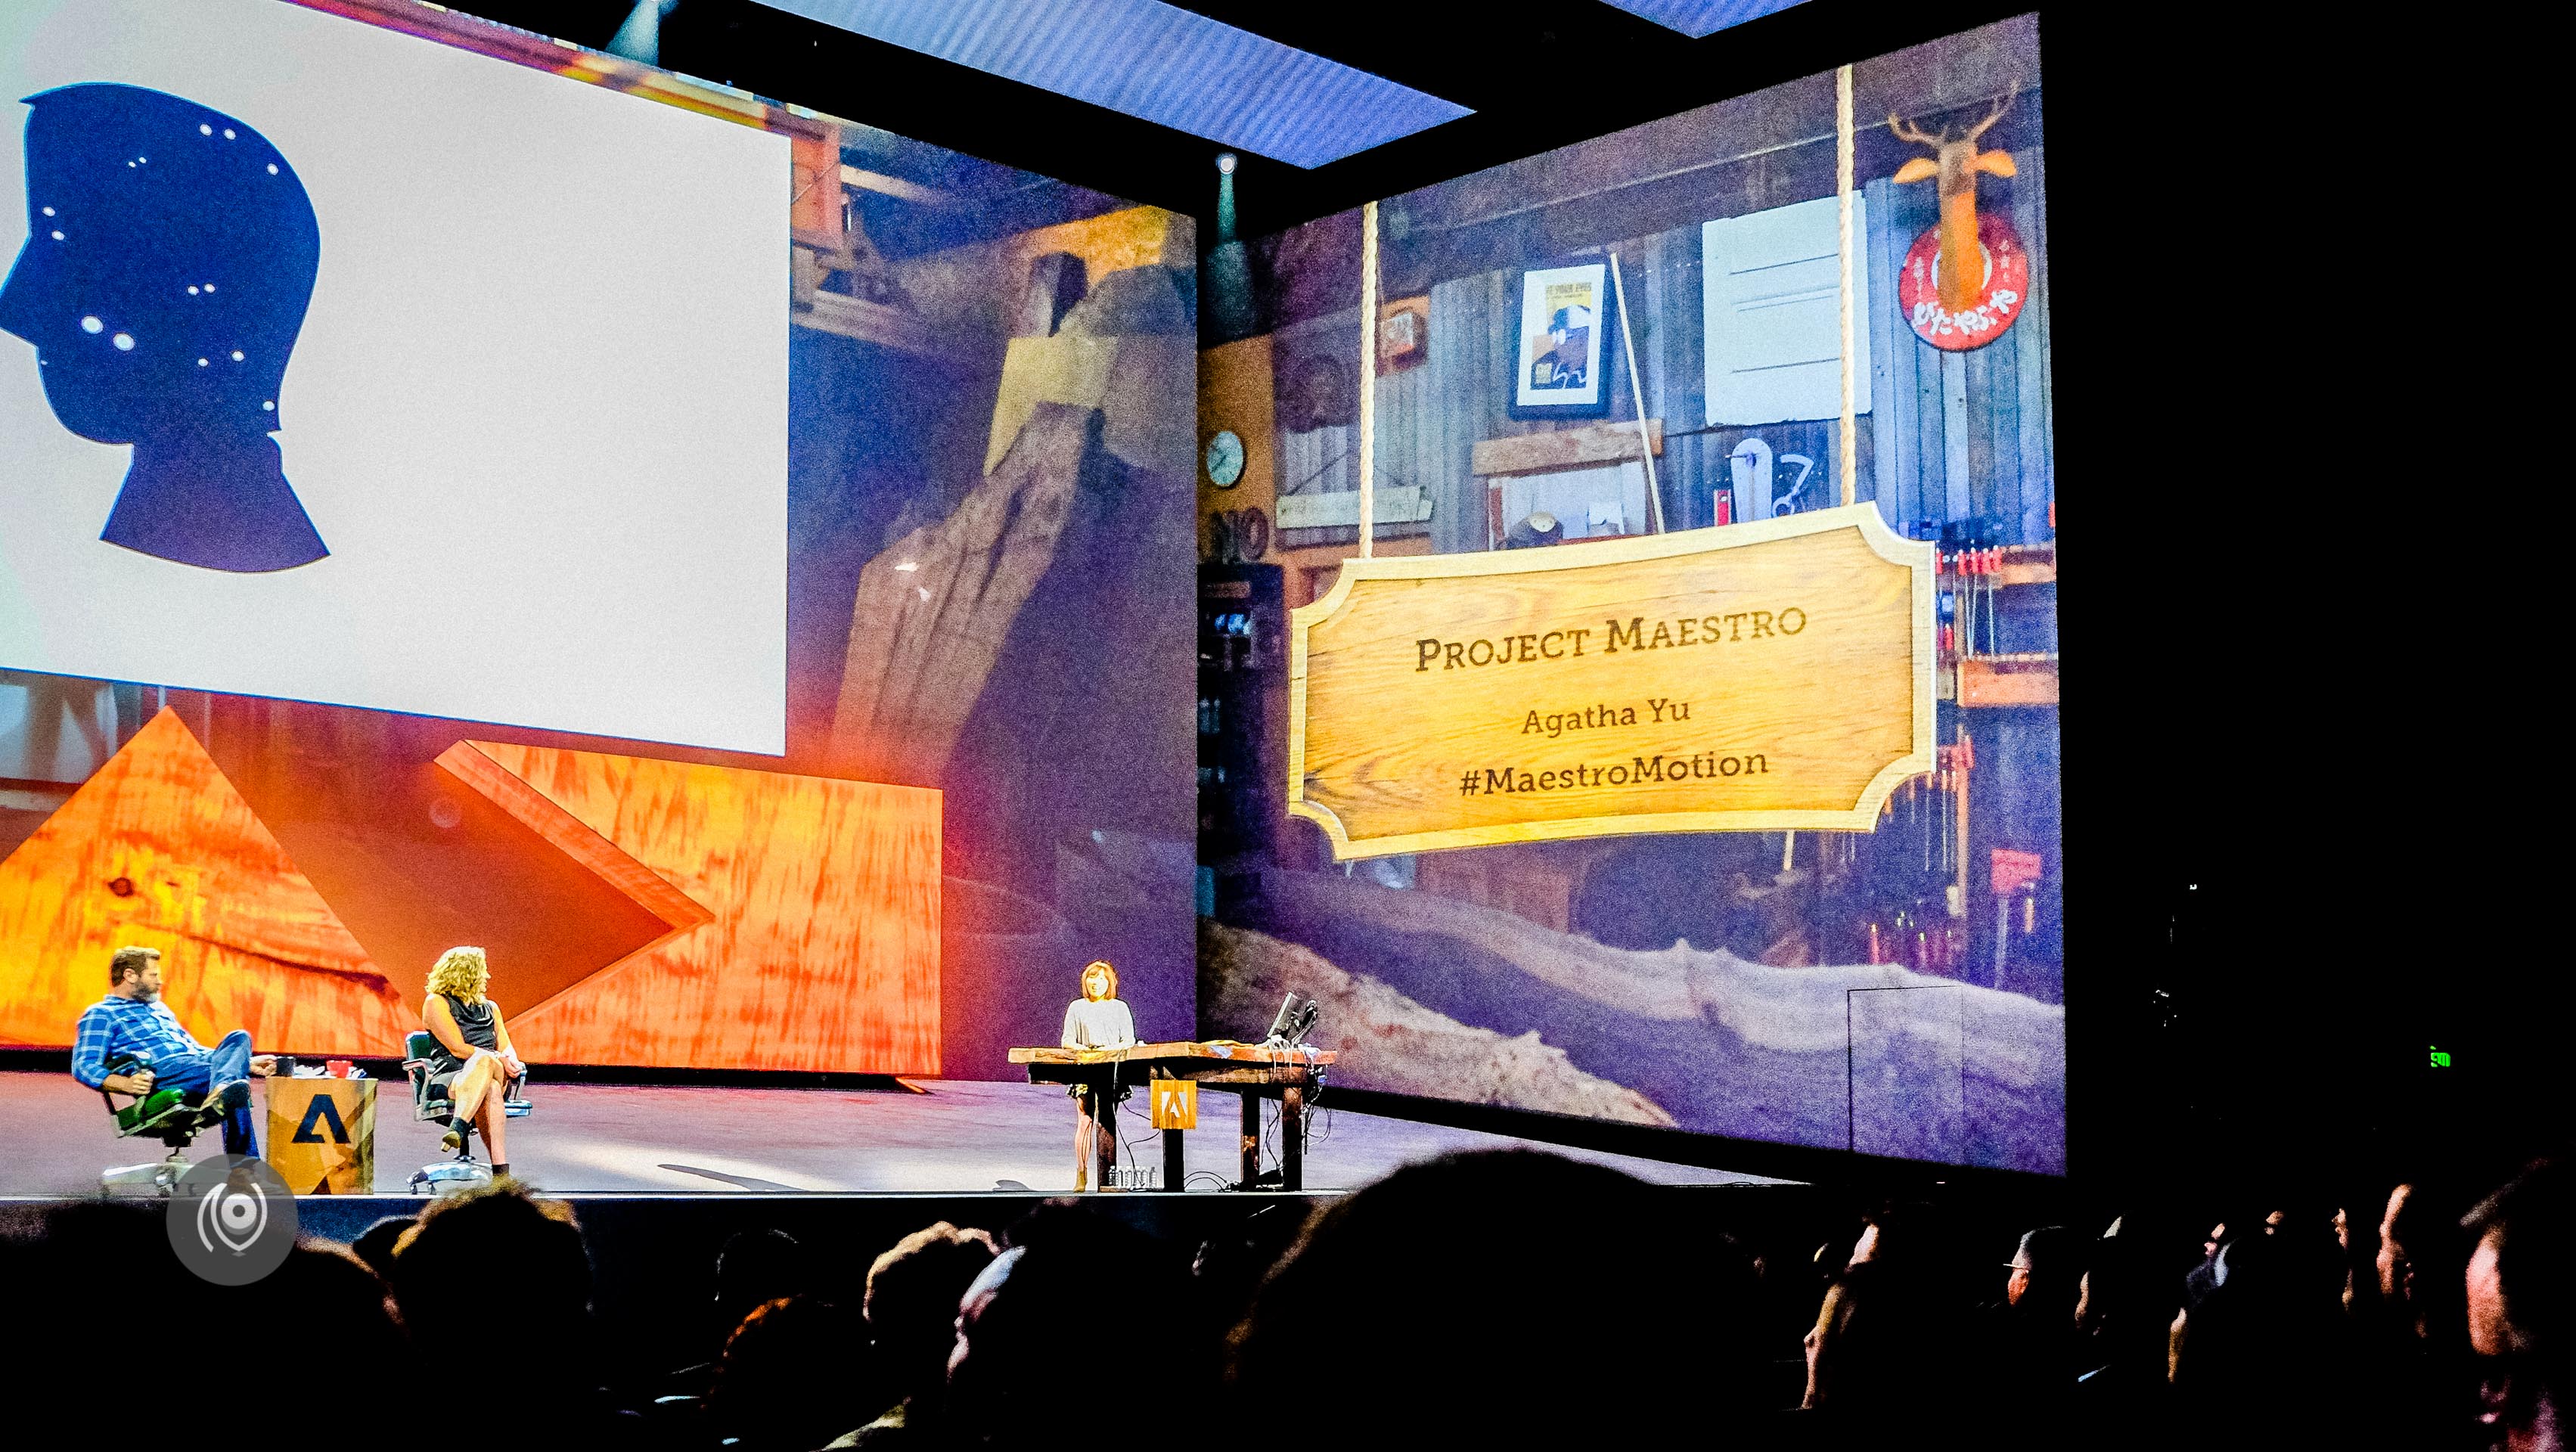
#MaestroMotion was about how simple animations can be created on the fly and key framing can be done by swiping your finger across the screen in the path you want the animation to move.
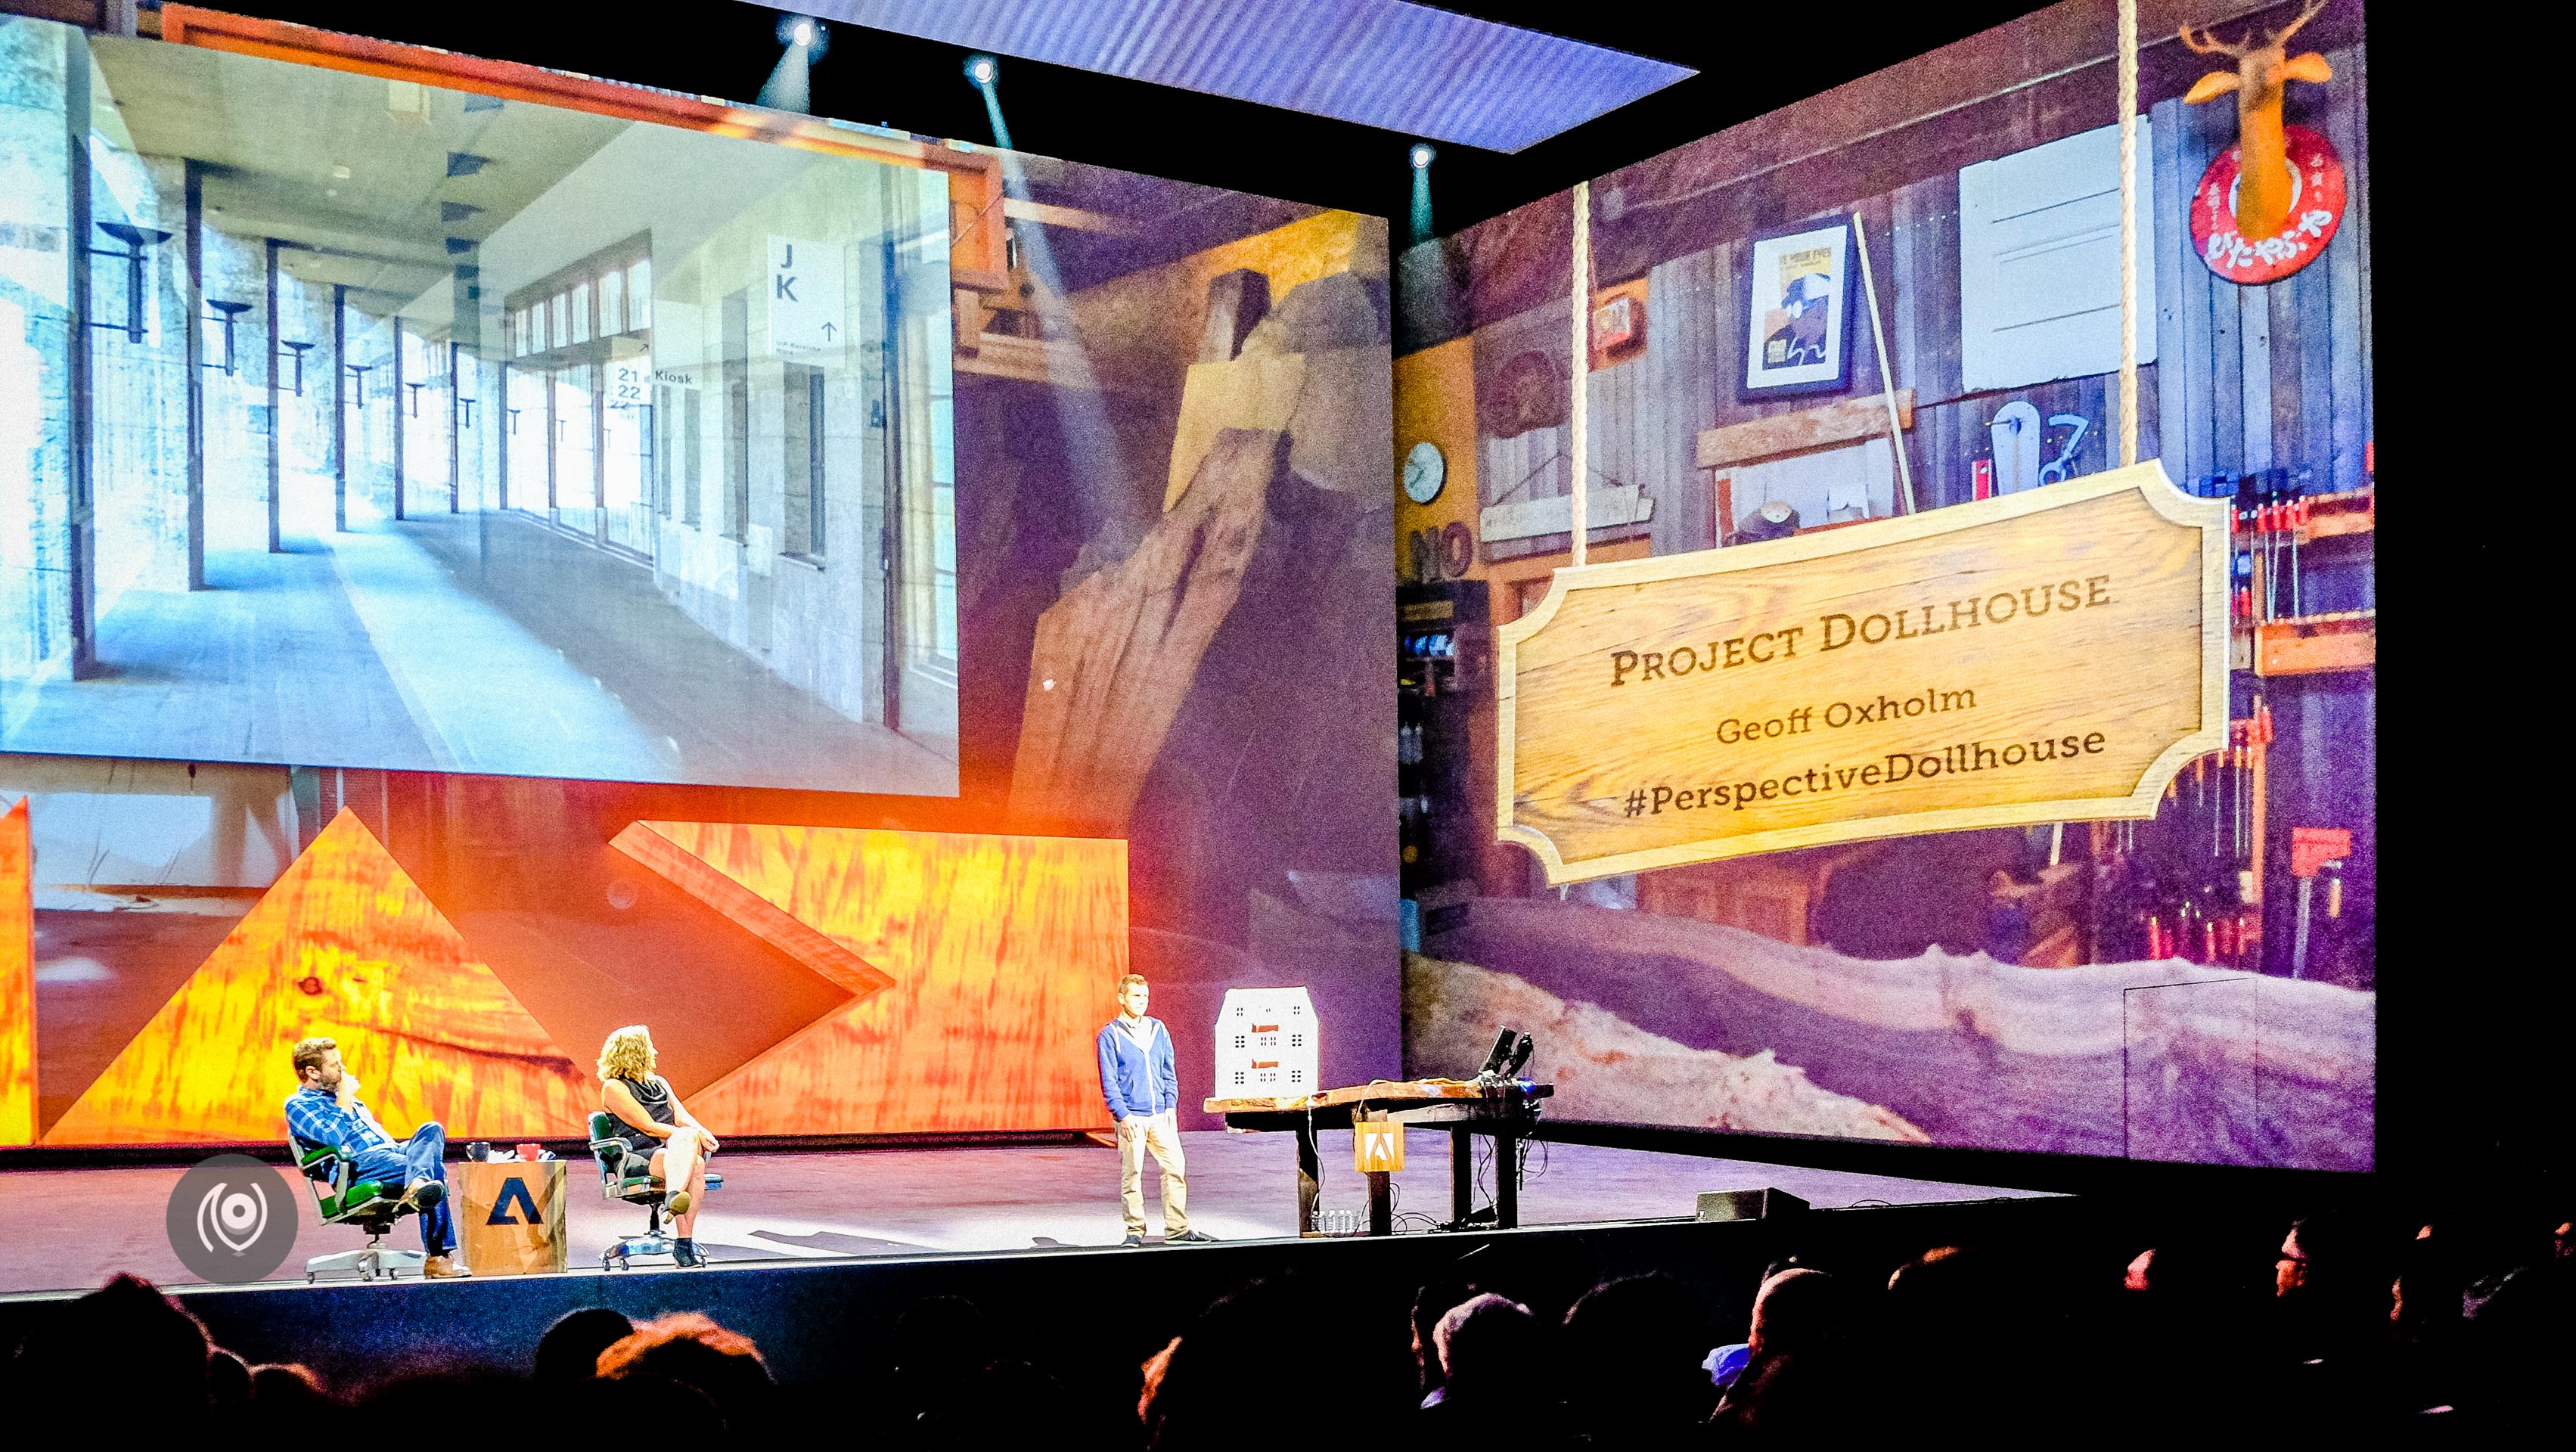
#PerspectiveDollhouse was where Geoff showed us how you could photograph something and feed it into this software, trace long generally recognized planes and have a perspective model created for you in an instant that you can then replicate and add other stuff to it to show to your client.
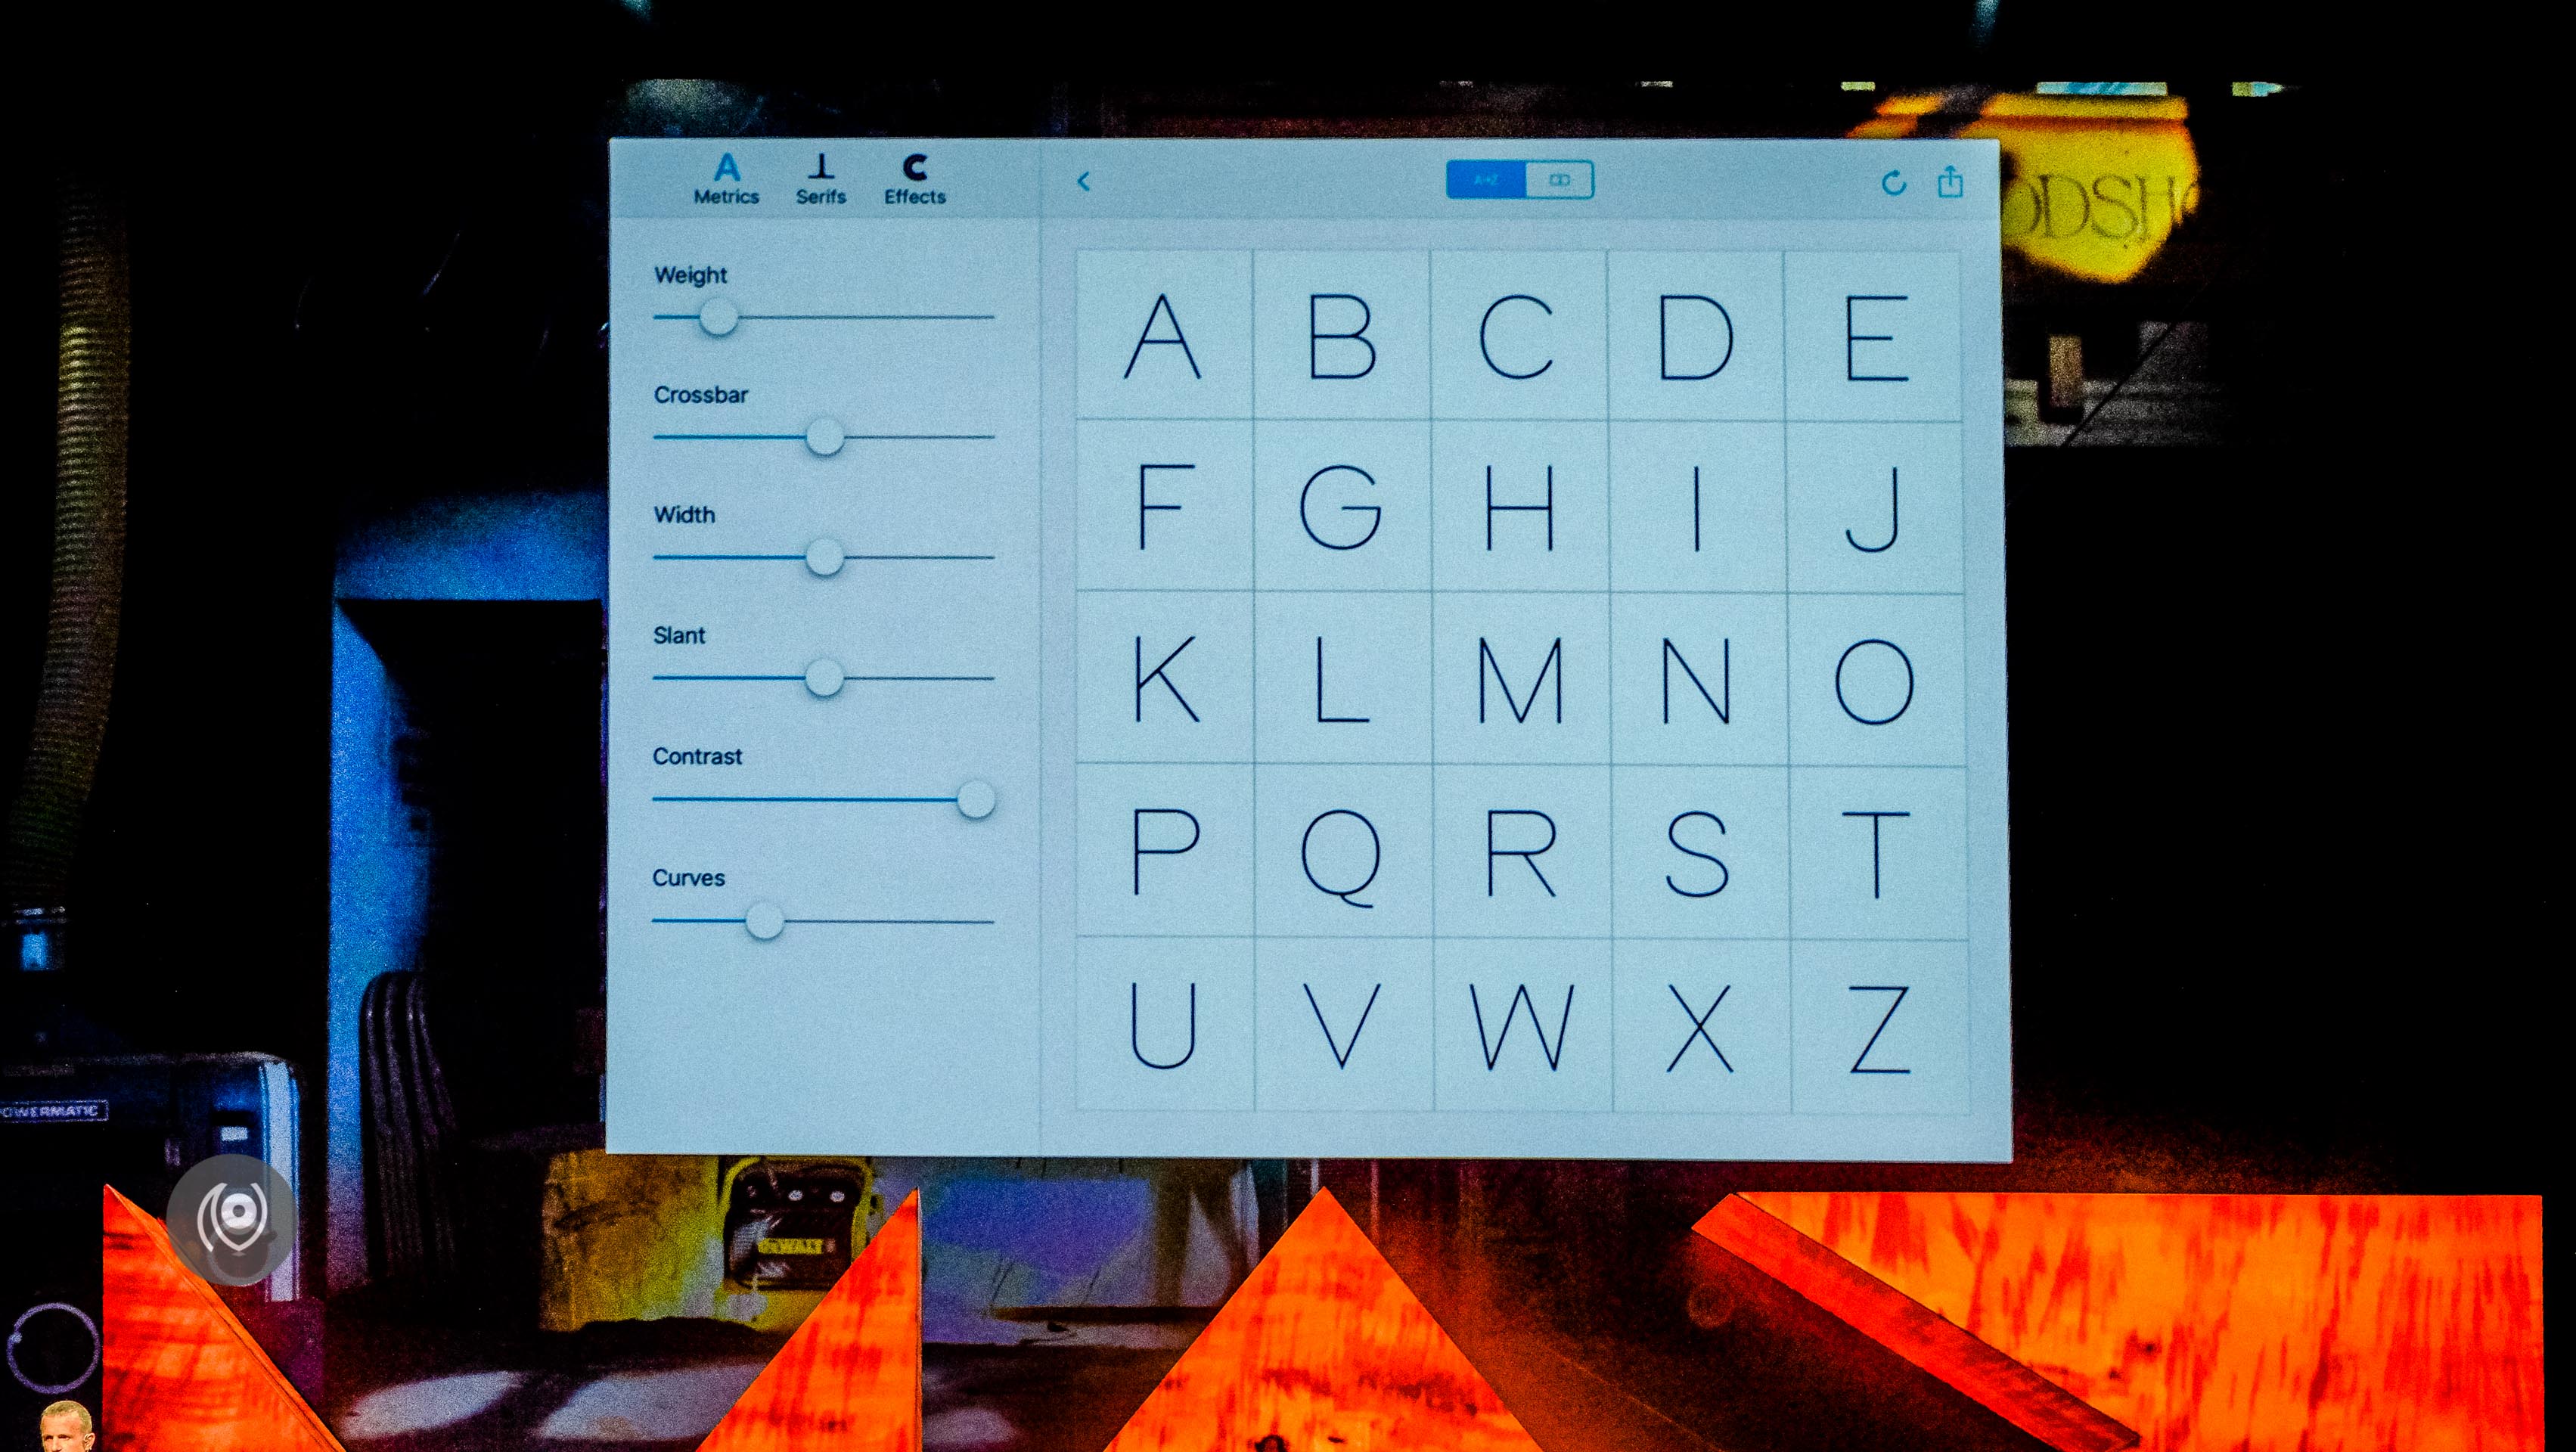
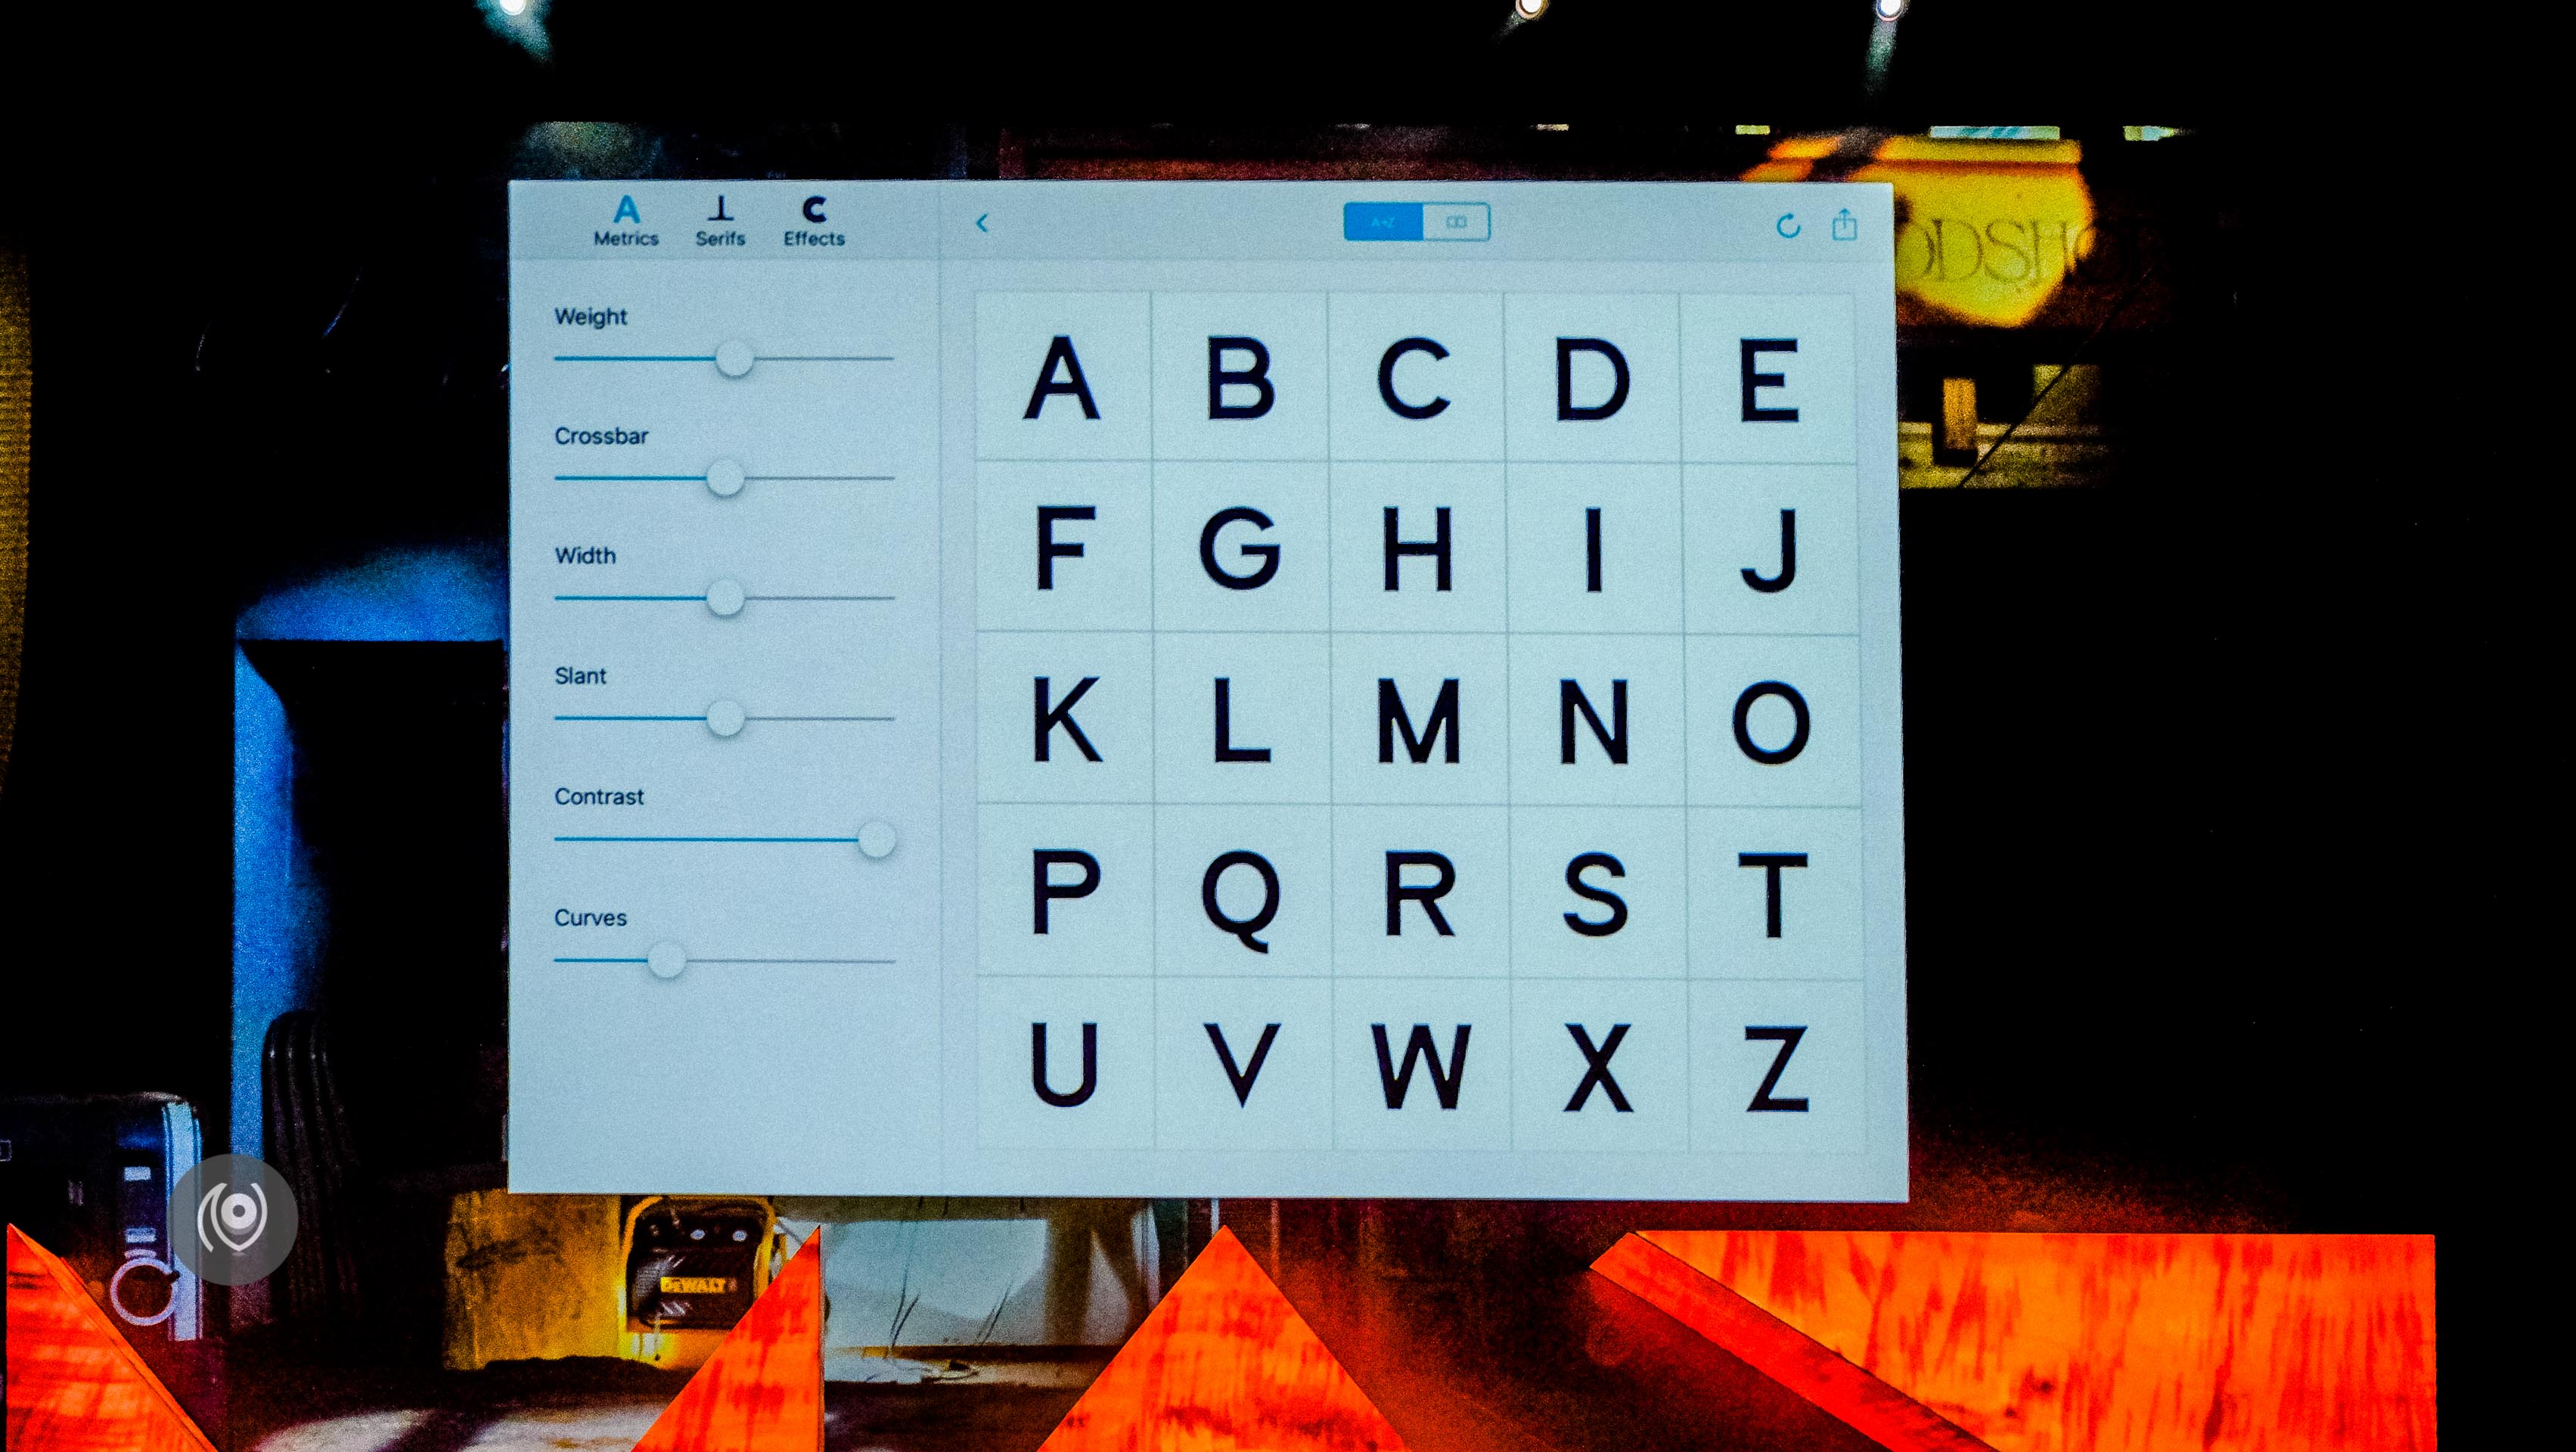
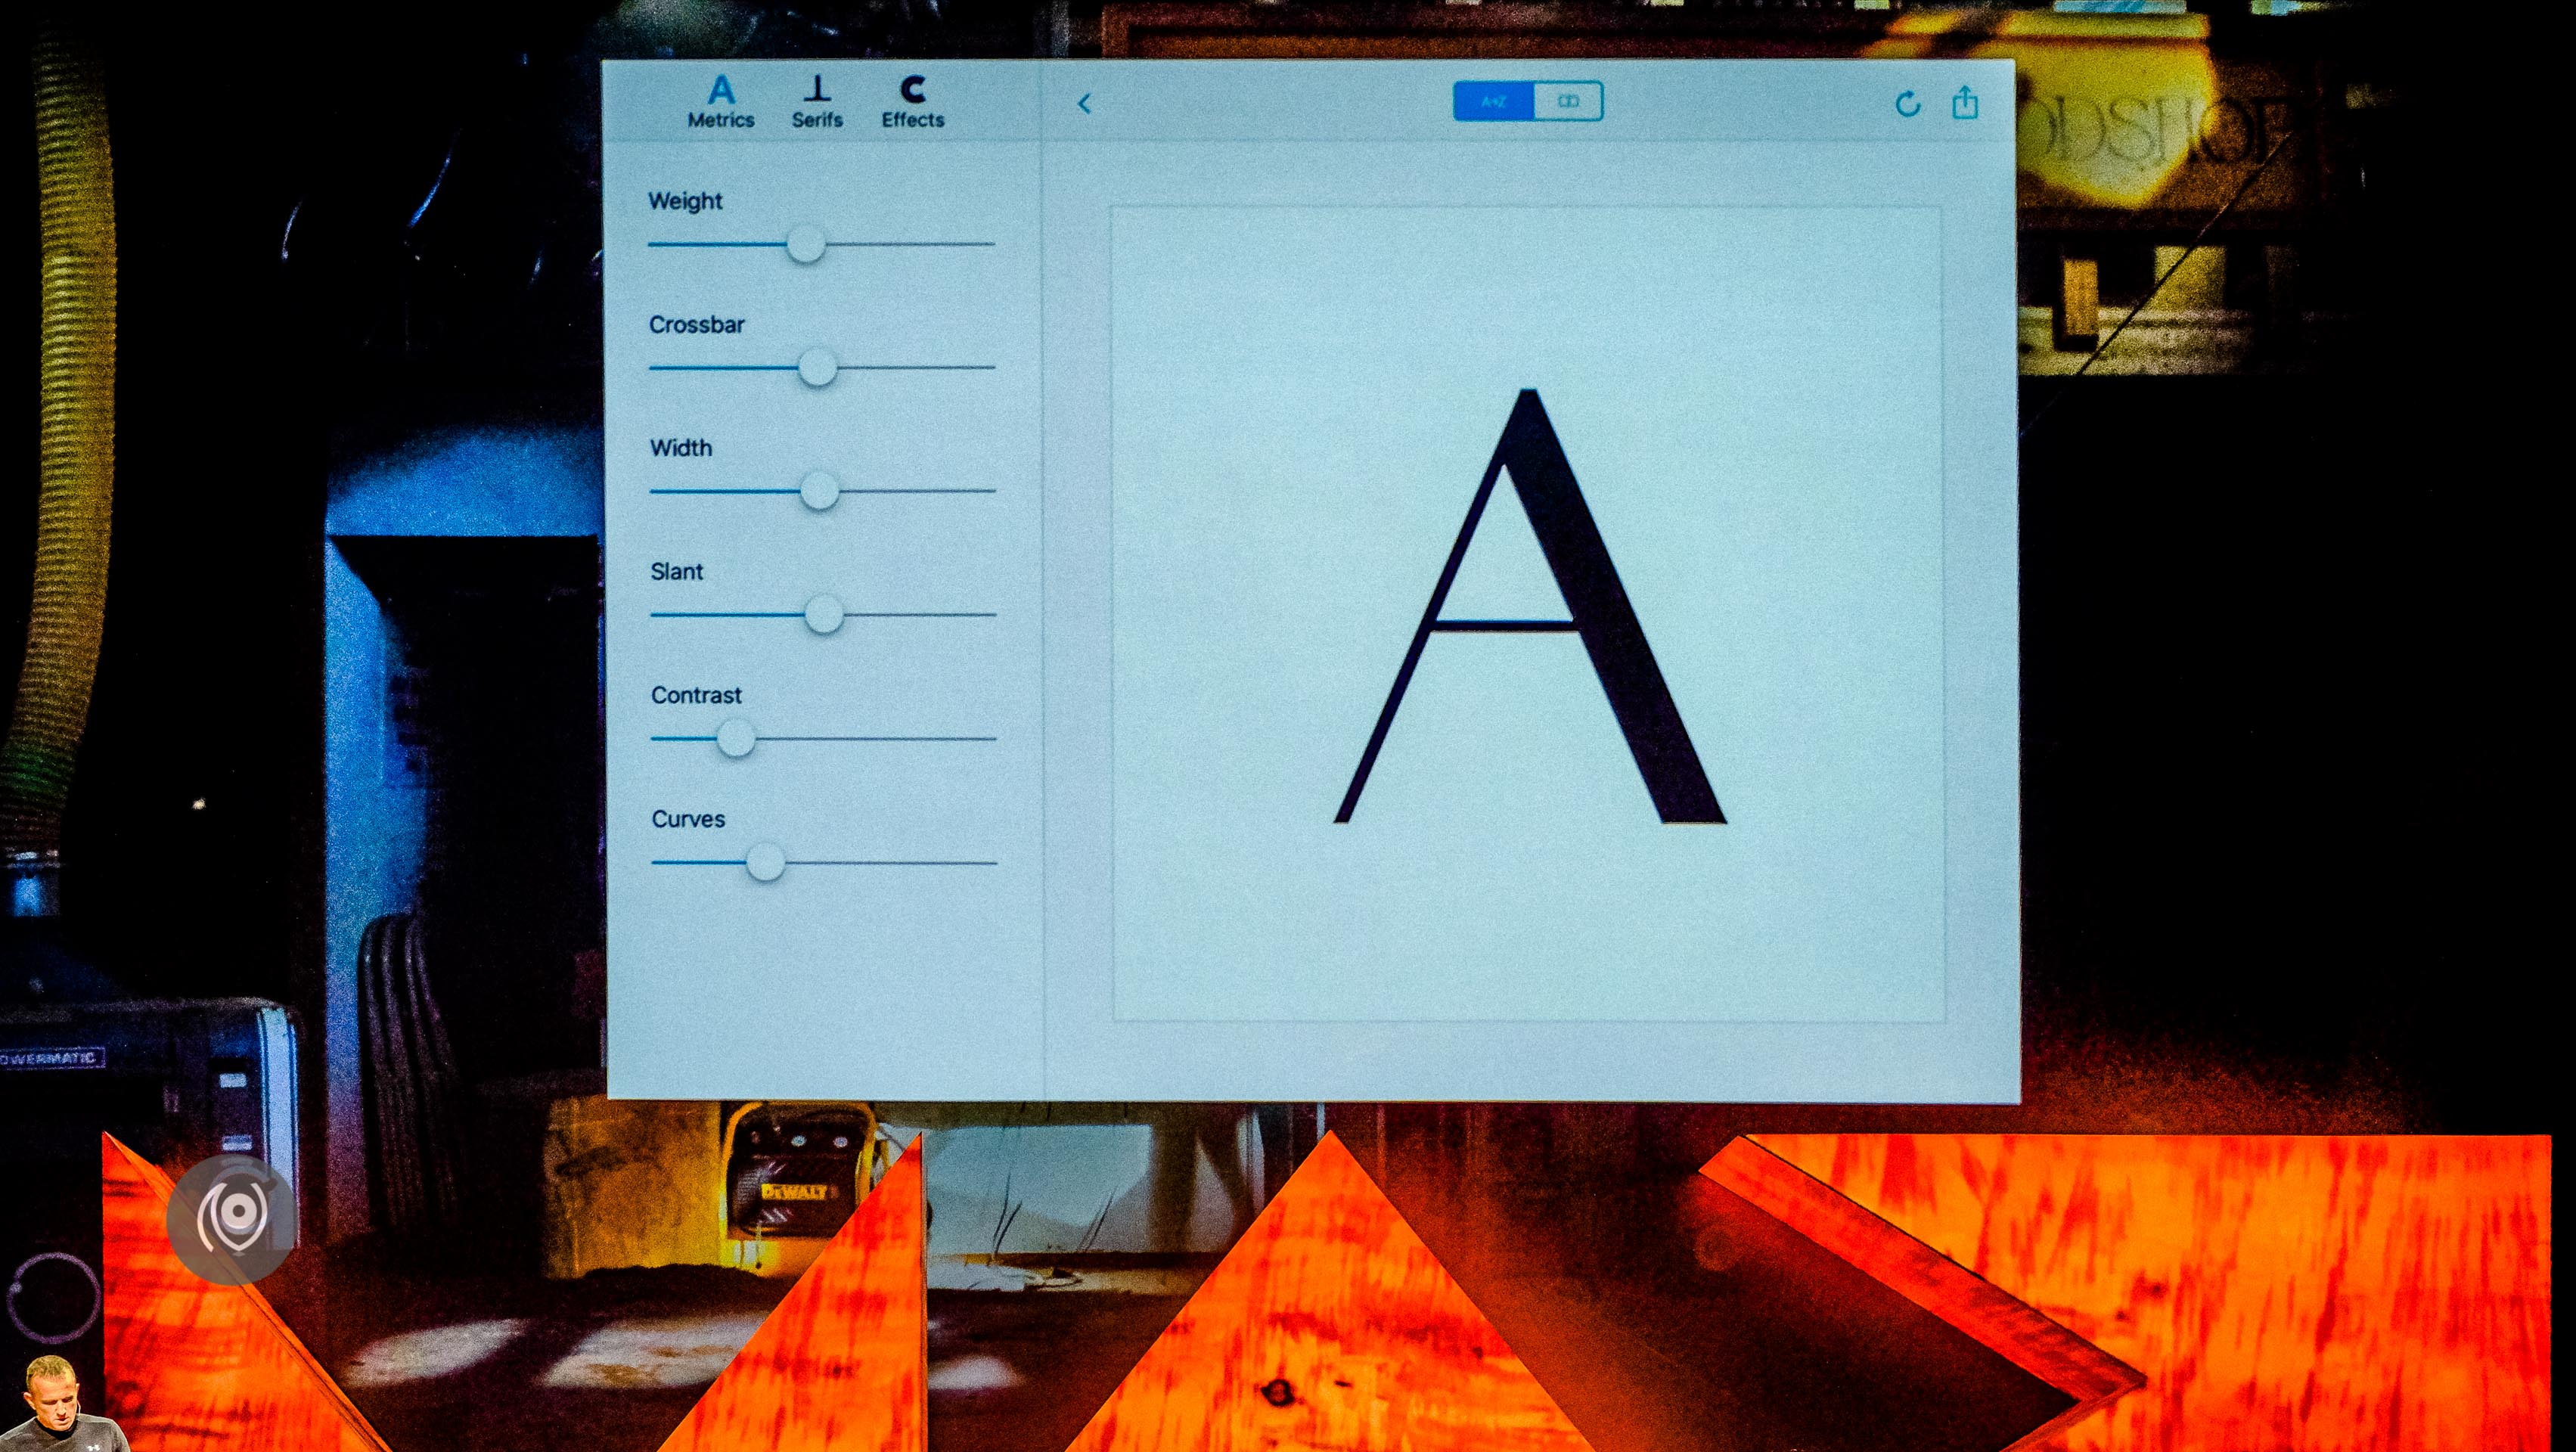
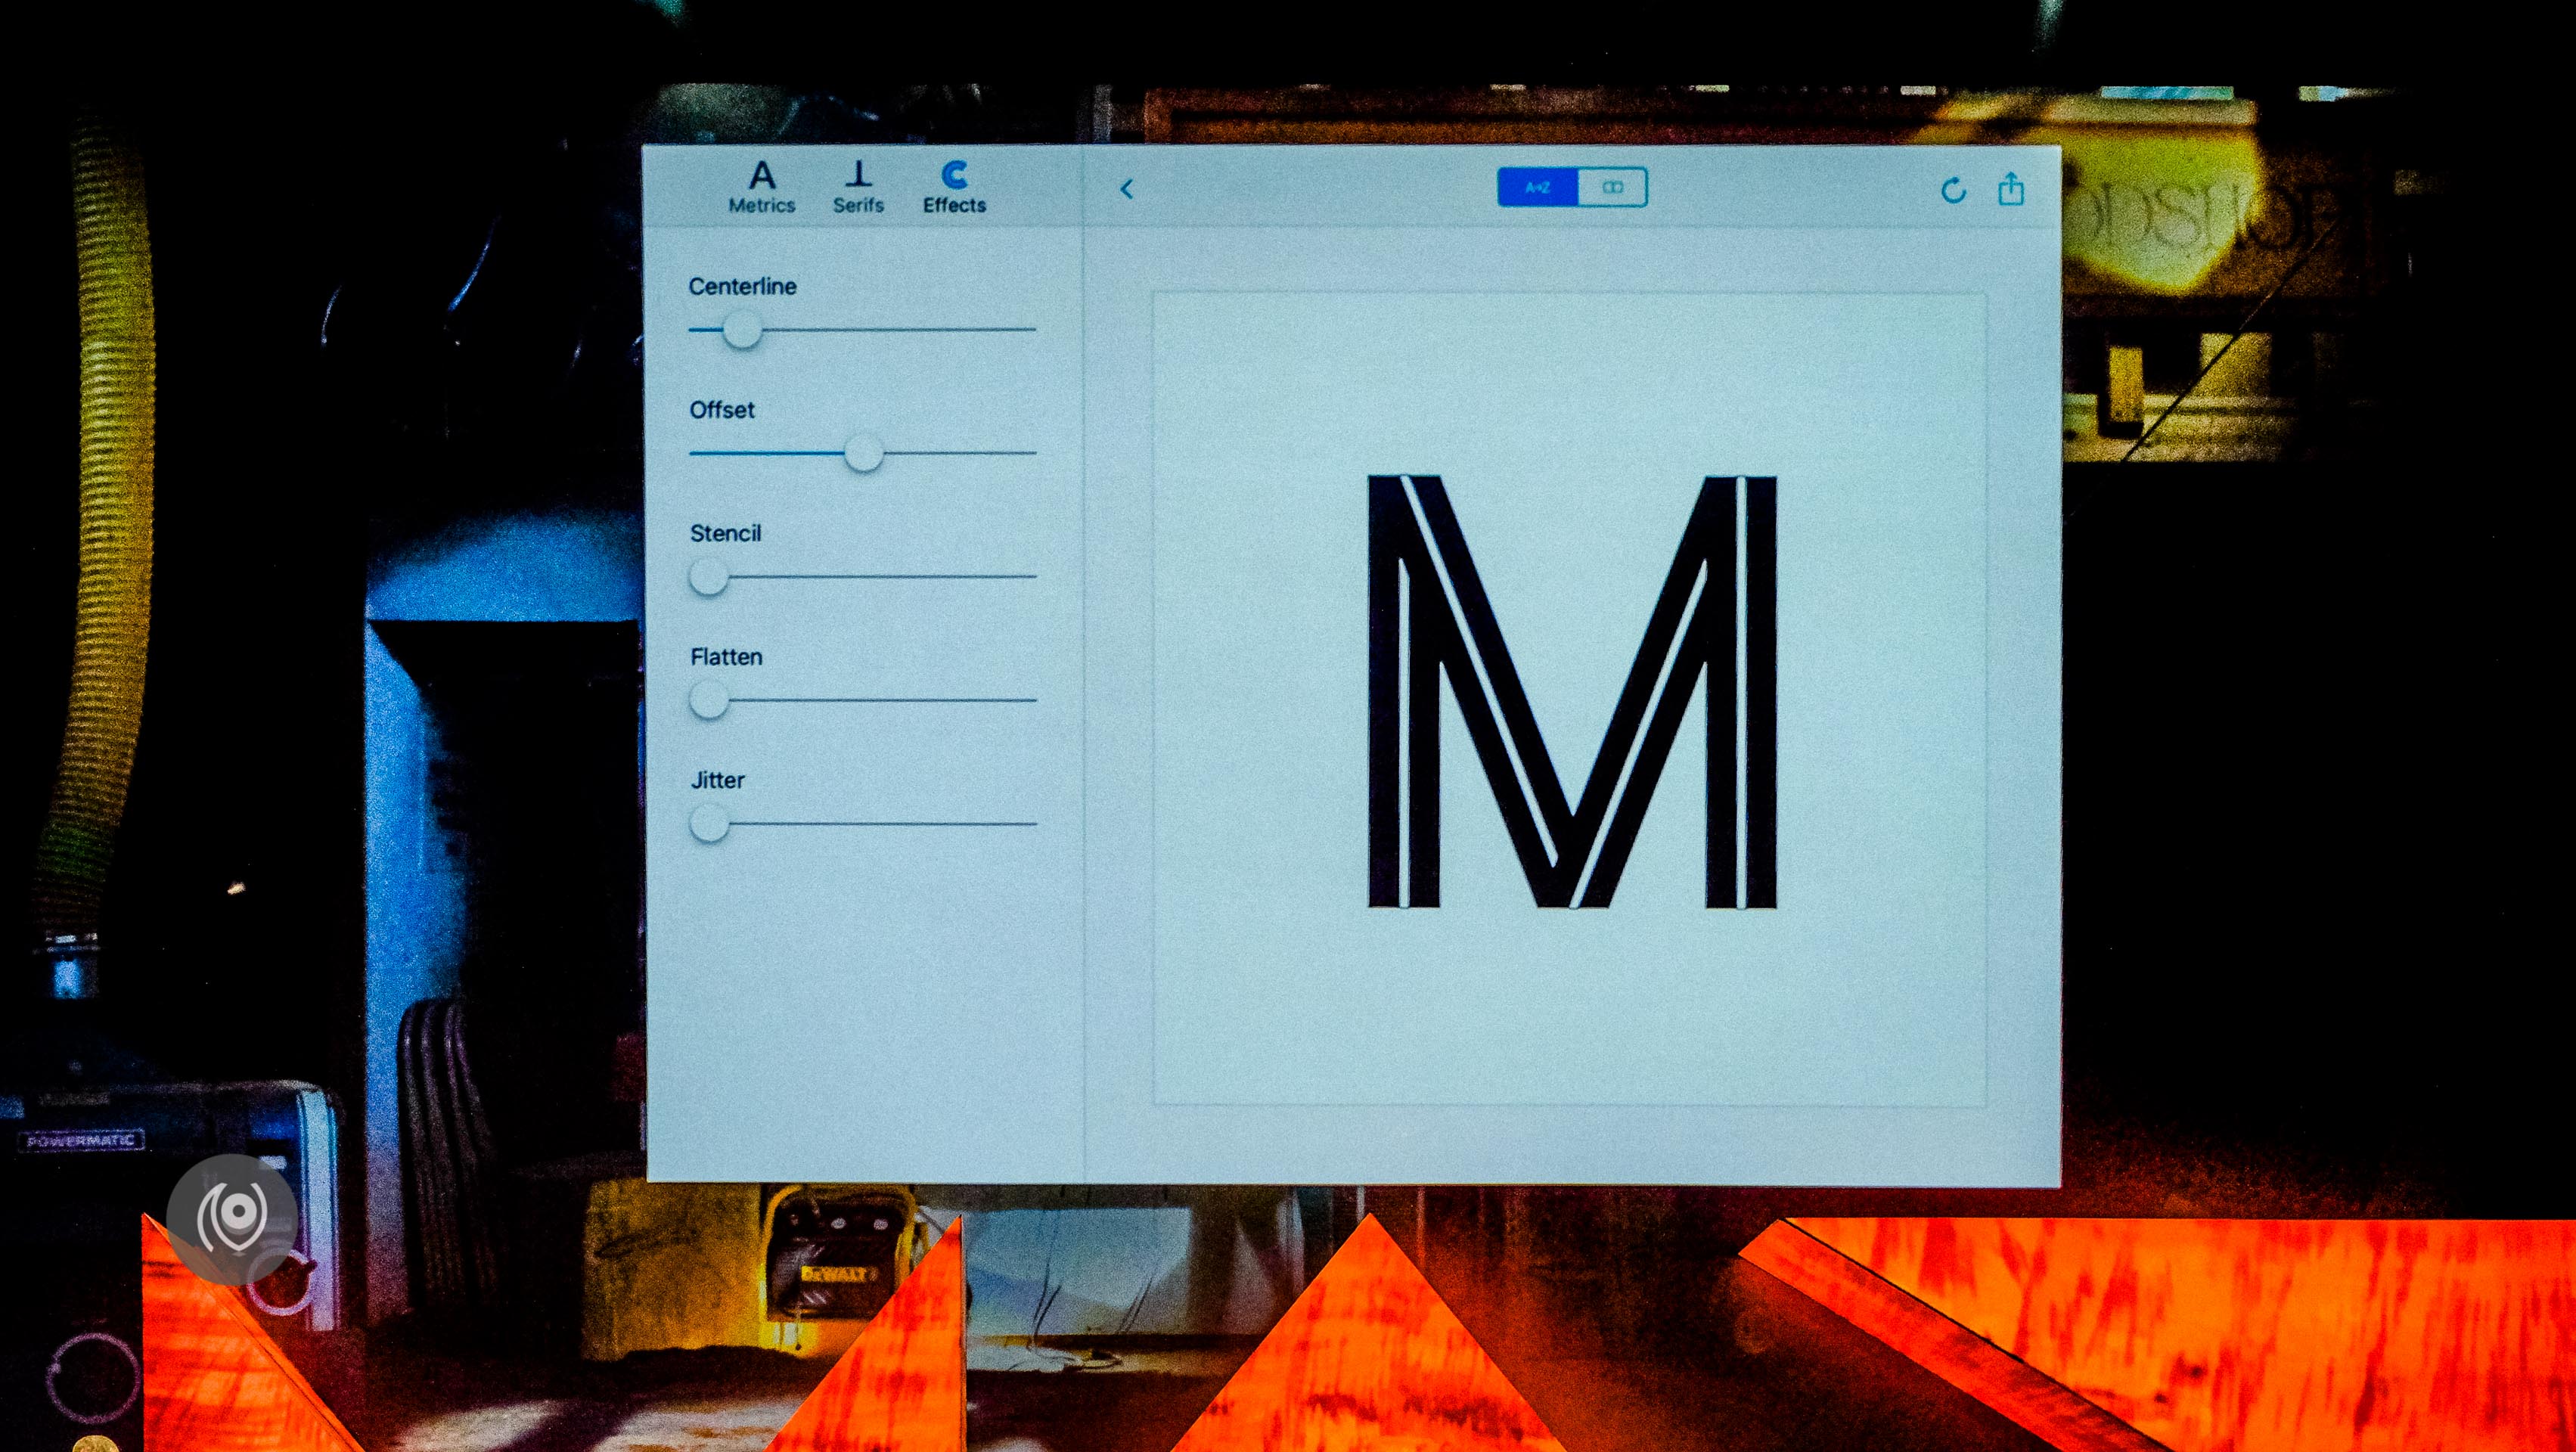
And now this – elicited the most joyous clapping from me. You can twek your fonts just the way you like them – including SERIFS! I don’t even need to explain it to you – just look at the 2-3 photographs below and you’ll know exactly what I’m talking about. No more cringing when you see there the typeface you just purchased doesn’t have a particular style or that the italics aren’t as slanted as you’d like them to be. You can export this set as a font file too! ( It begs the question about IP rights when the font is purchased from a Font Foundry but apart from that this is breaking new ground for people who are graphic designers, not typeface designers – so much possibility! I like the democratization of technology more and more. )
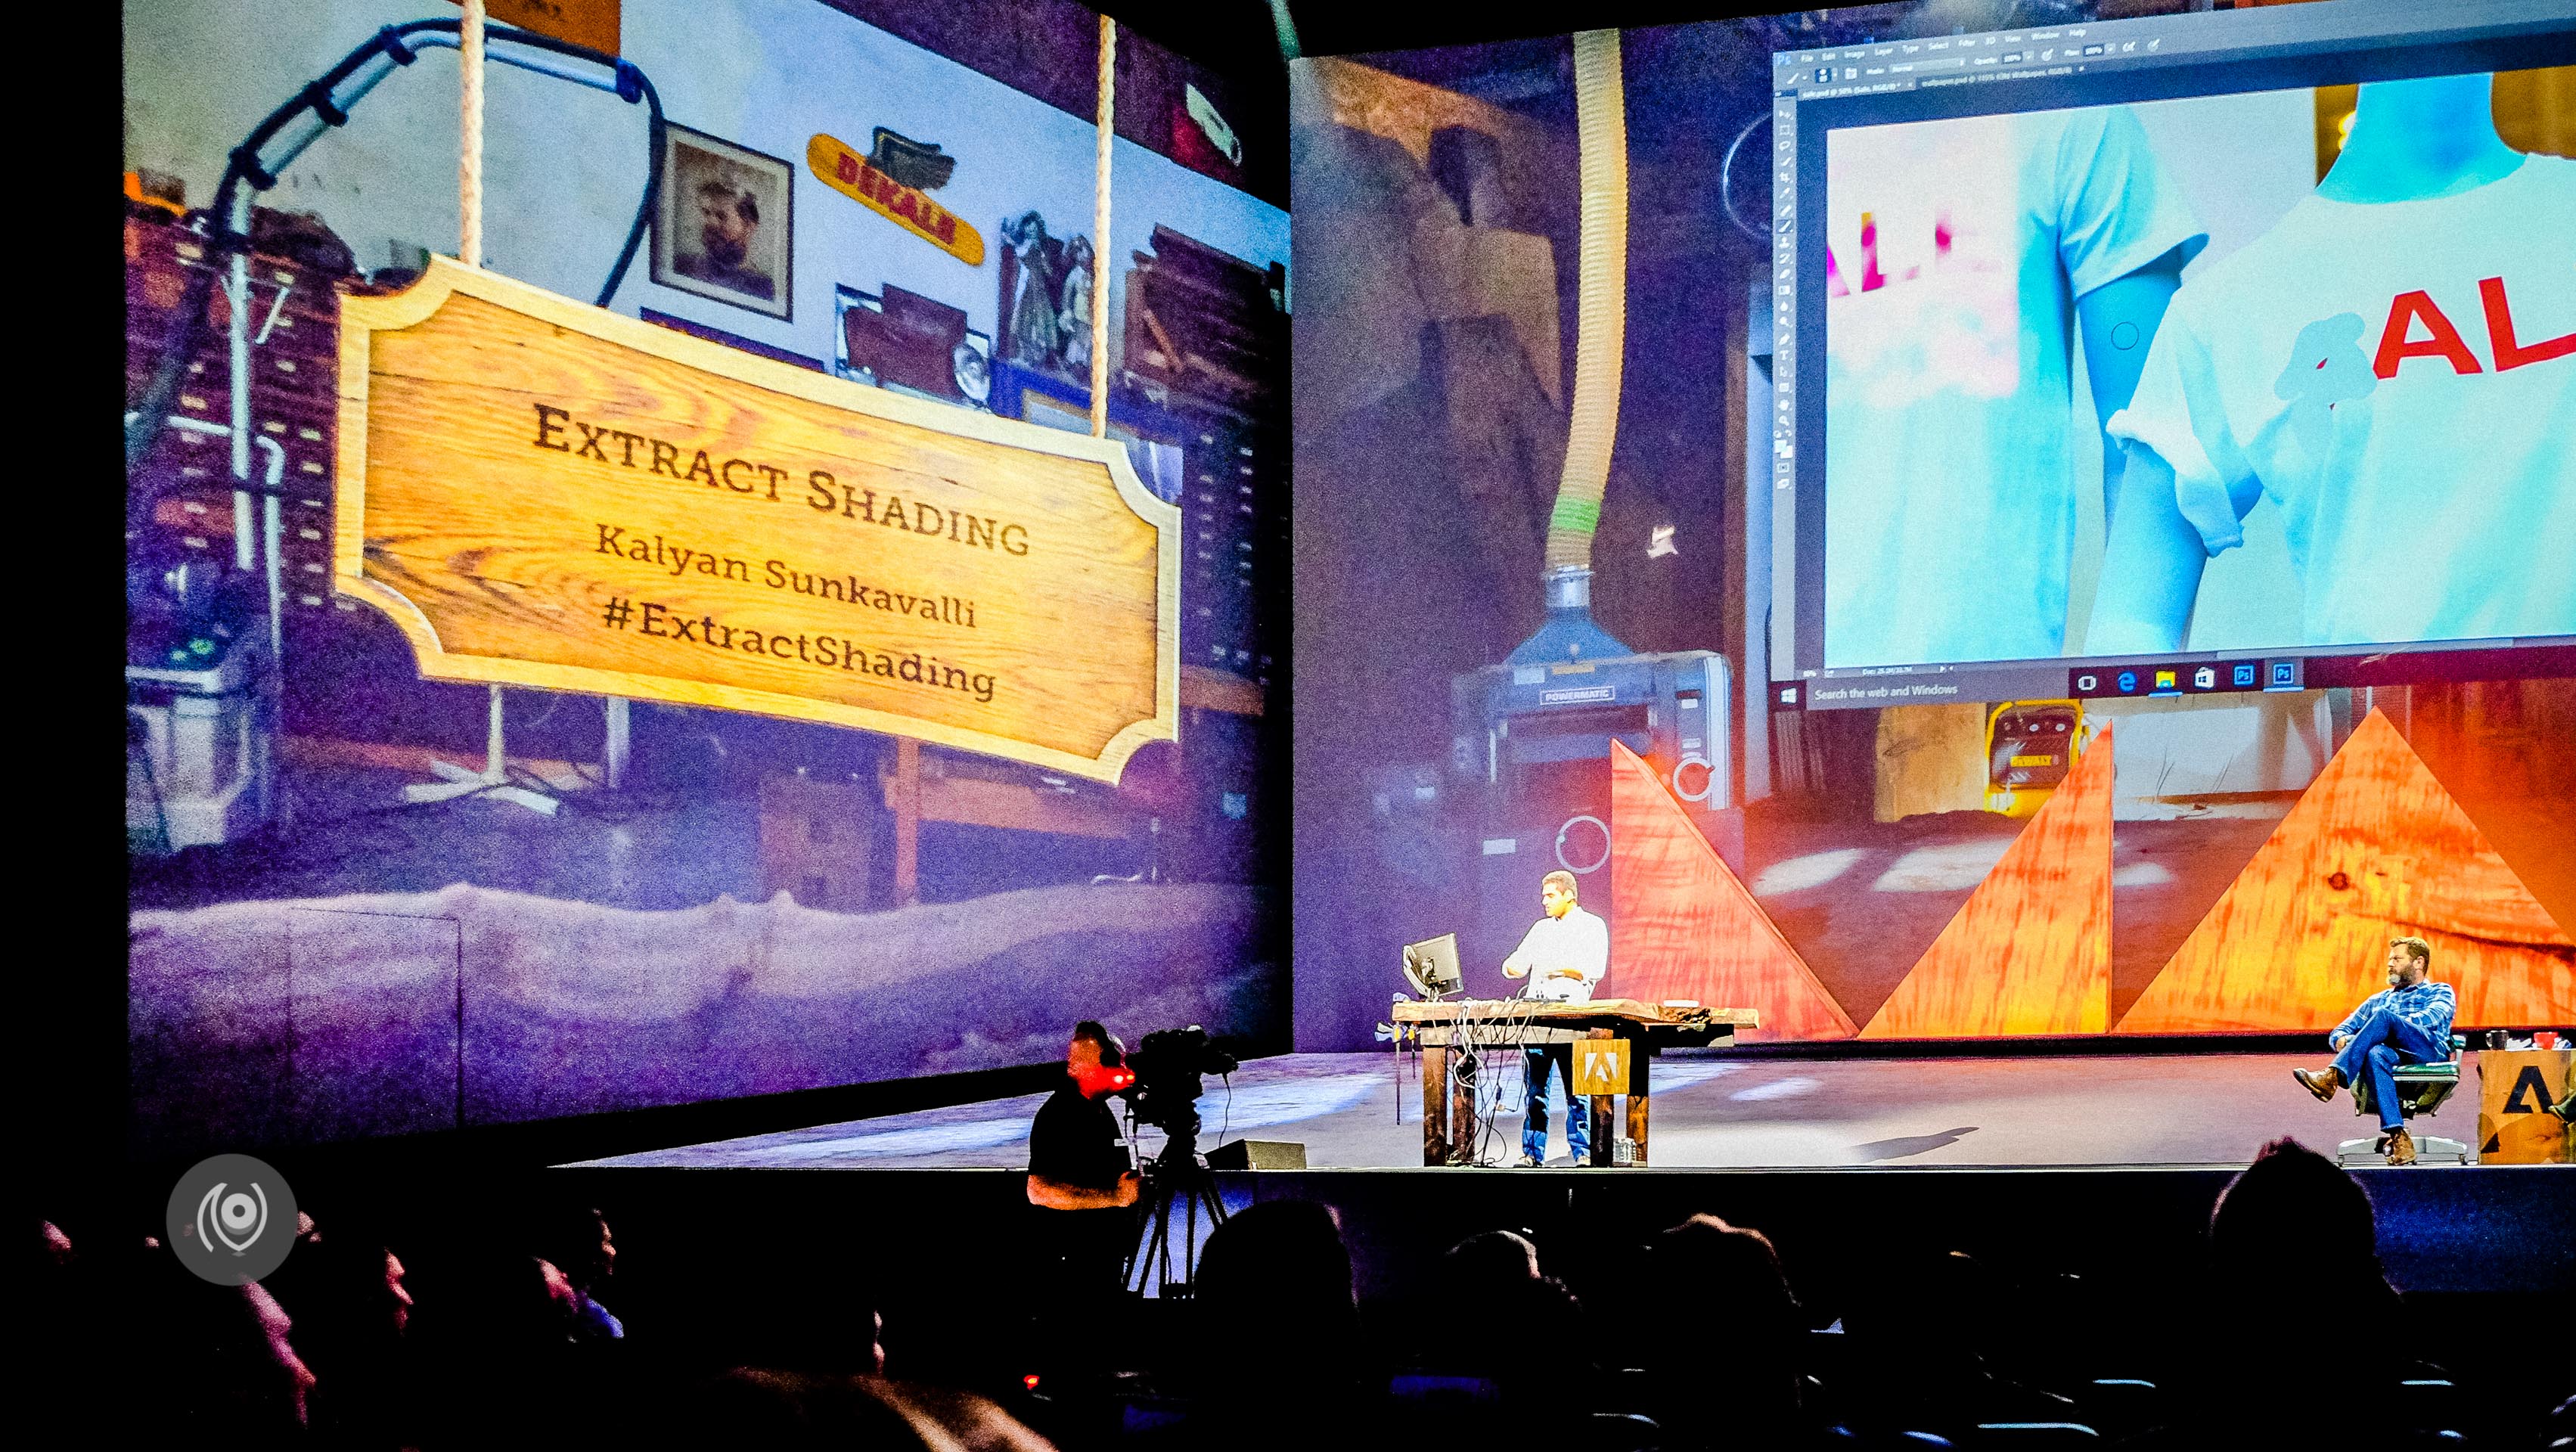
#ExtractShading for when you want to remove something from a plain t-shirt for example but if you just use the brush tool, it doesn’t pick the shadow areas? With this tool you can extract the 3D shapes / shadows and then conveniently paint over those without losing any dimension!
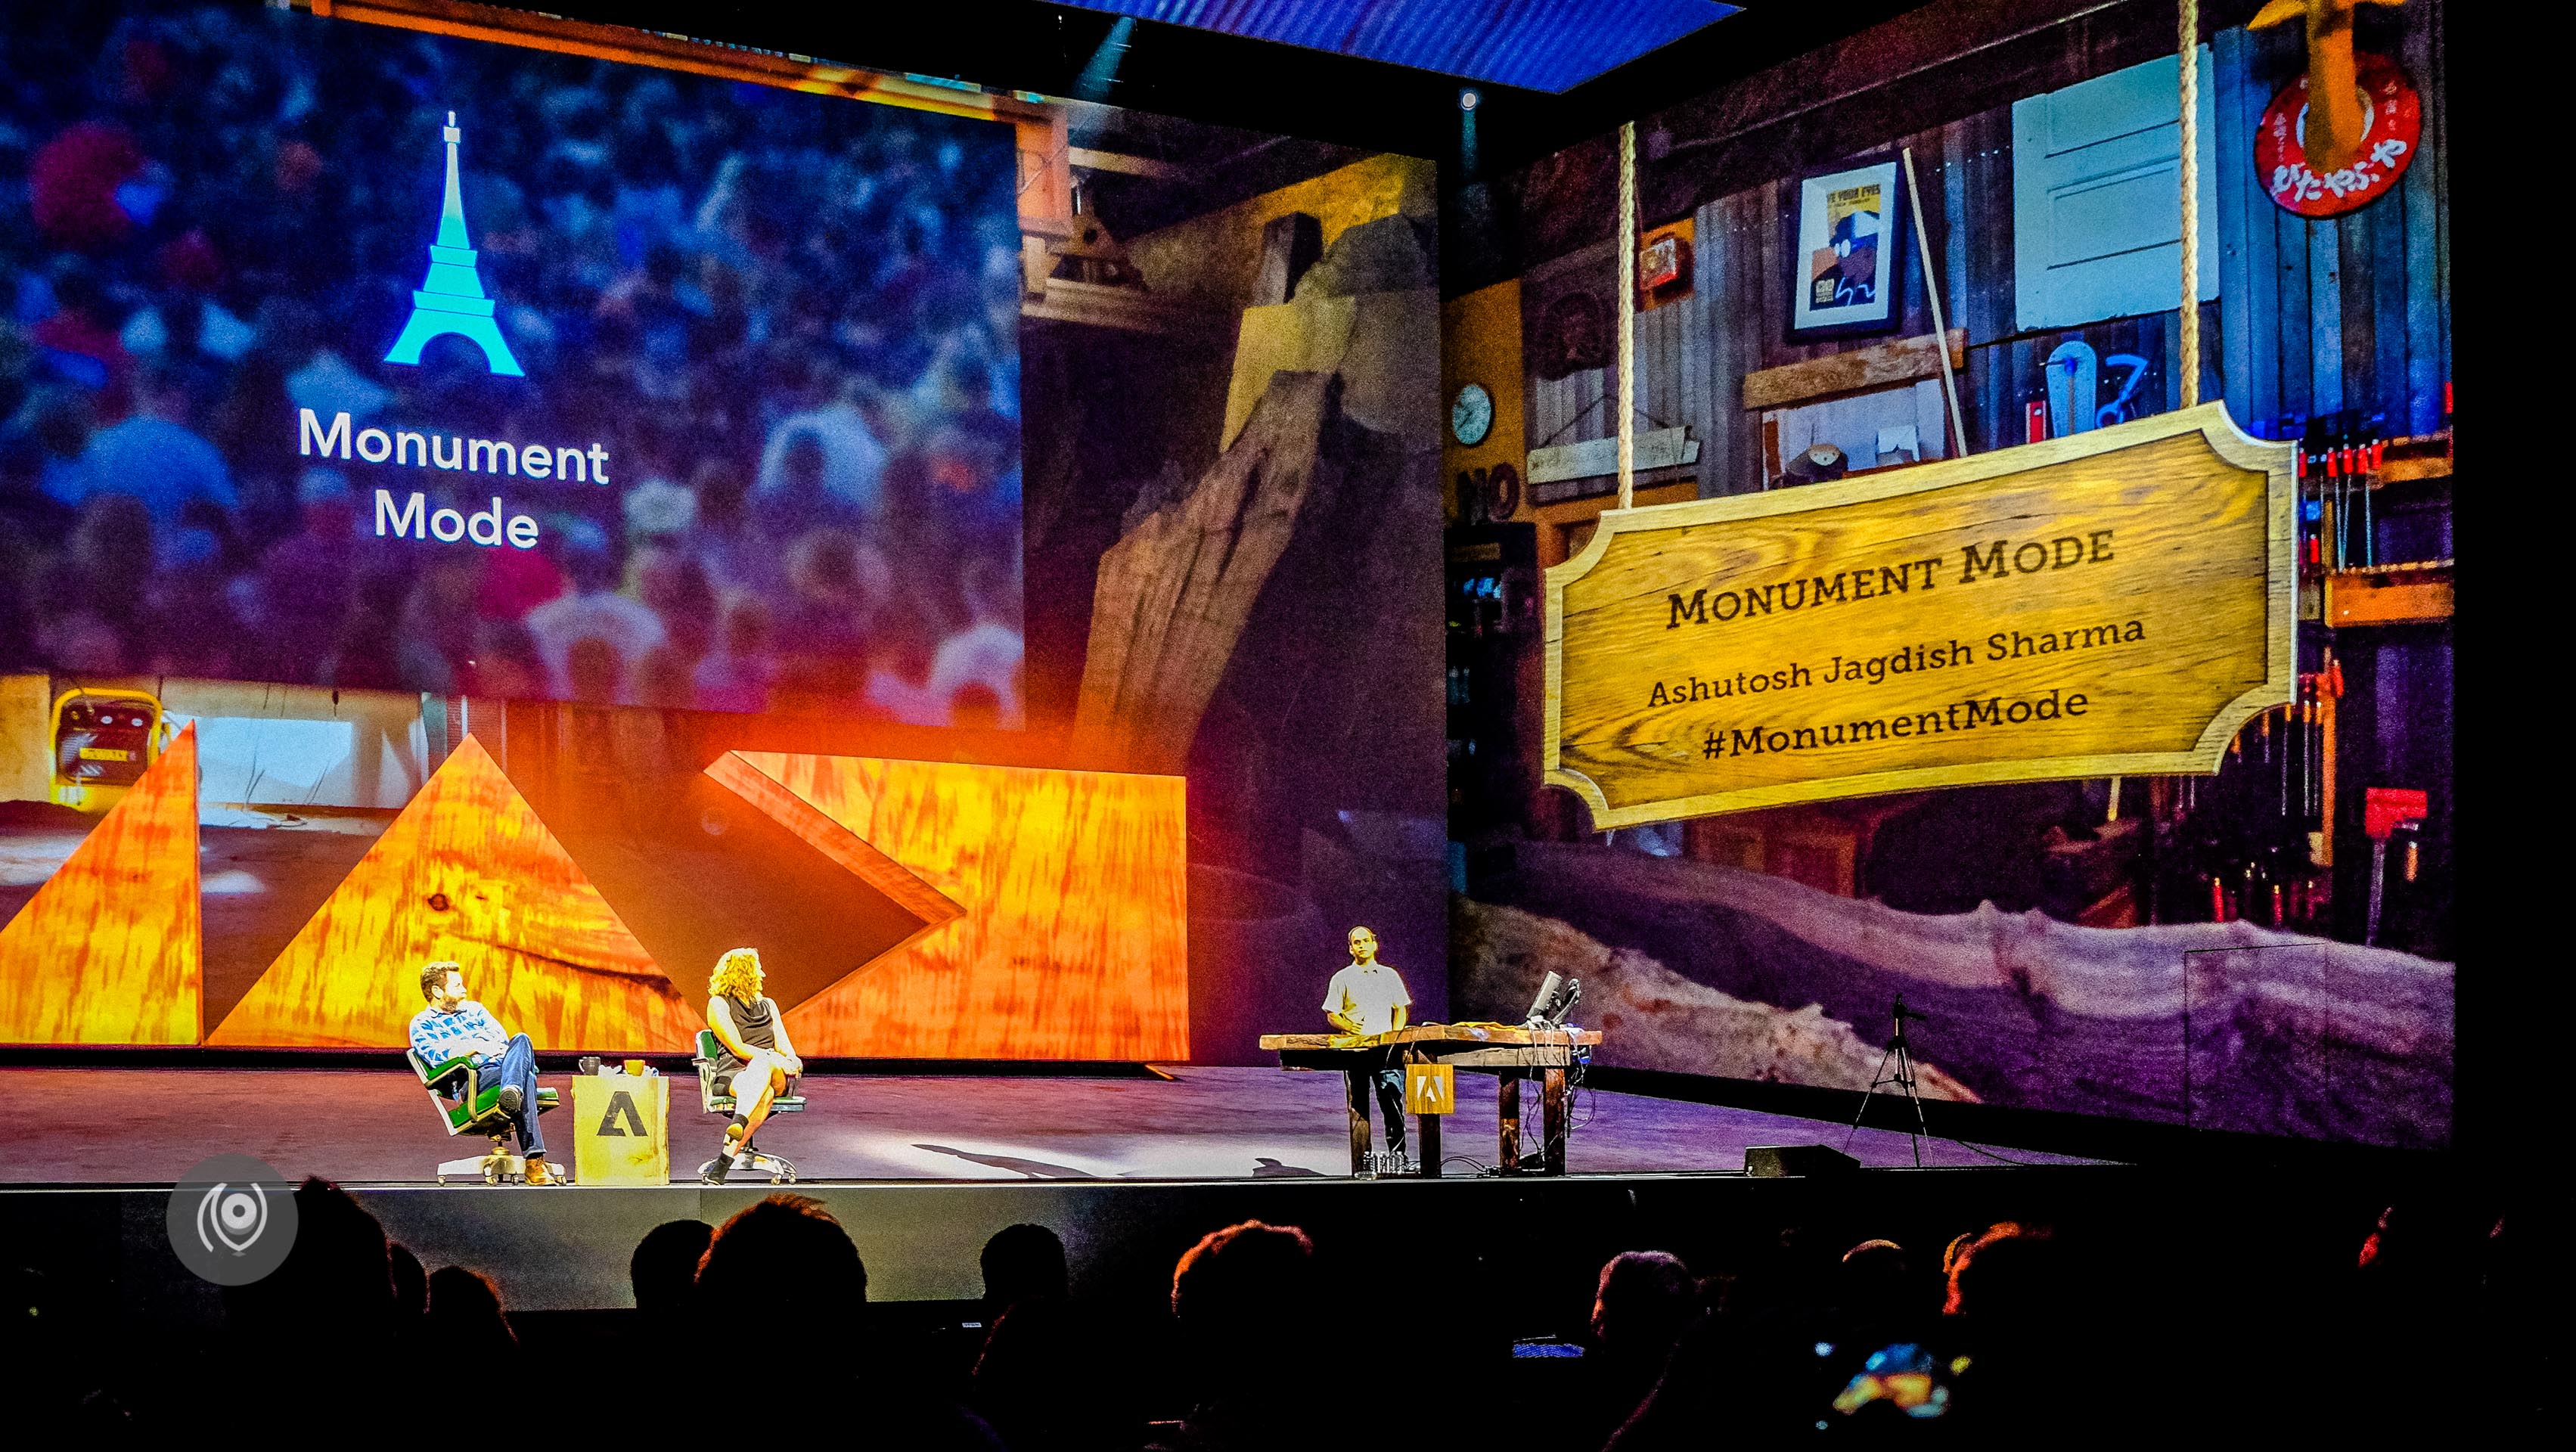
If you use #MonumentMode on your camera, you can wipe out all the tourists from your frame and have a photo of just the monument! There’s a way of doing this in Photoshop too where you take multiple frames and then come back and combine those and the software takes away the variables and keeps only the constants in the frame – it’s a lot of work though and #MonumentMode does the same stuff in real time!
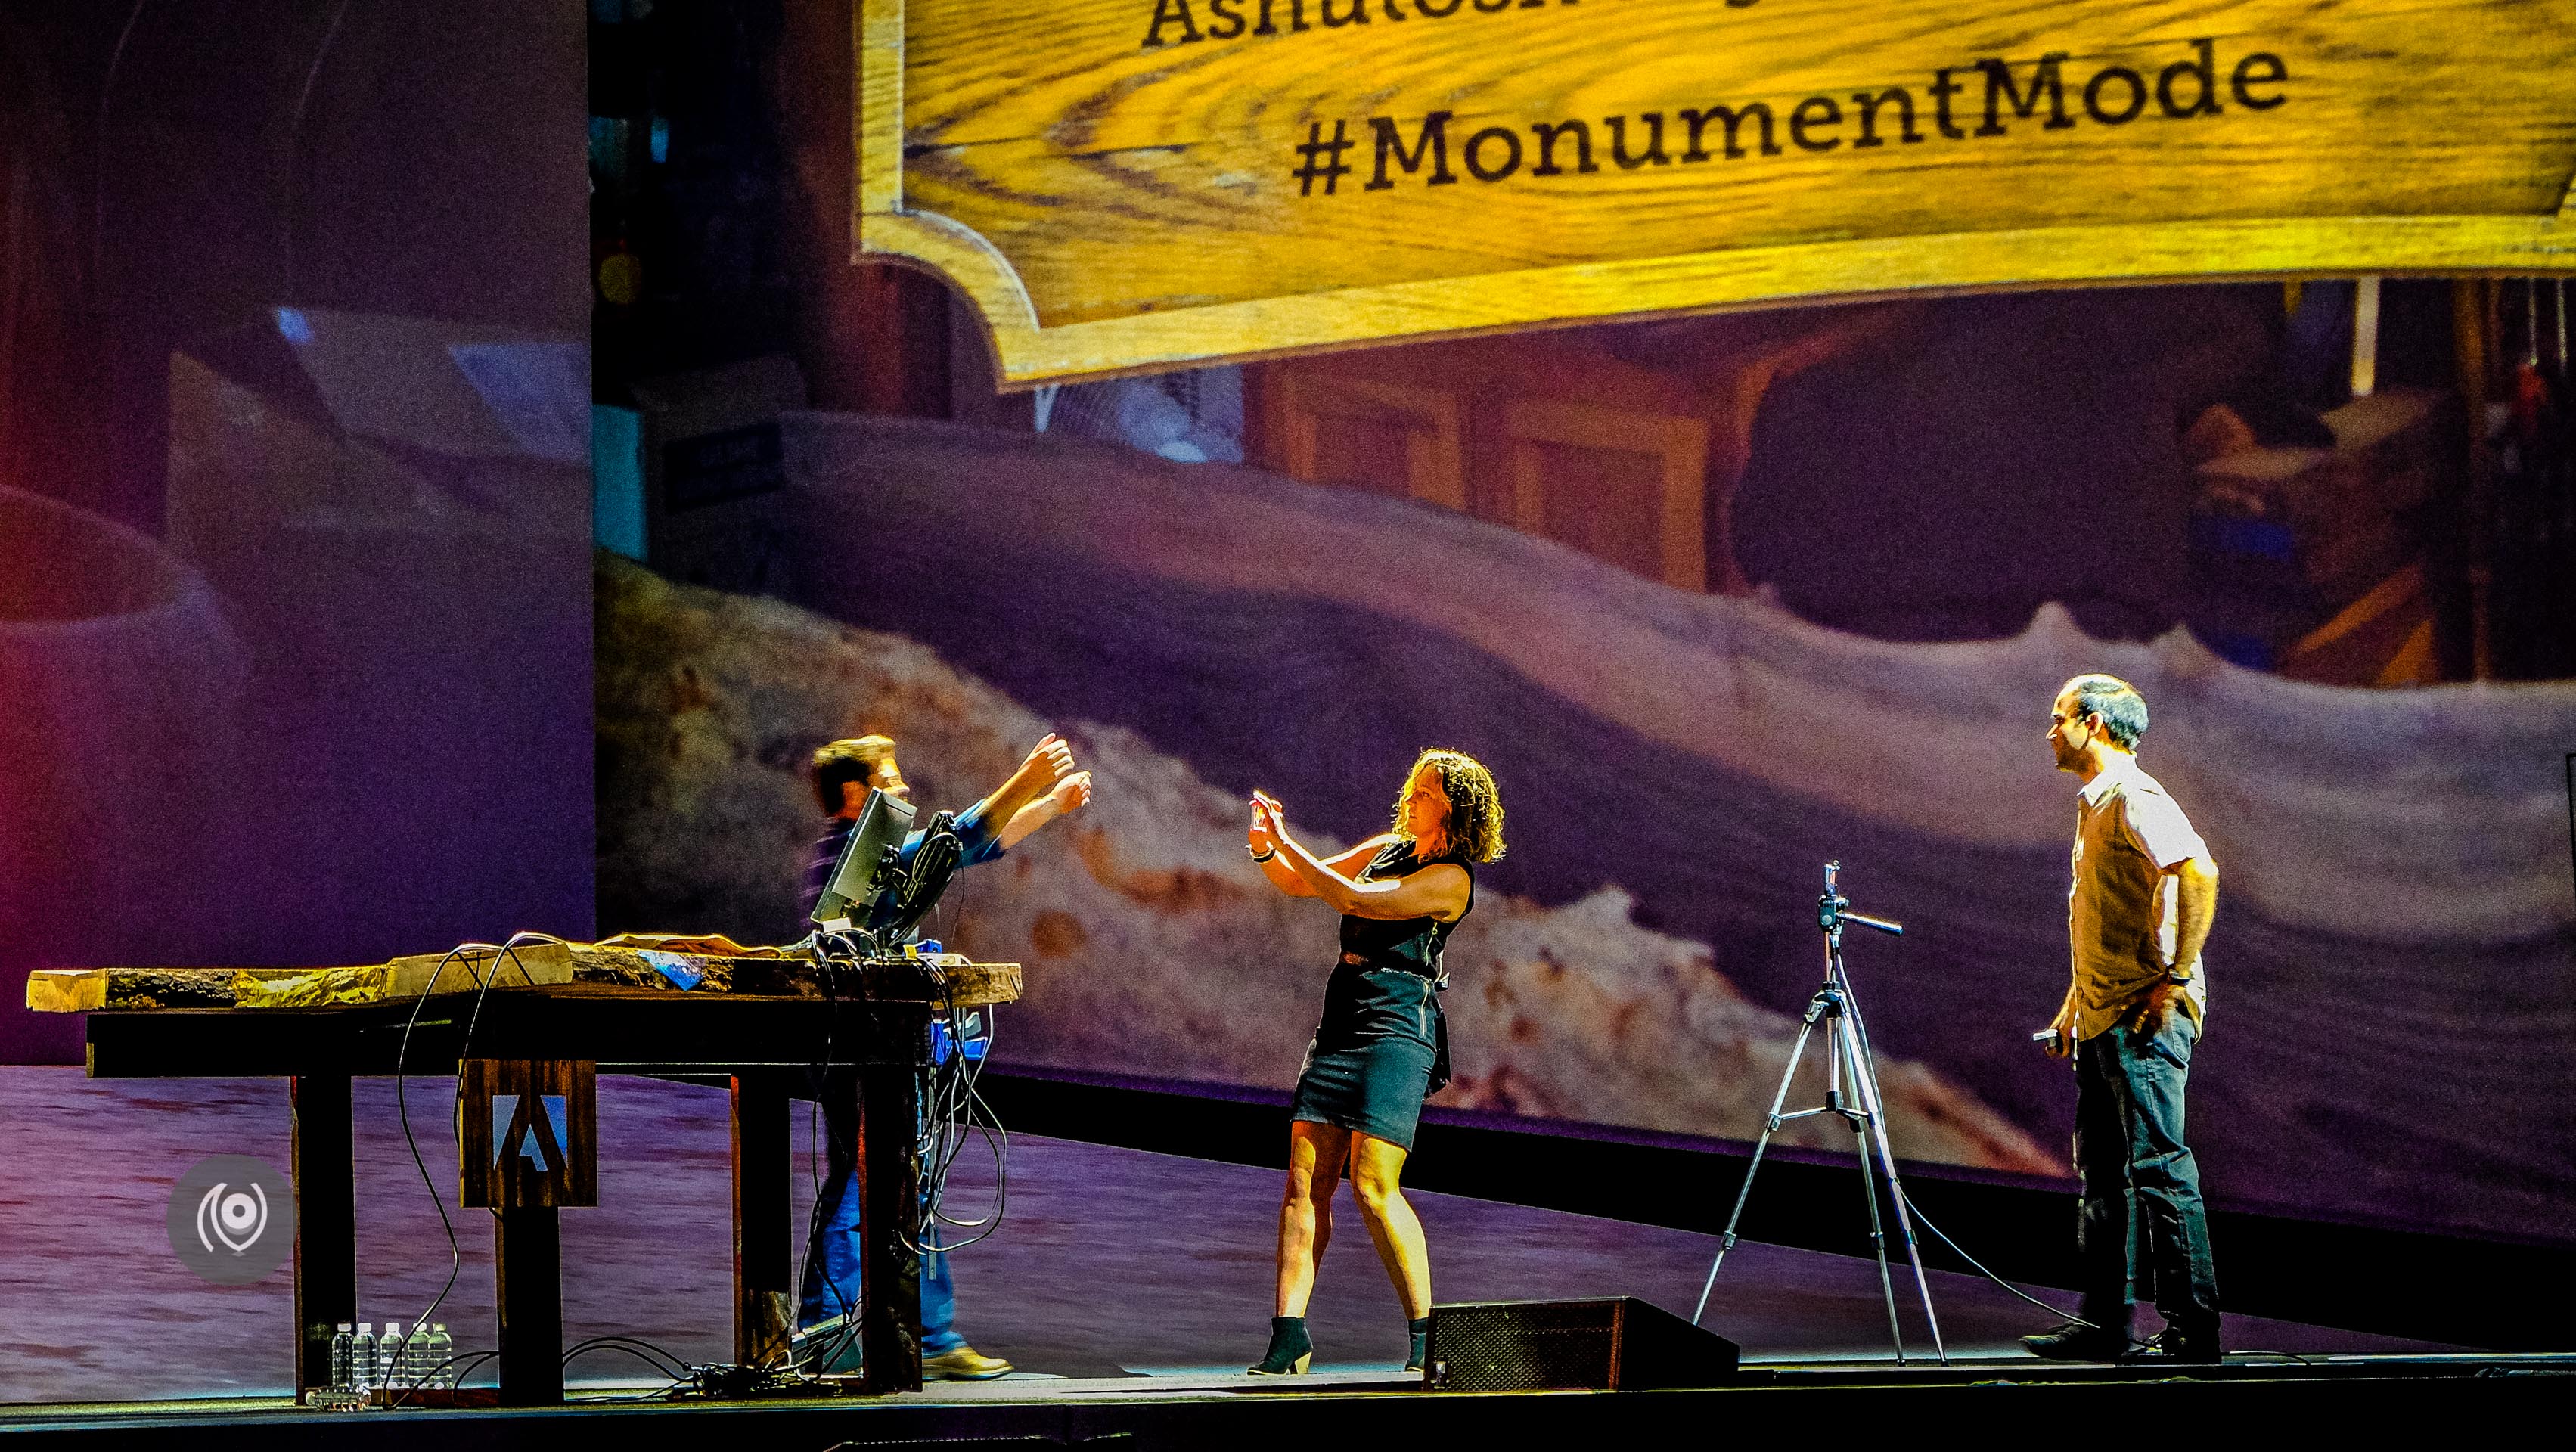
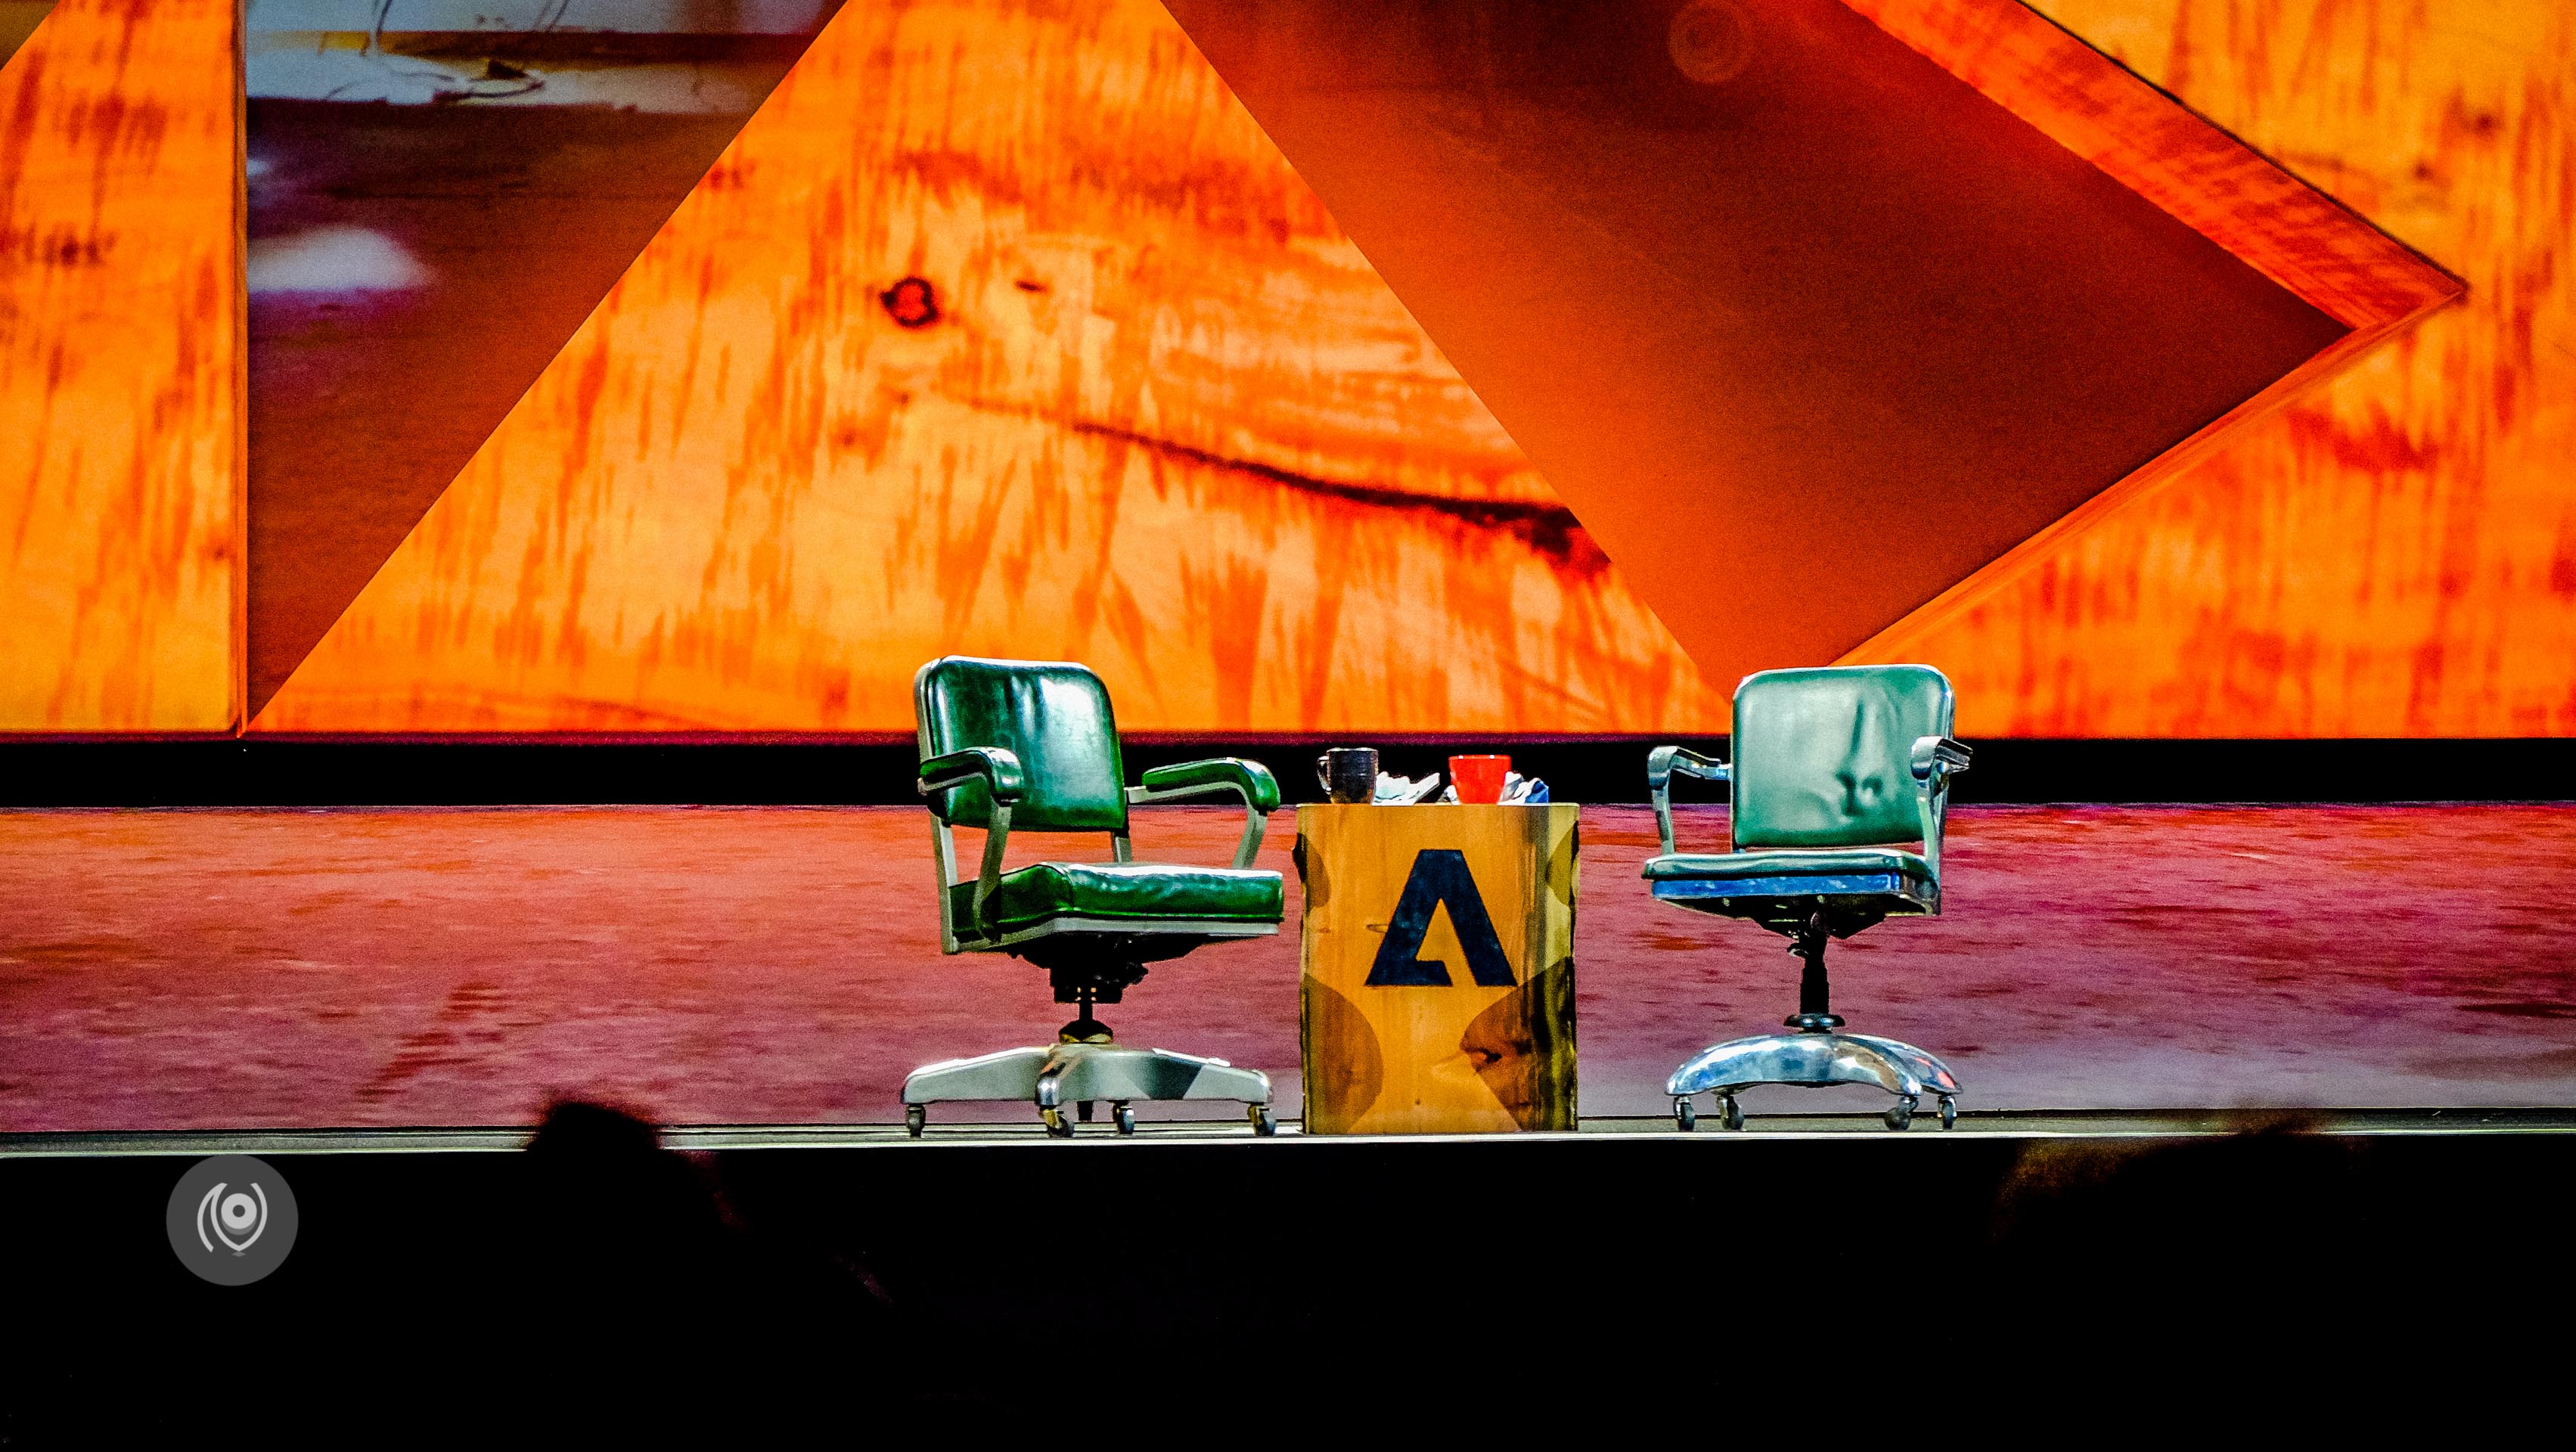
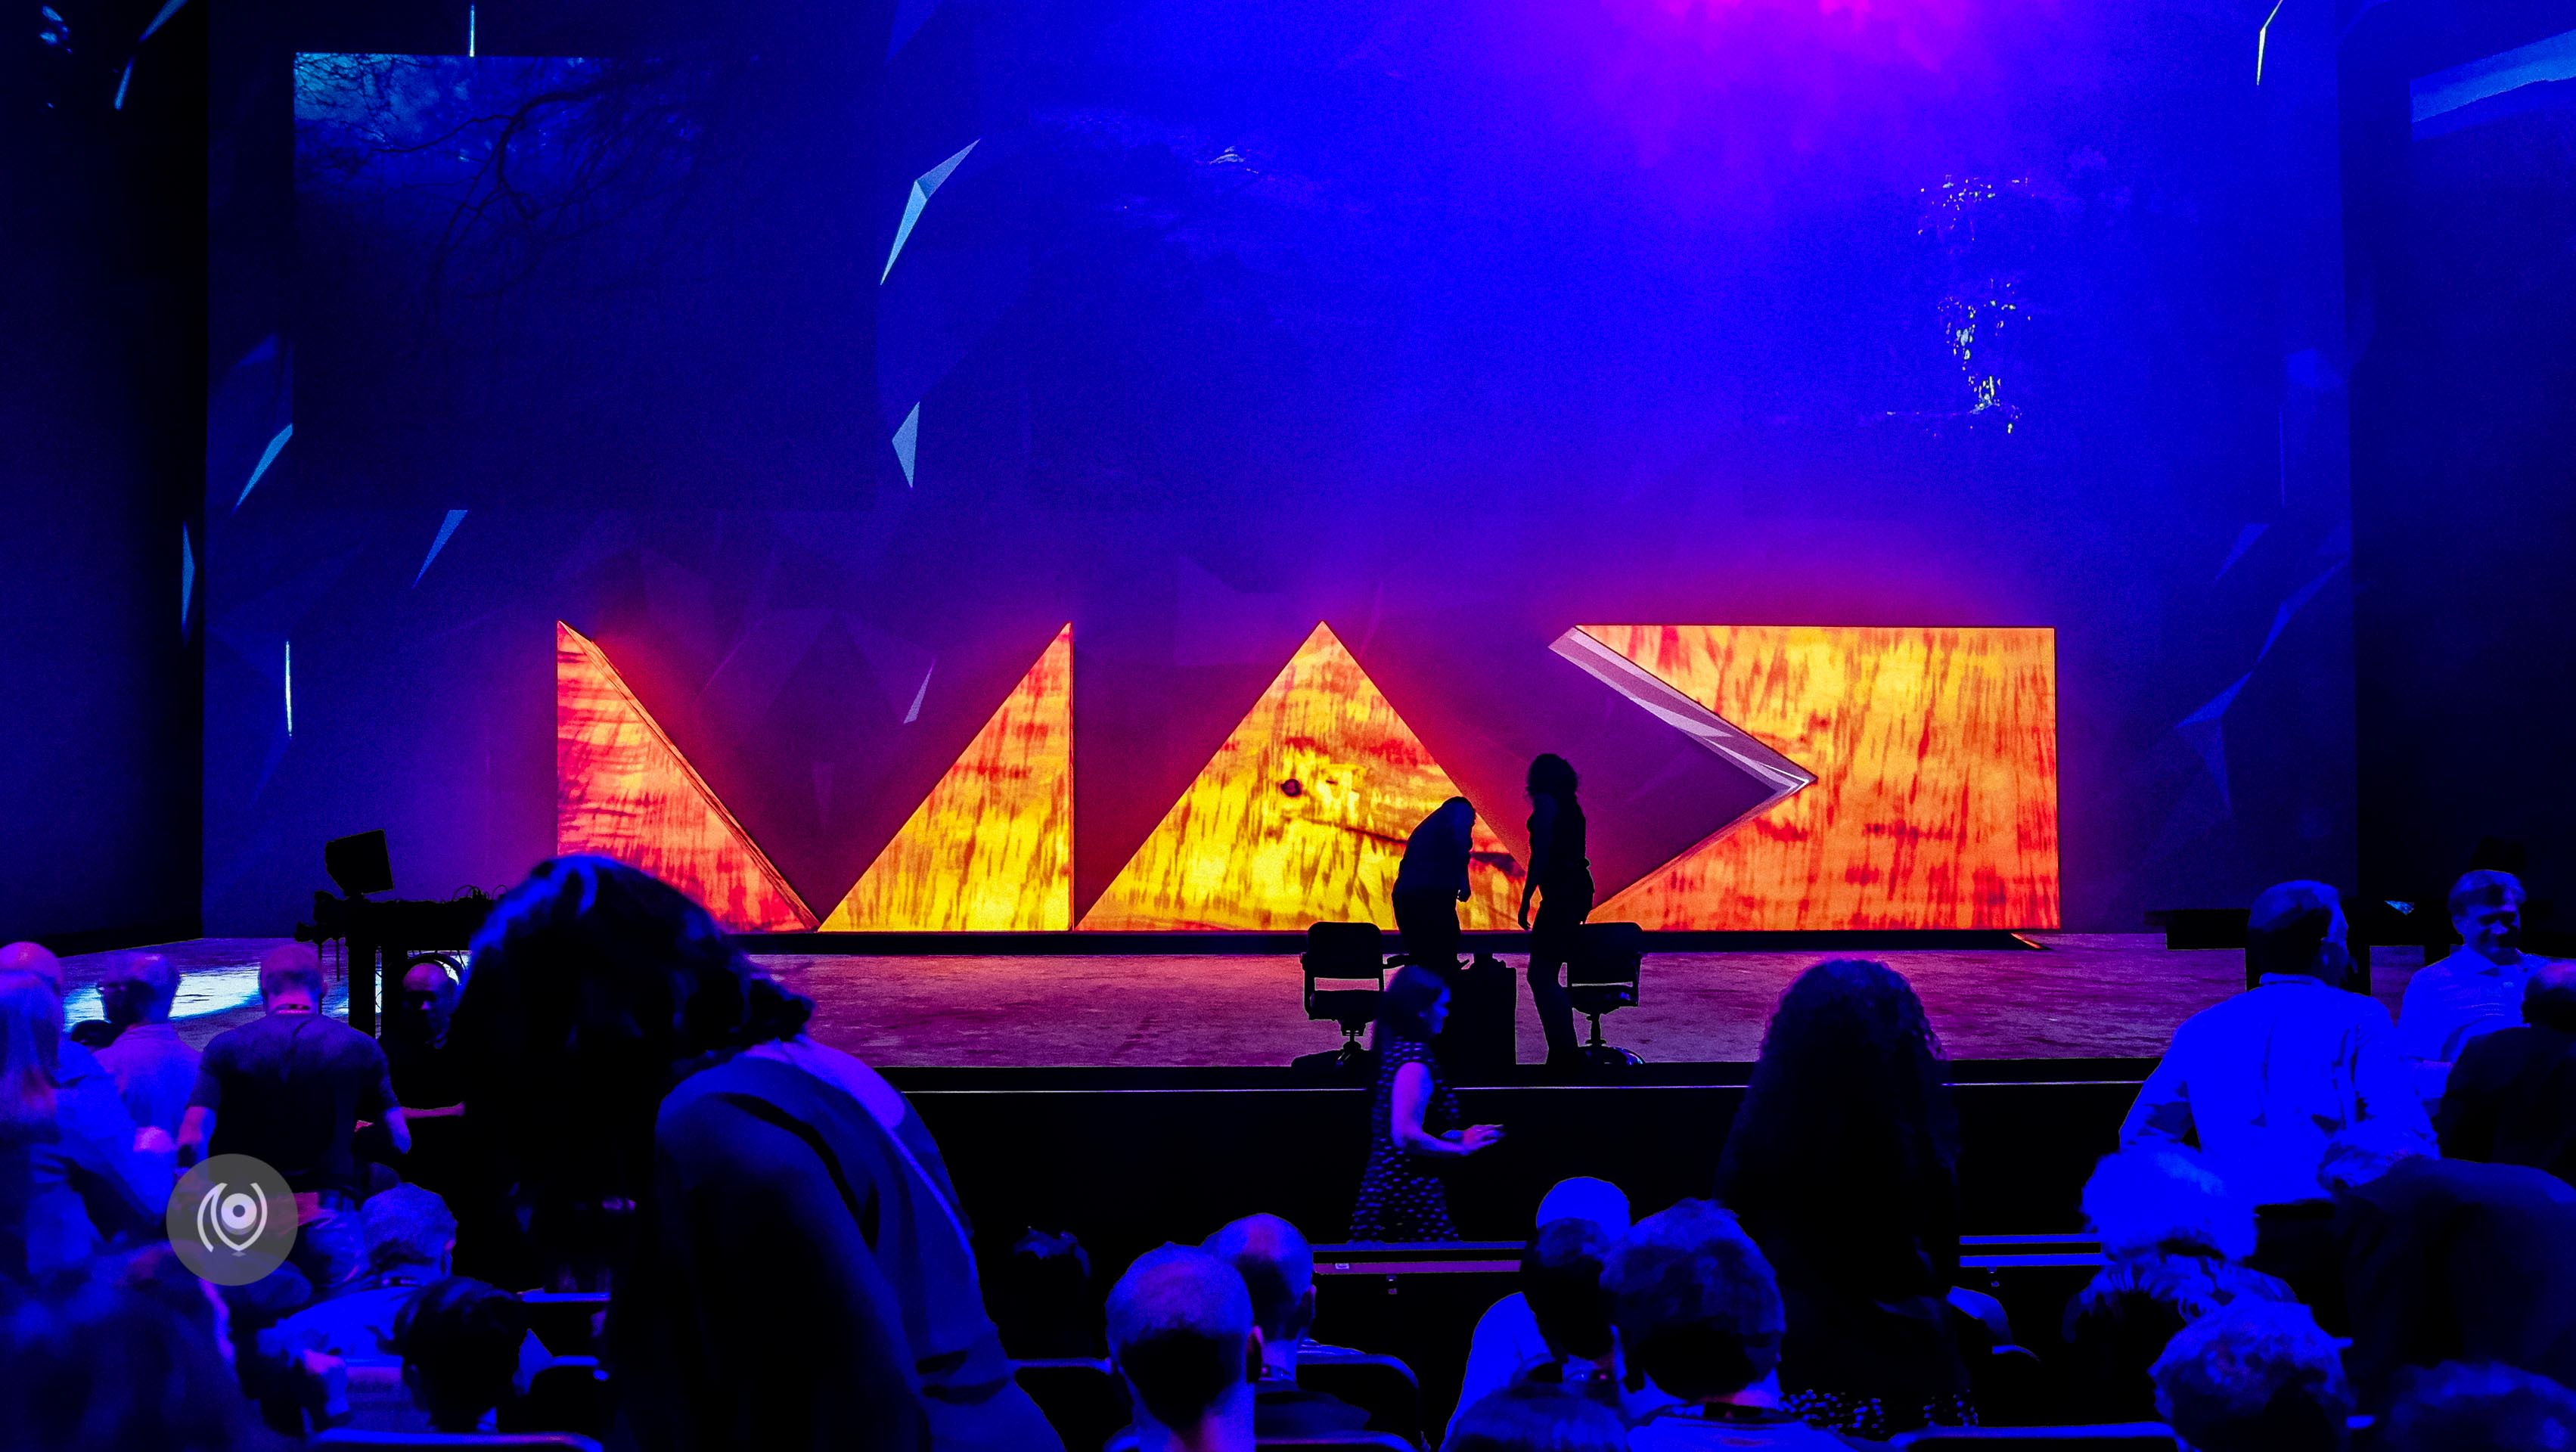
My first ever SNEAKS!
I was in Los Angeles for the Adobe Max 2015 Creativity Conference. More stories on the #NAINAxADOBE hashtag

